
How to fix your Homepod 2nd gen
Posted in daily
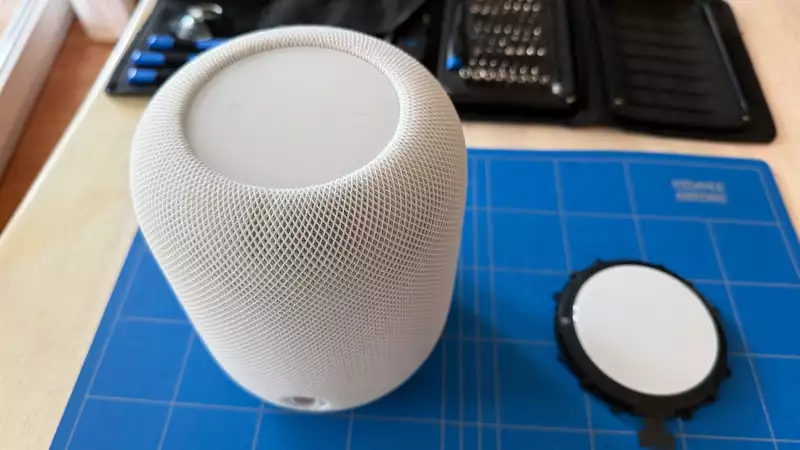
After my HomePod mini's ghost touches, my HomePod 2nd gen started to exhibit the same behaviour early this summer, but unlike the HomePod minis, the defective part can be replaced: I found a touch panel replacement on AliExpress.
Preparation
Today, a search for Apple HomePod 2nd Gen touch panel on AliExpress returns many results offering OEM replacement parts.
Before opening your HomePod, watch a couple of teardown videos to get a feeling of what in store for you. Here are a couple to start with: iFixit HomePod 2 Teardown and Apple HomePod 2 Teardown.
Disassembling the HomePod
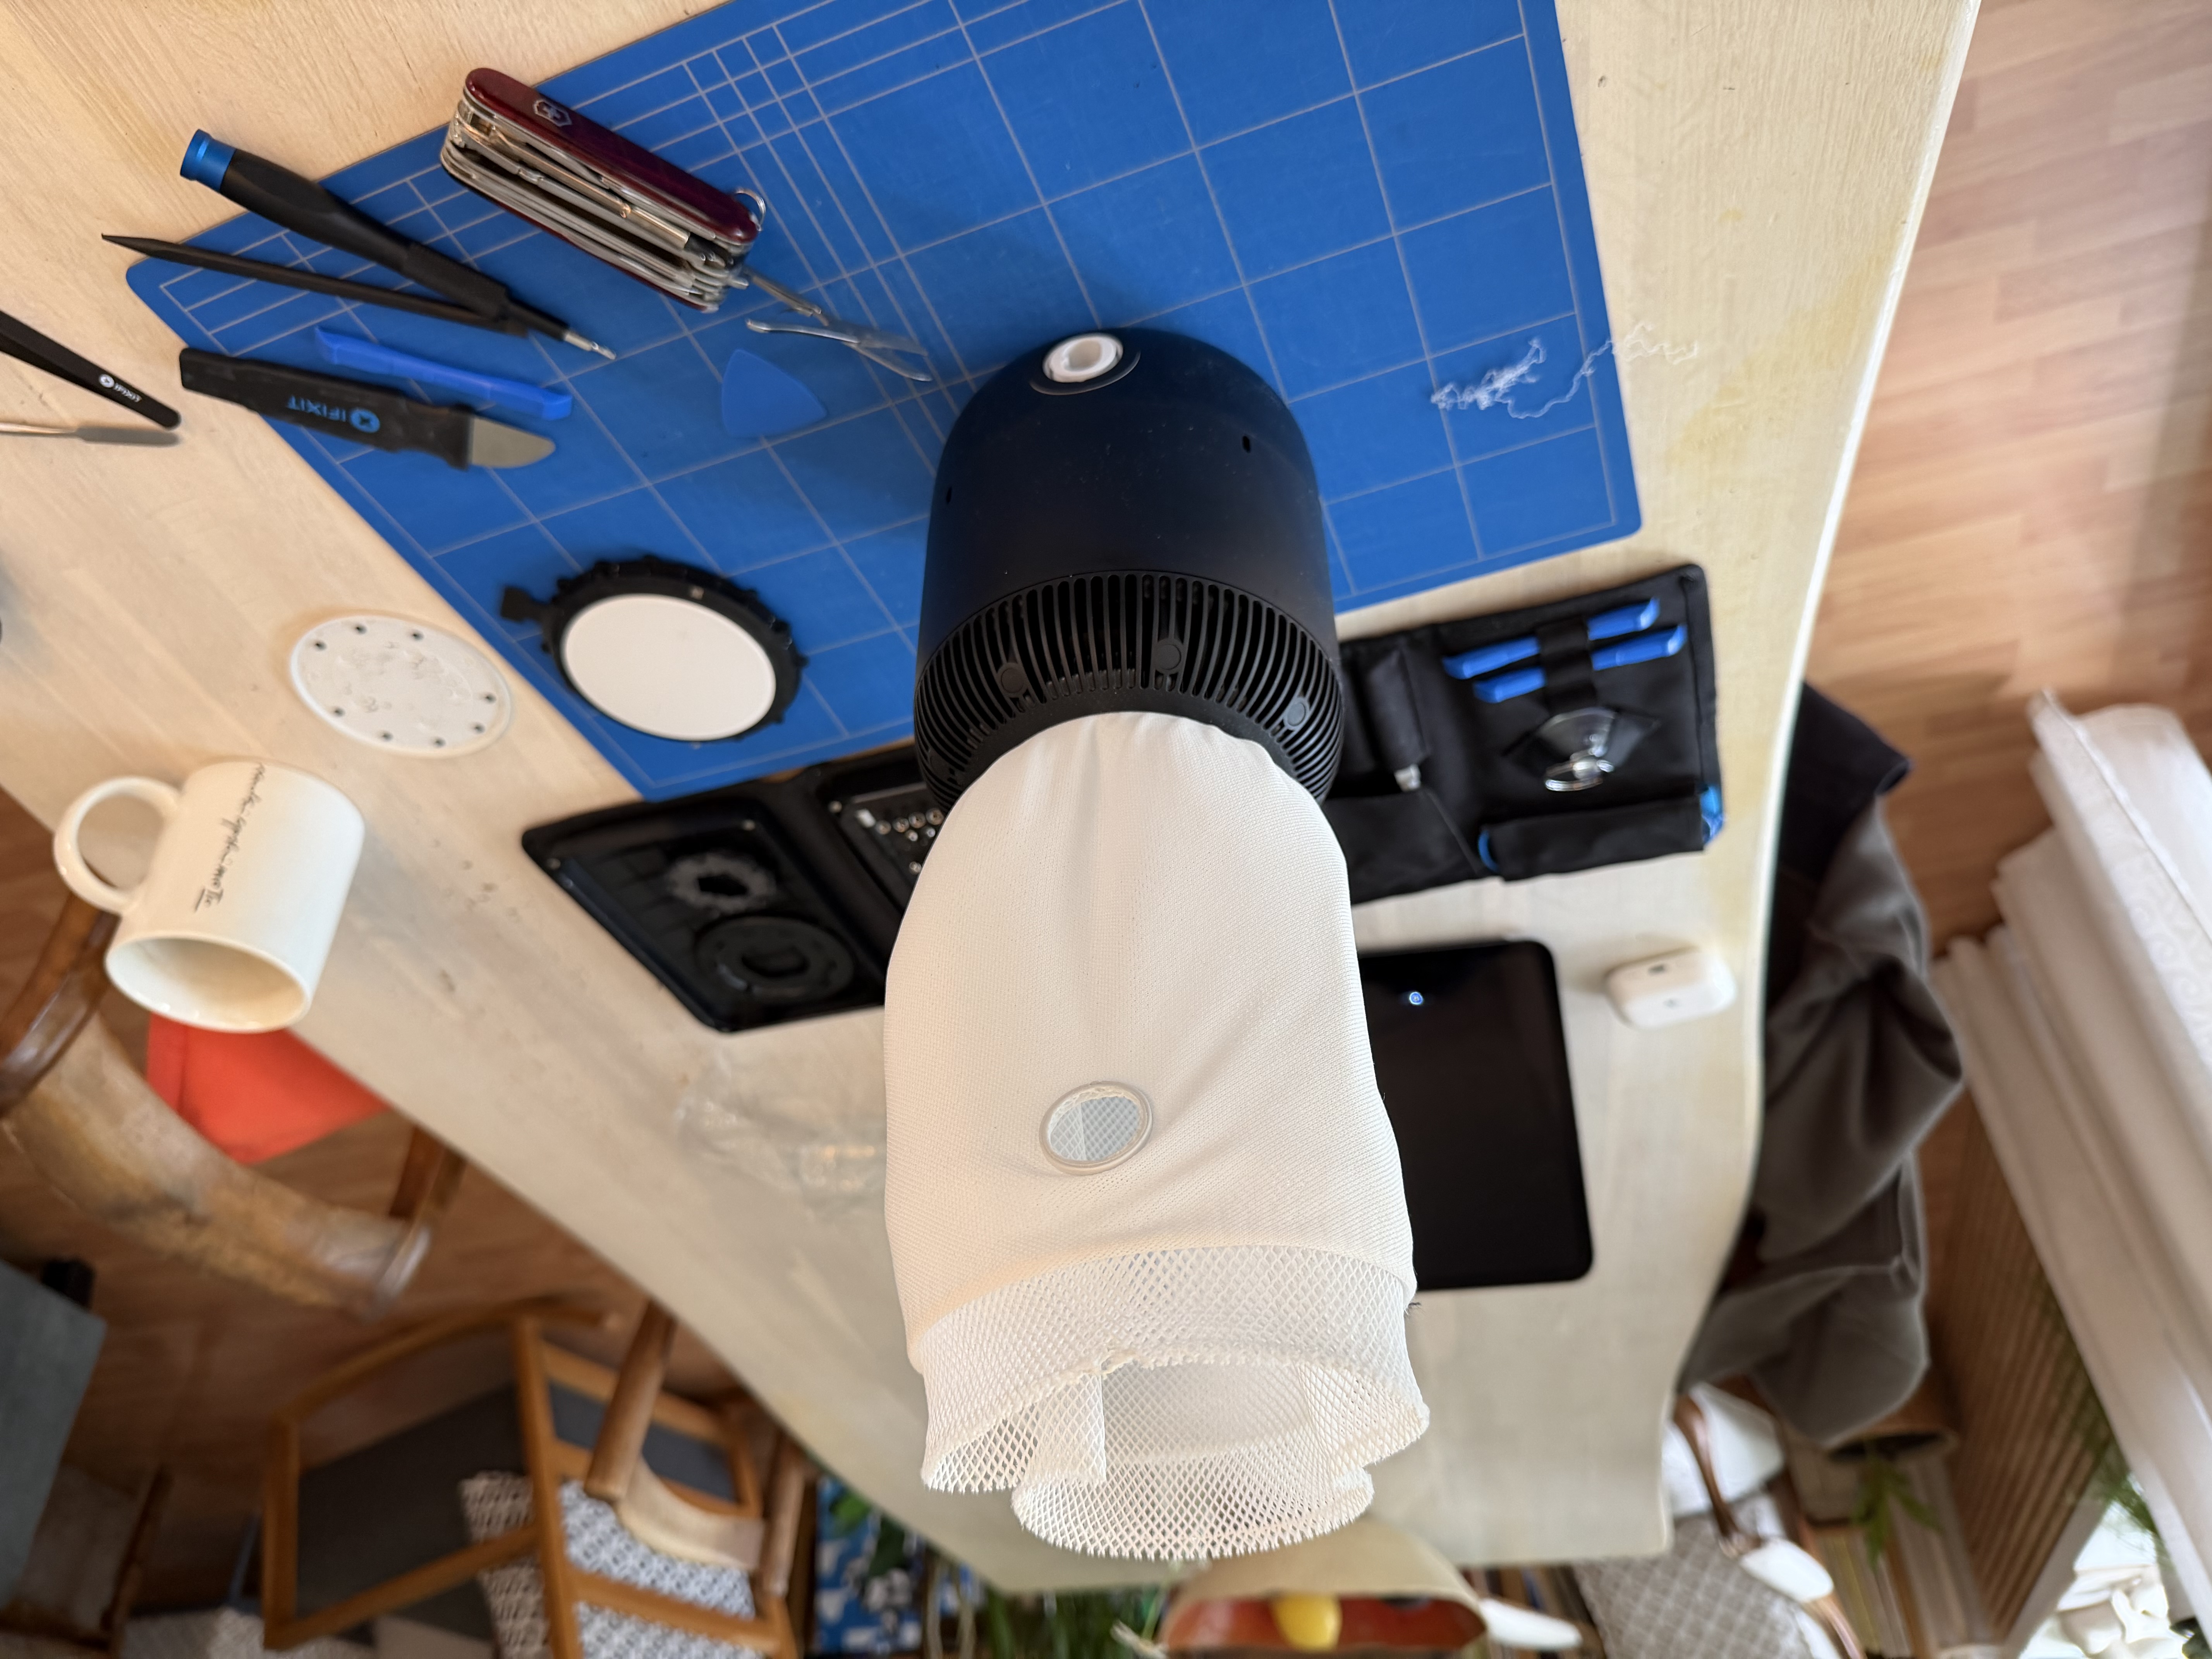
The teardown process is mostly strait forward, but there are a few of things to keep in mind:
Use the right tools
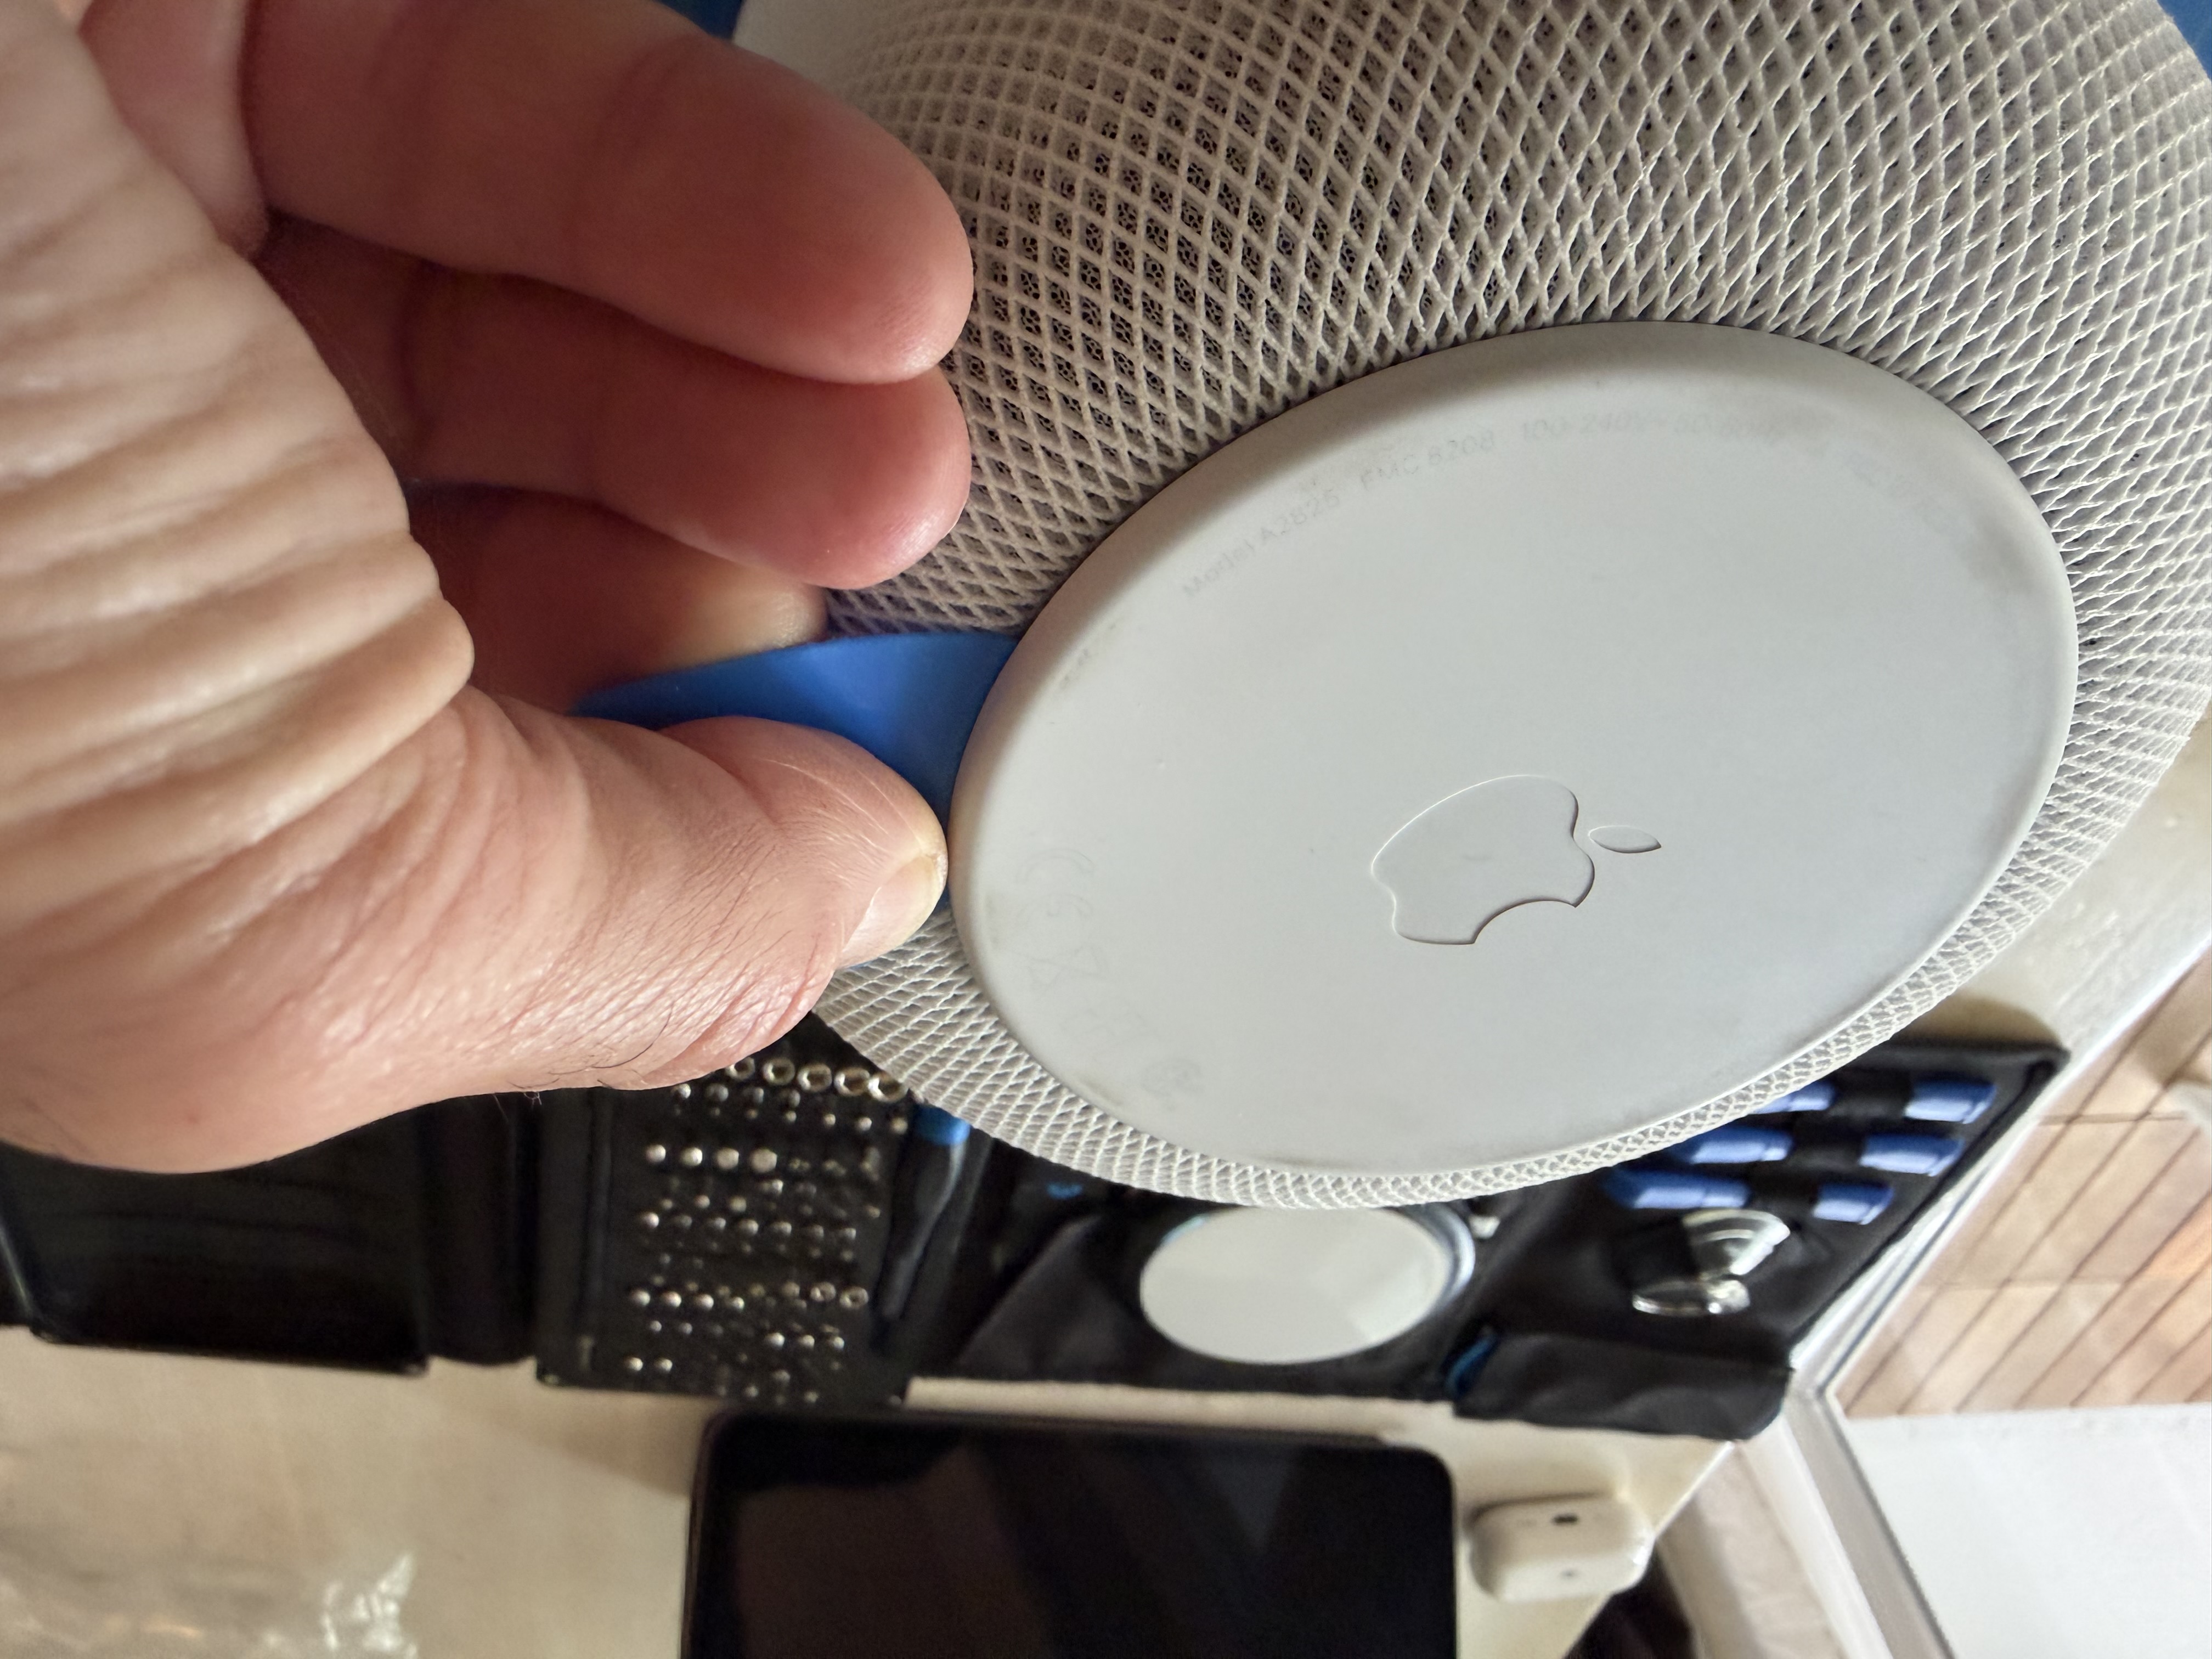
- A flat plastic pry tool is required to unstick the bottom plate.
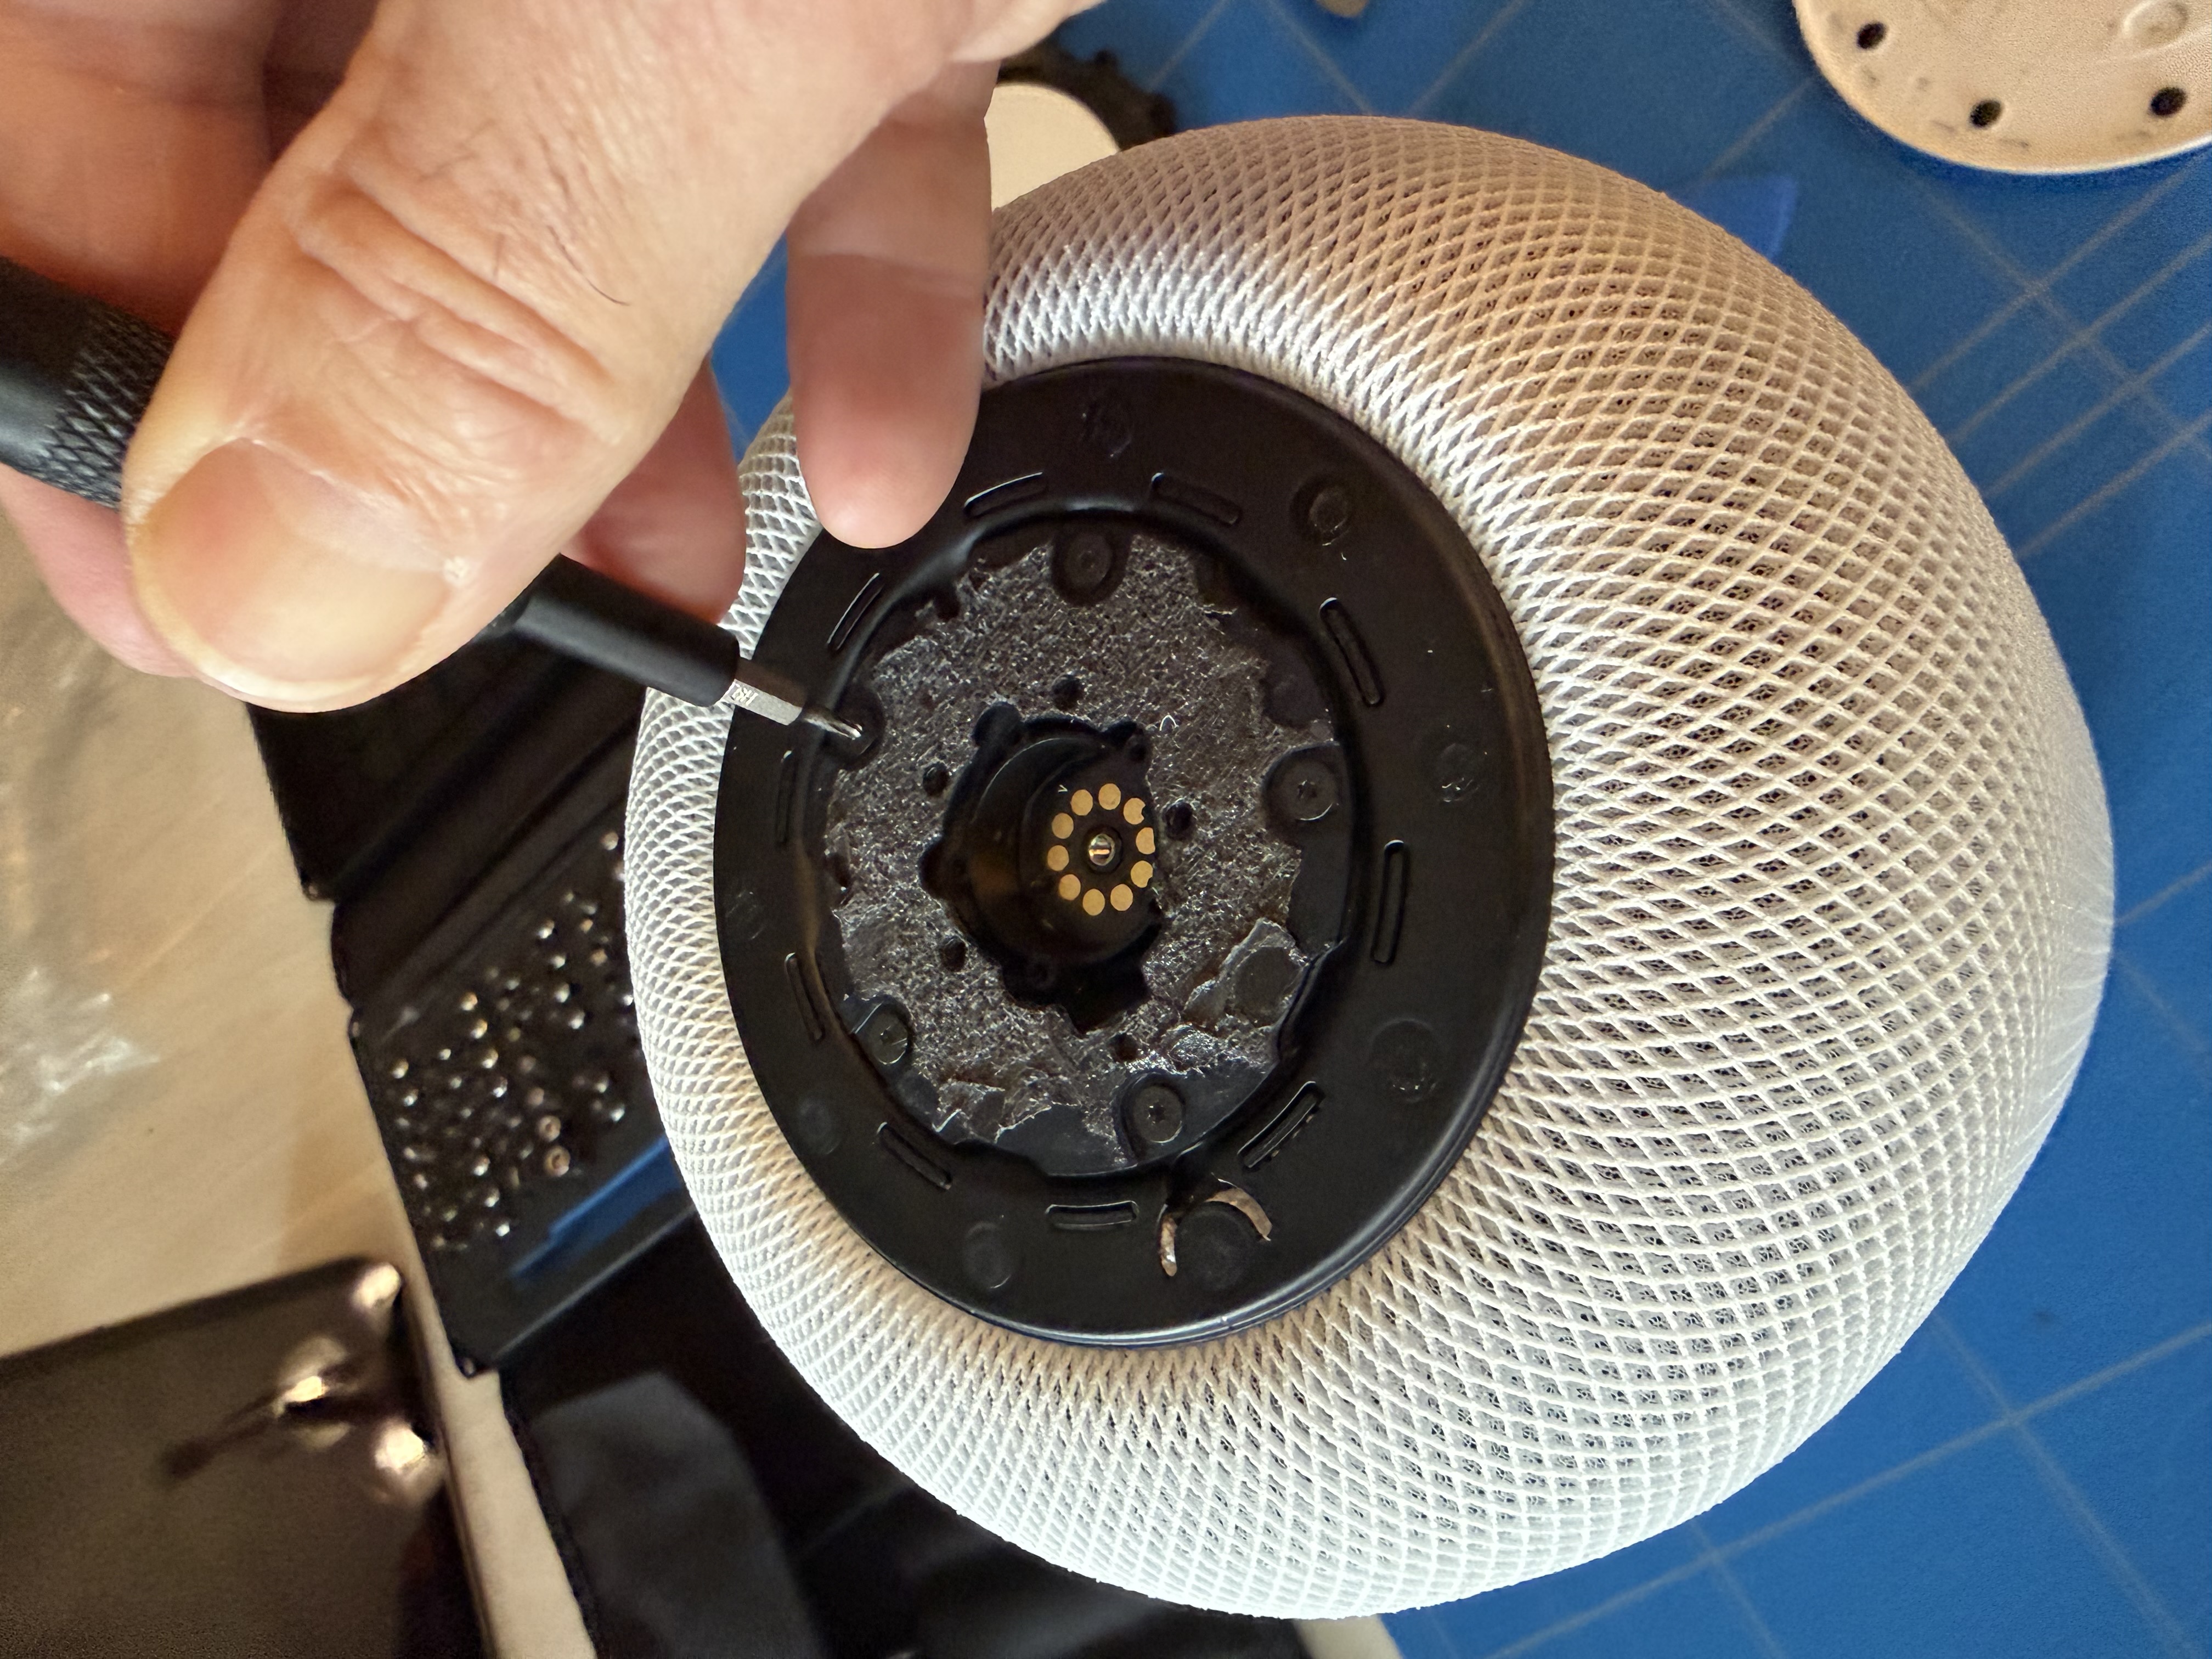
- A T6 Torx screw driver is needed for disassembly.
- The 2 drawstrings will need to be replaced, so find a needle and a strong cotton string to thread back in when you mount it back together.
- Glue is required to fix the base plate back on.
Tips
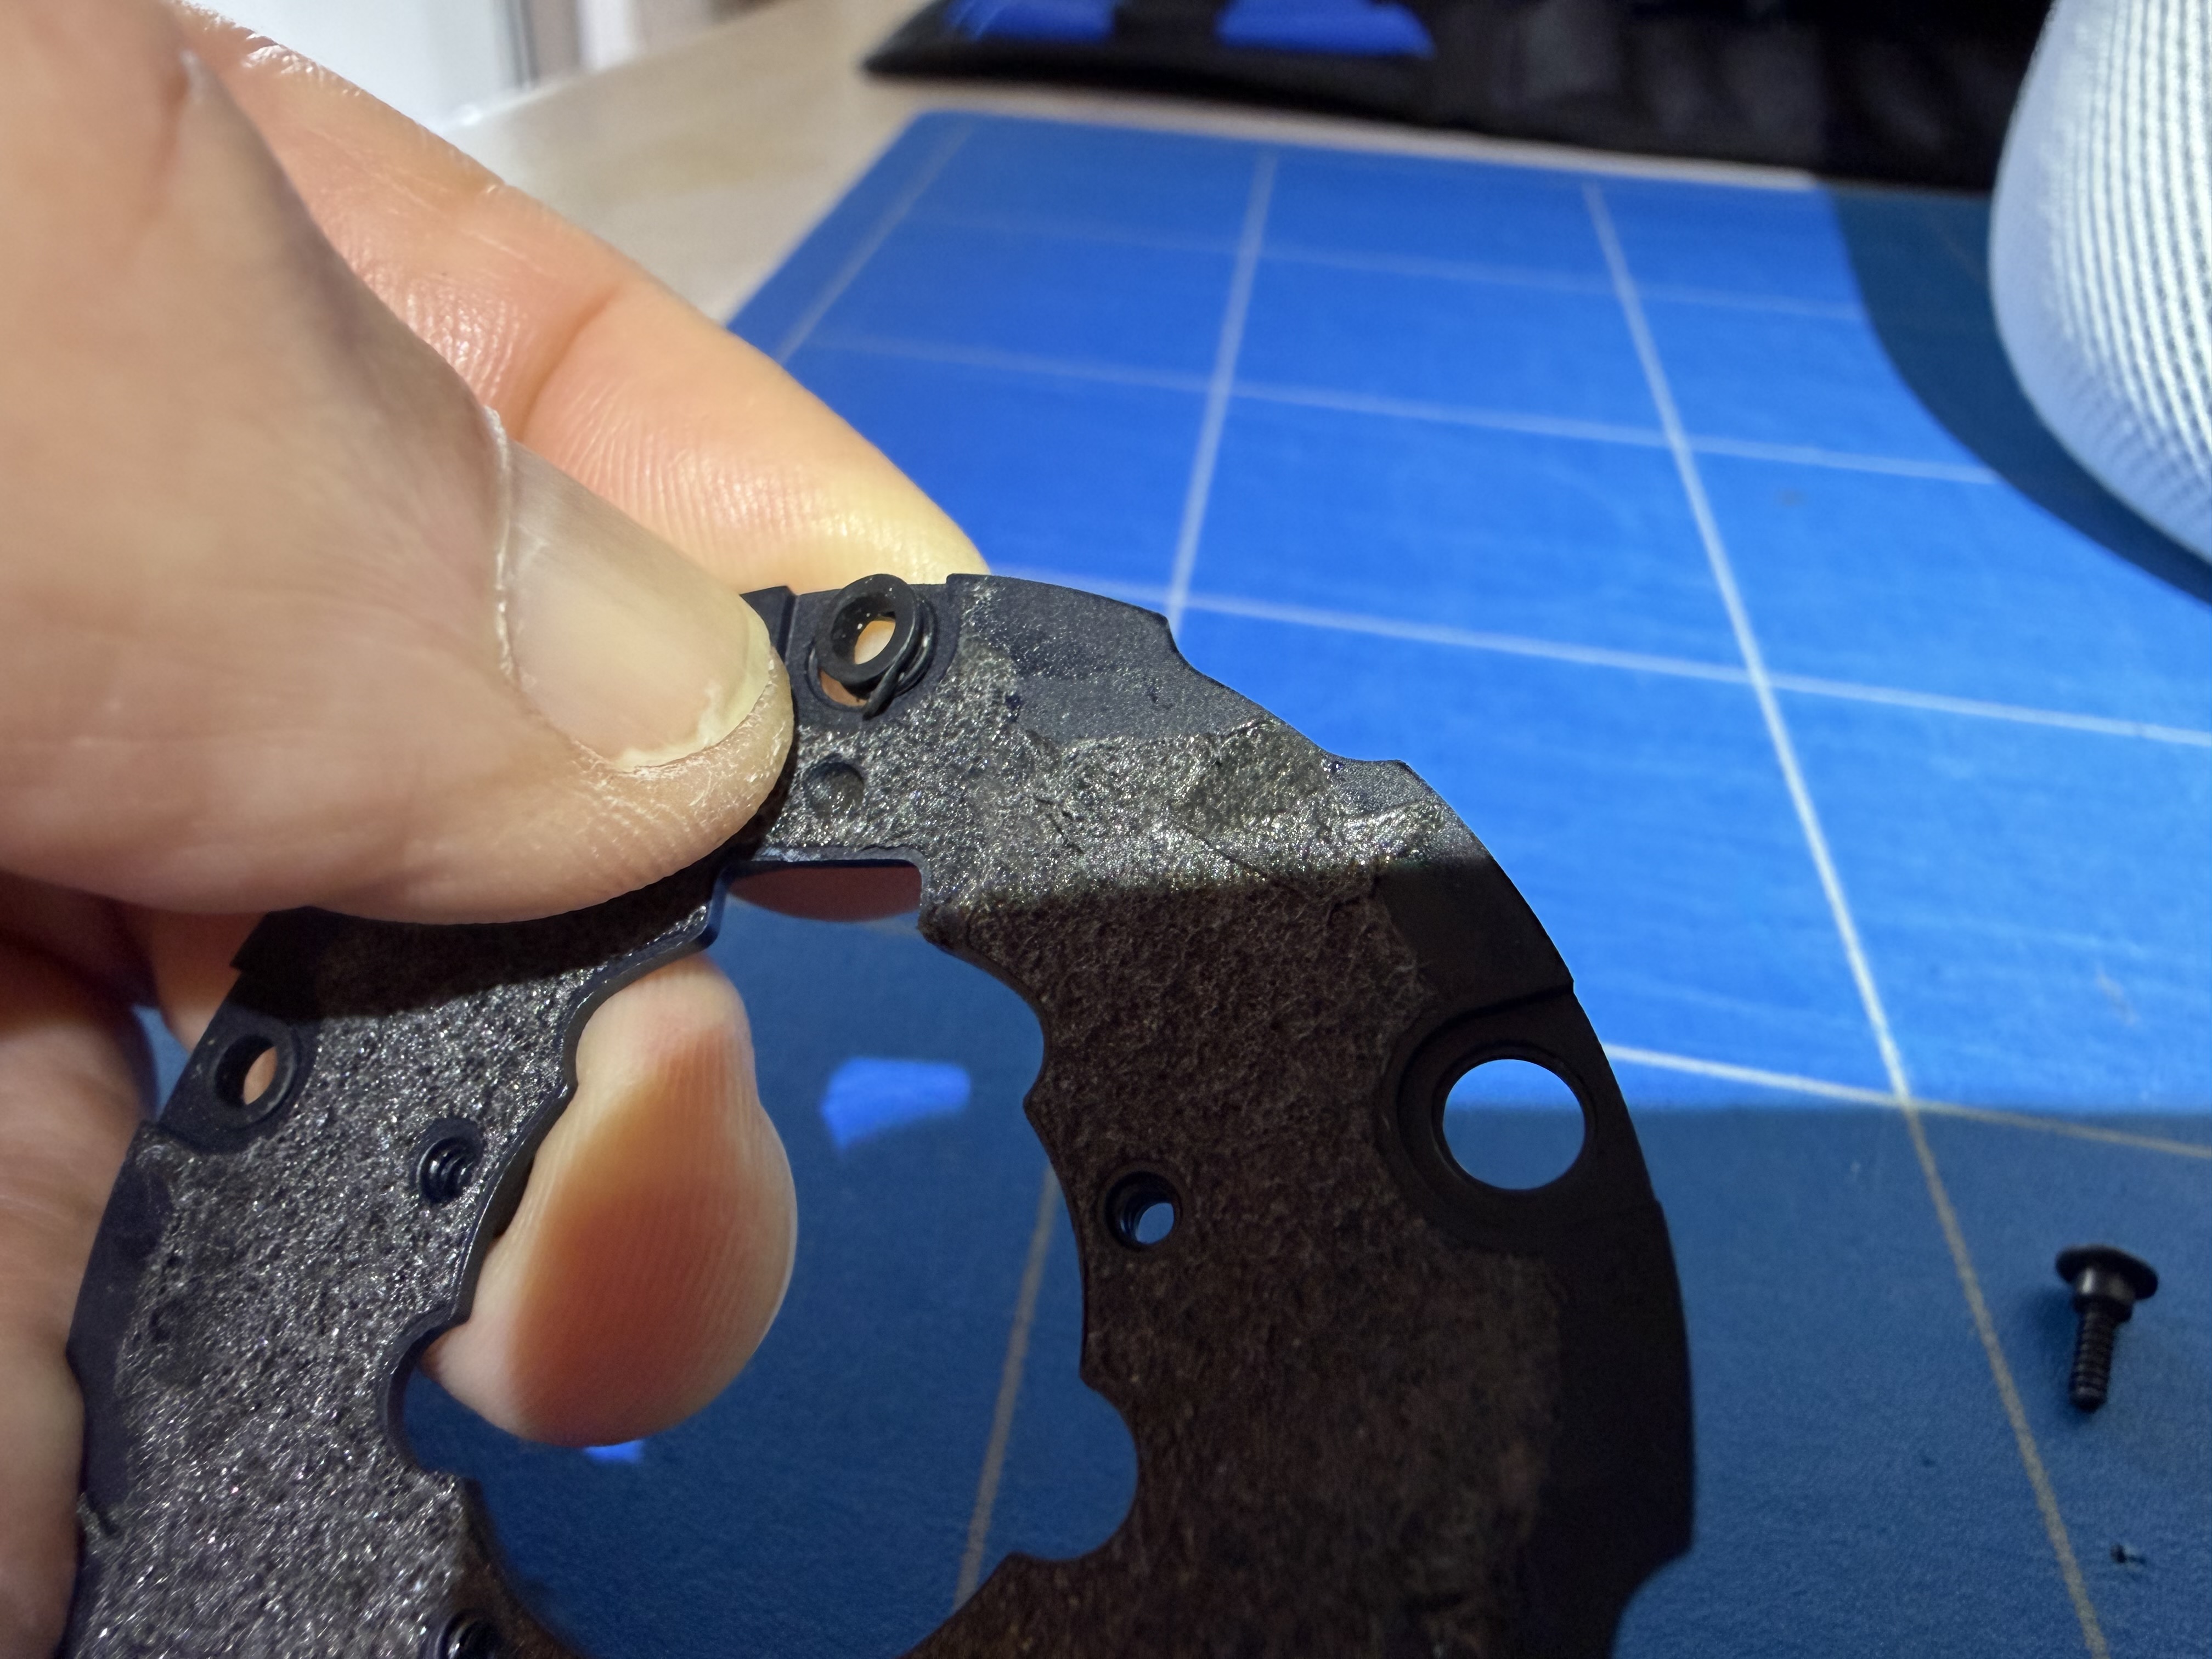
- There are a number of small rubber parts that come loose at different stages of the operation. Don't loose them, and don't forget to put them back.
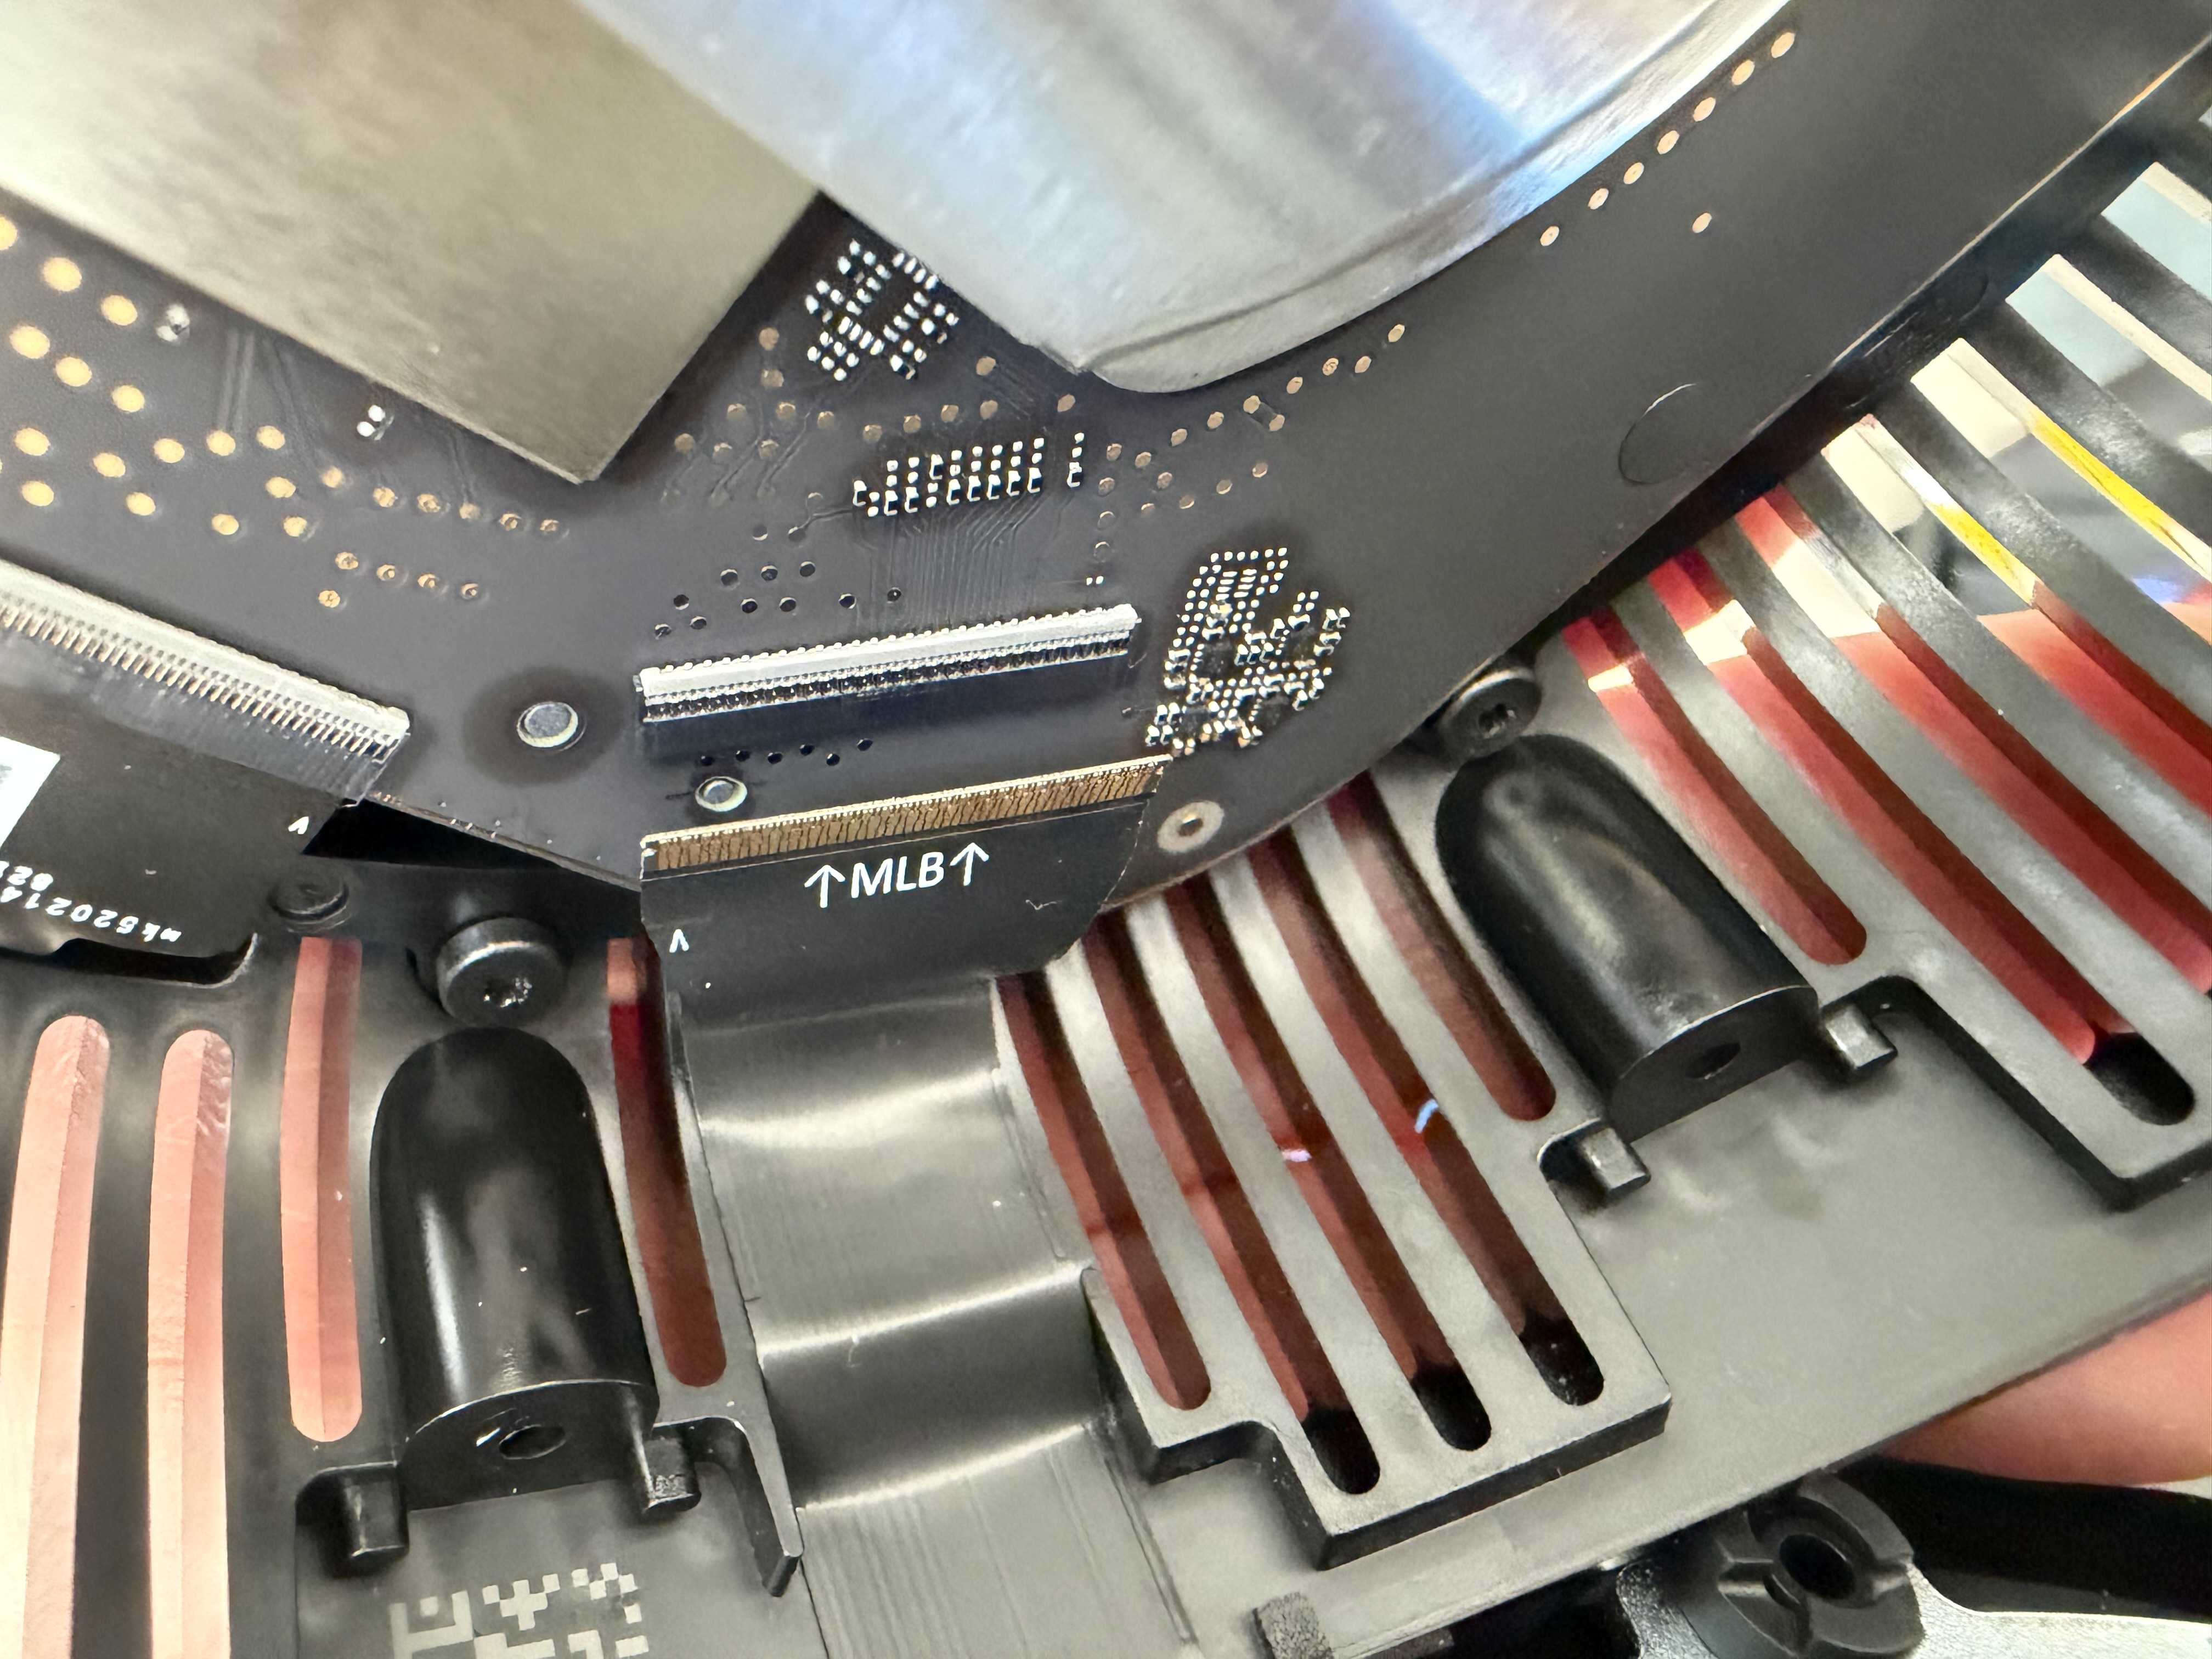
- Plugging the ribbon cables back was the trickiest part for me. Do it slowly.
1. Remove the base
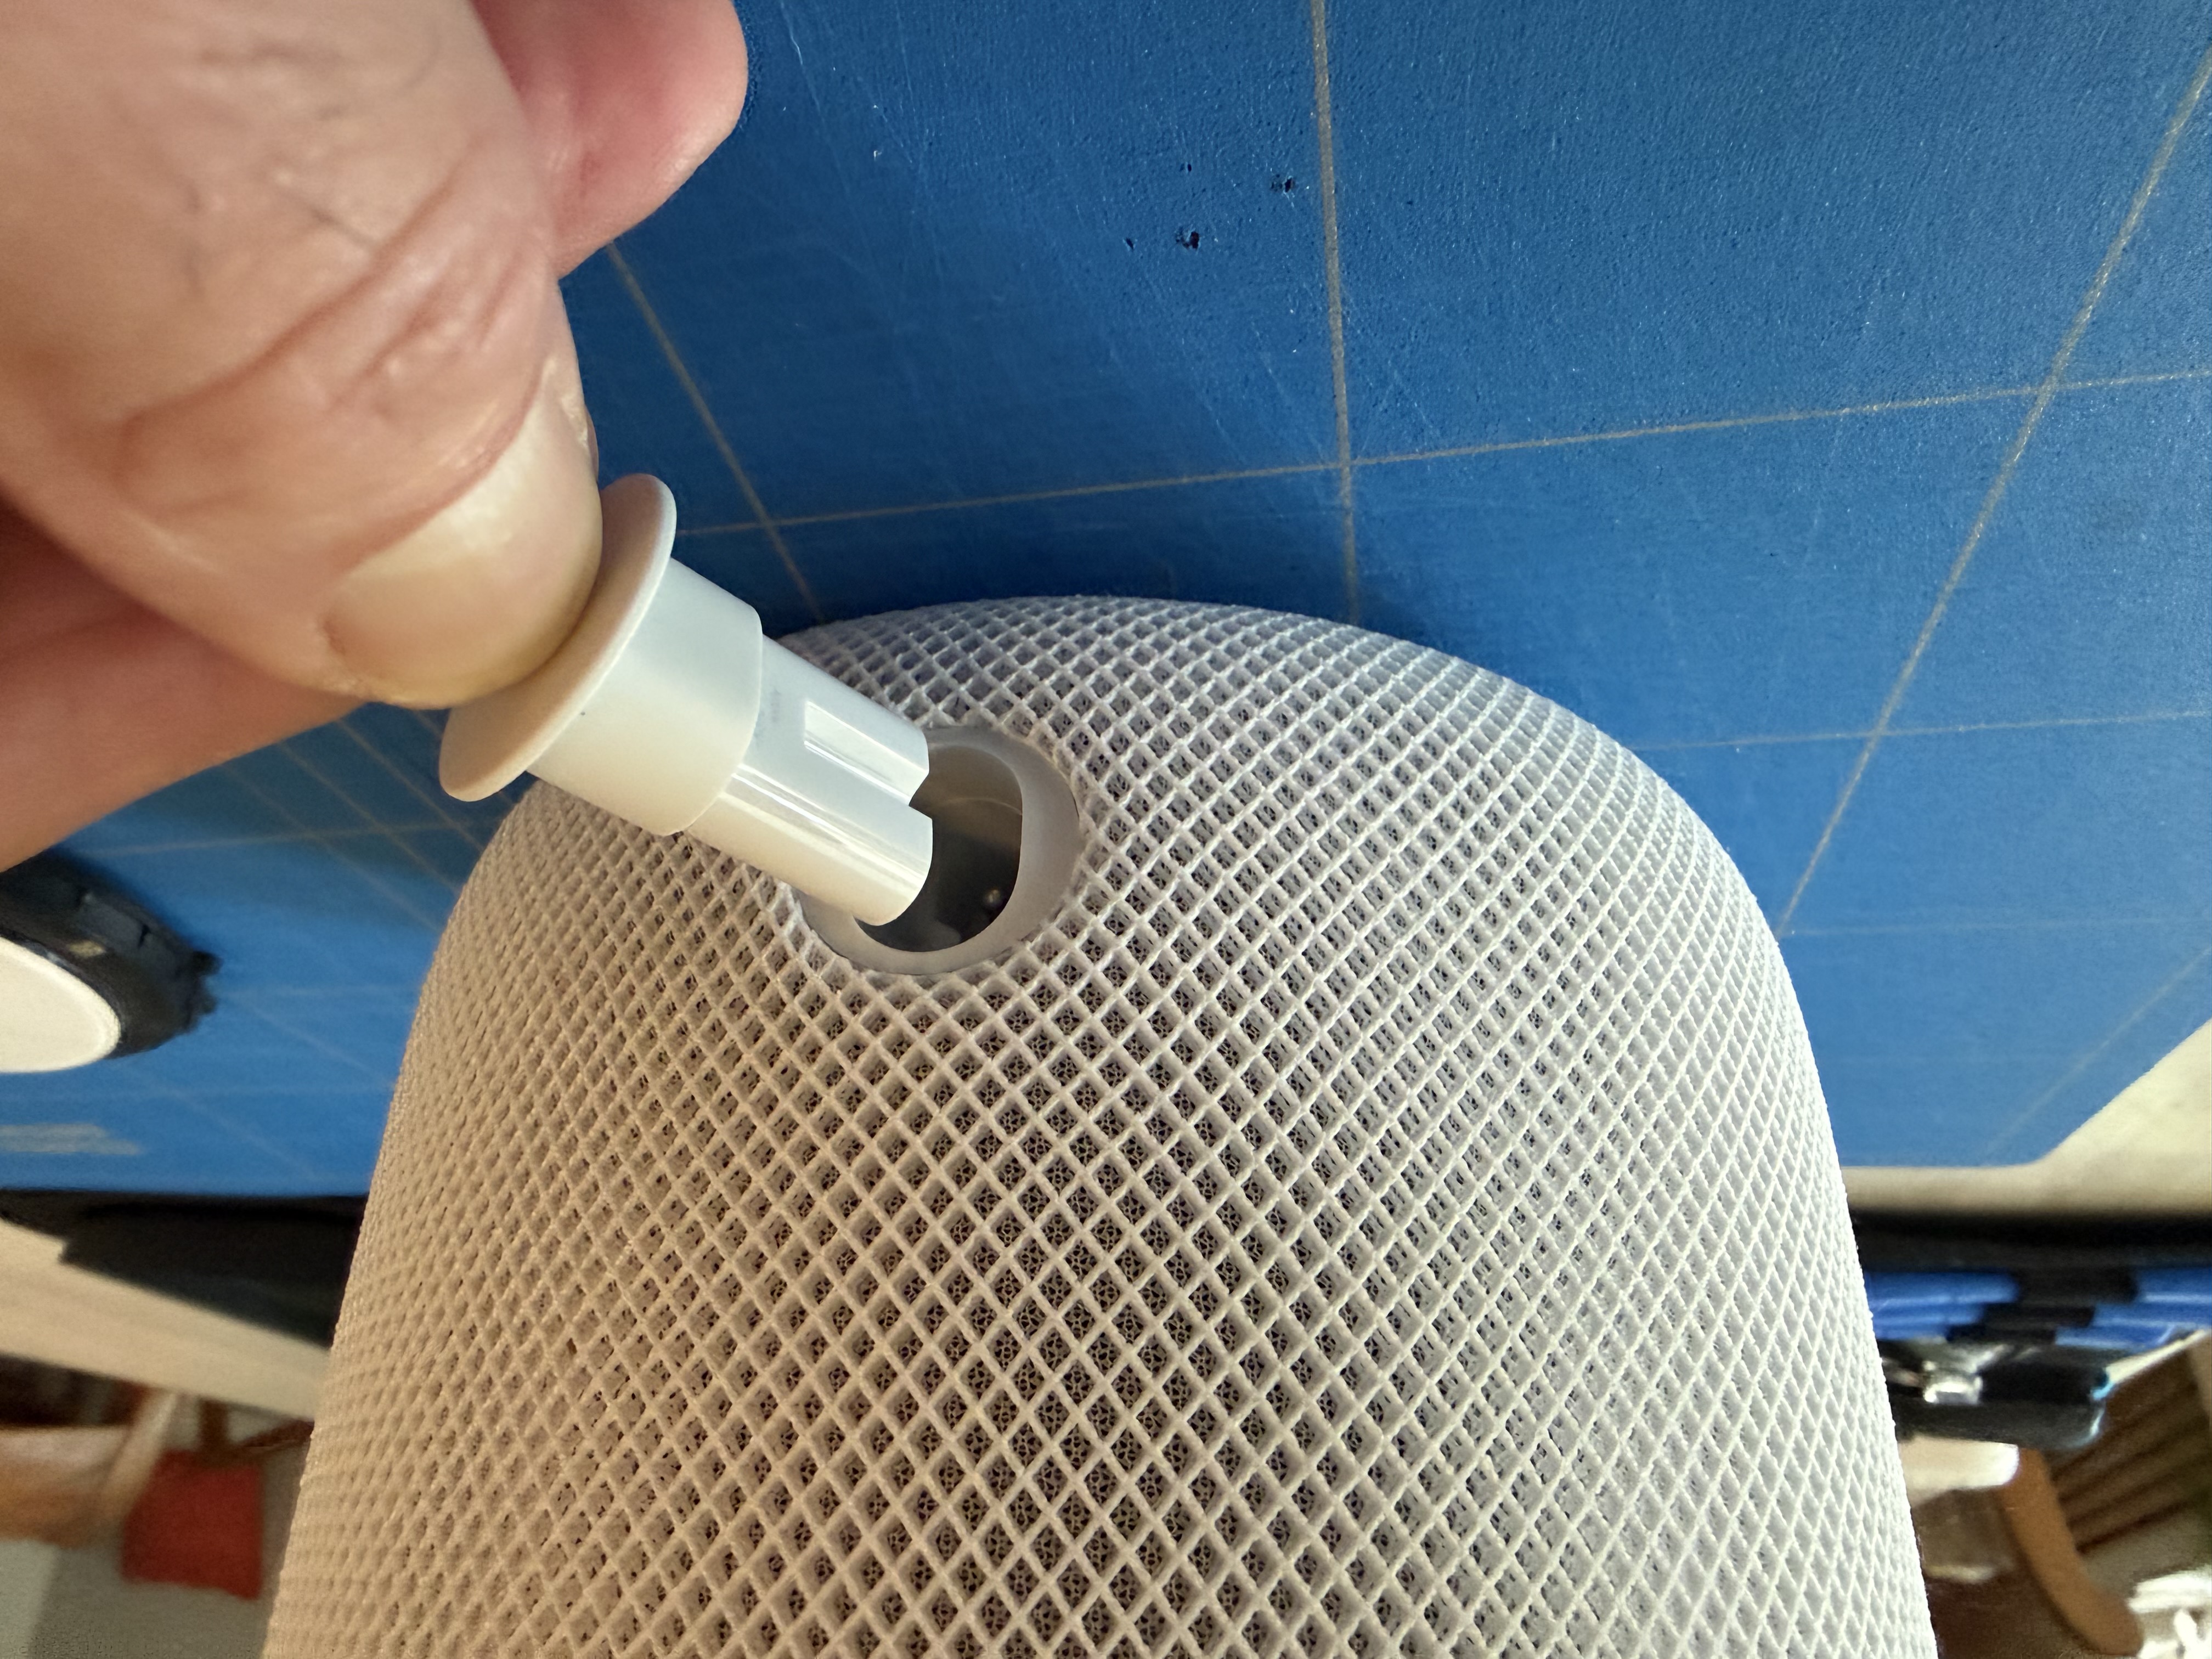
- Unplug the HomePod by pulling on the cord.
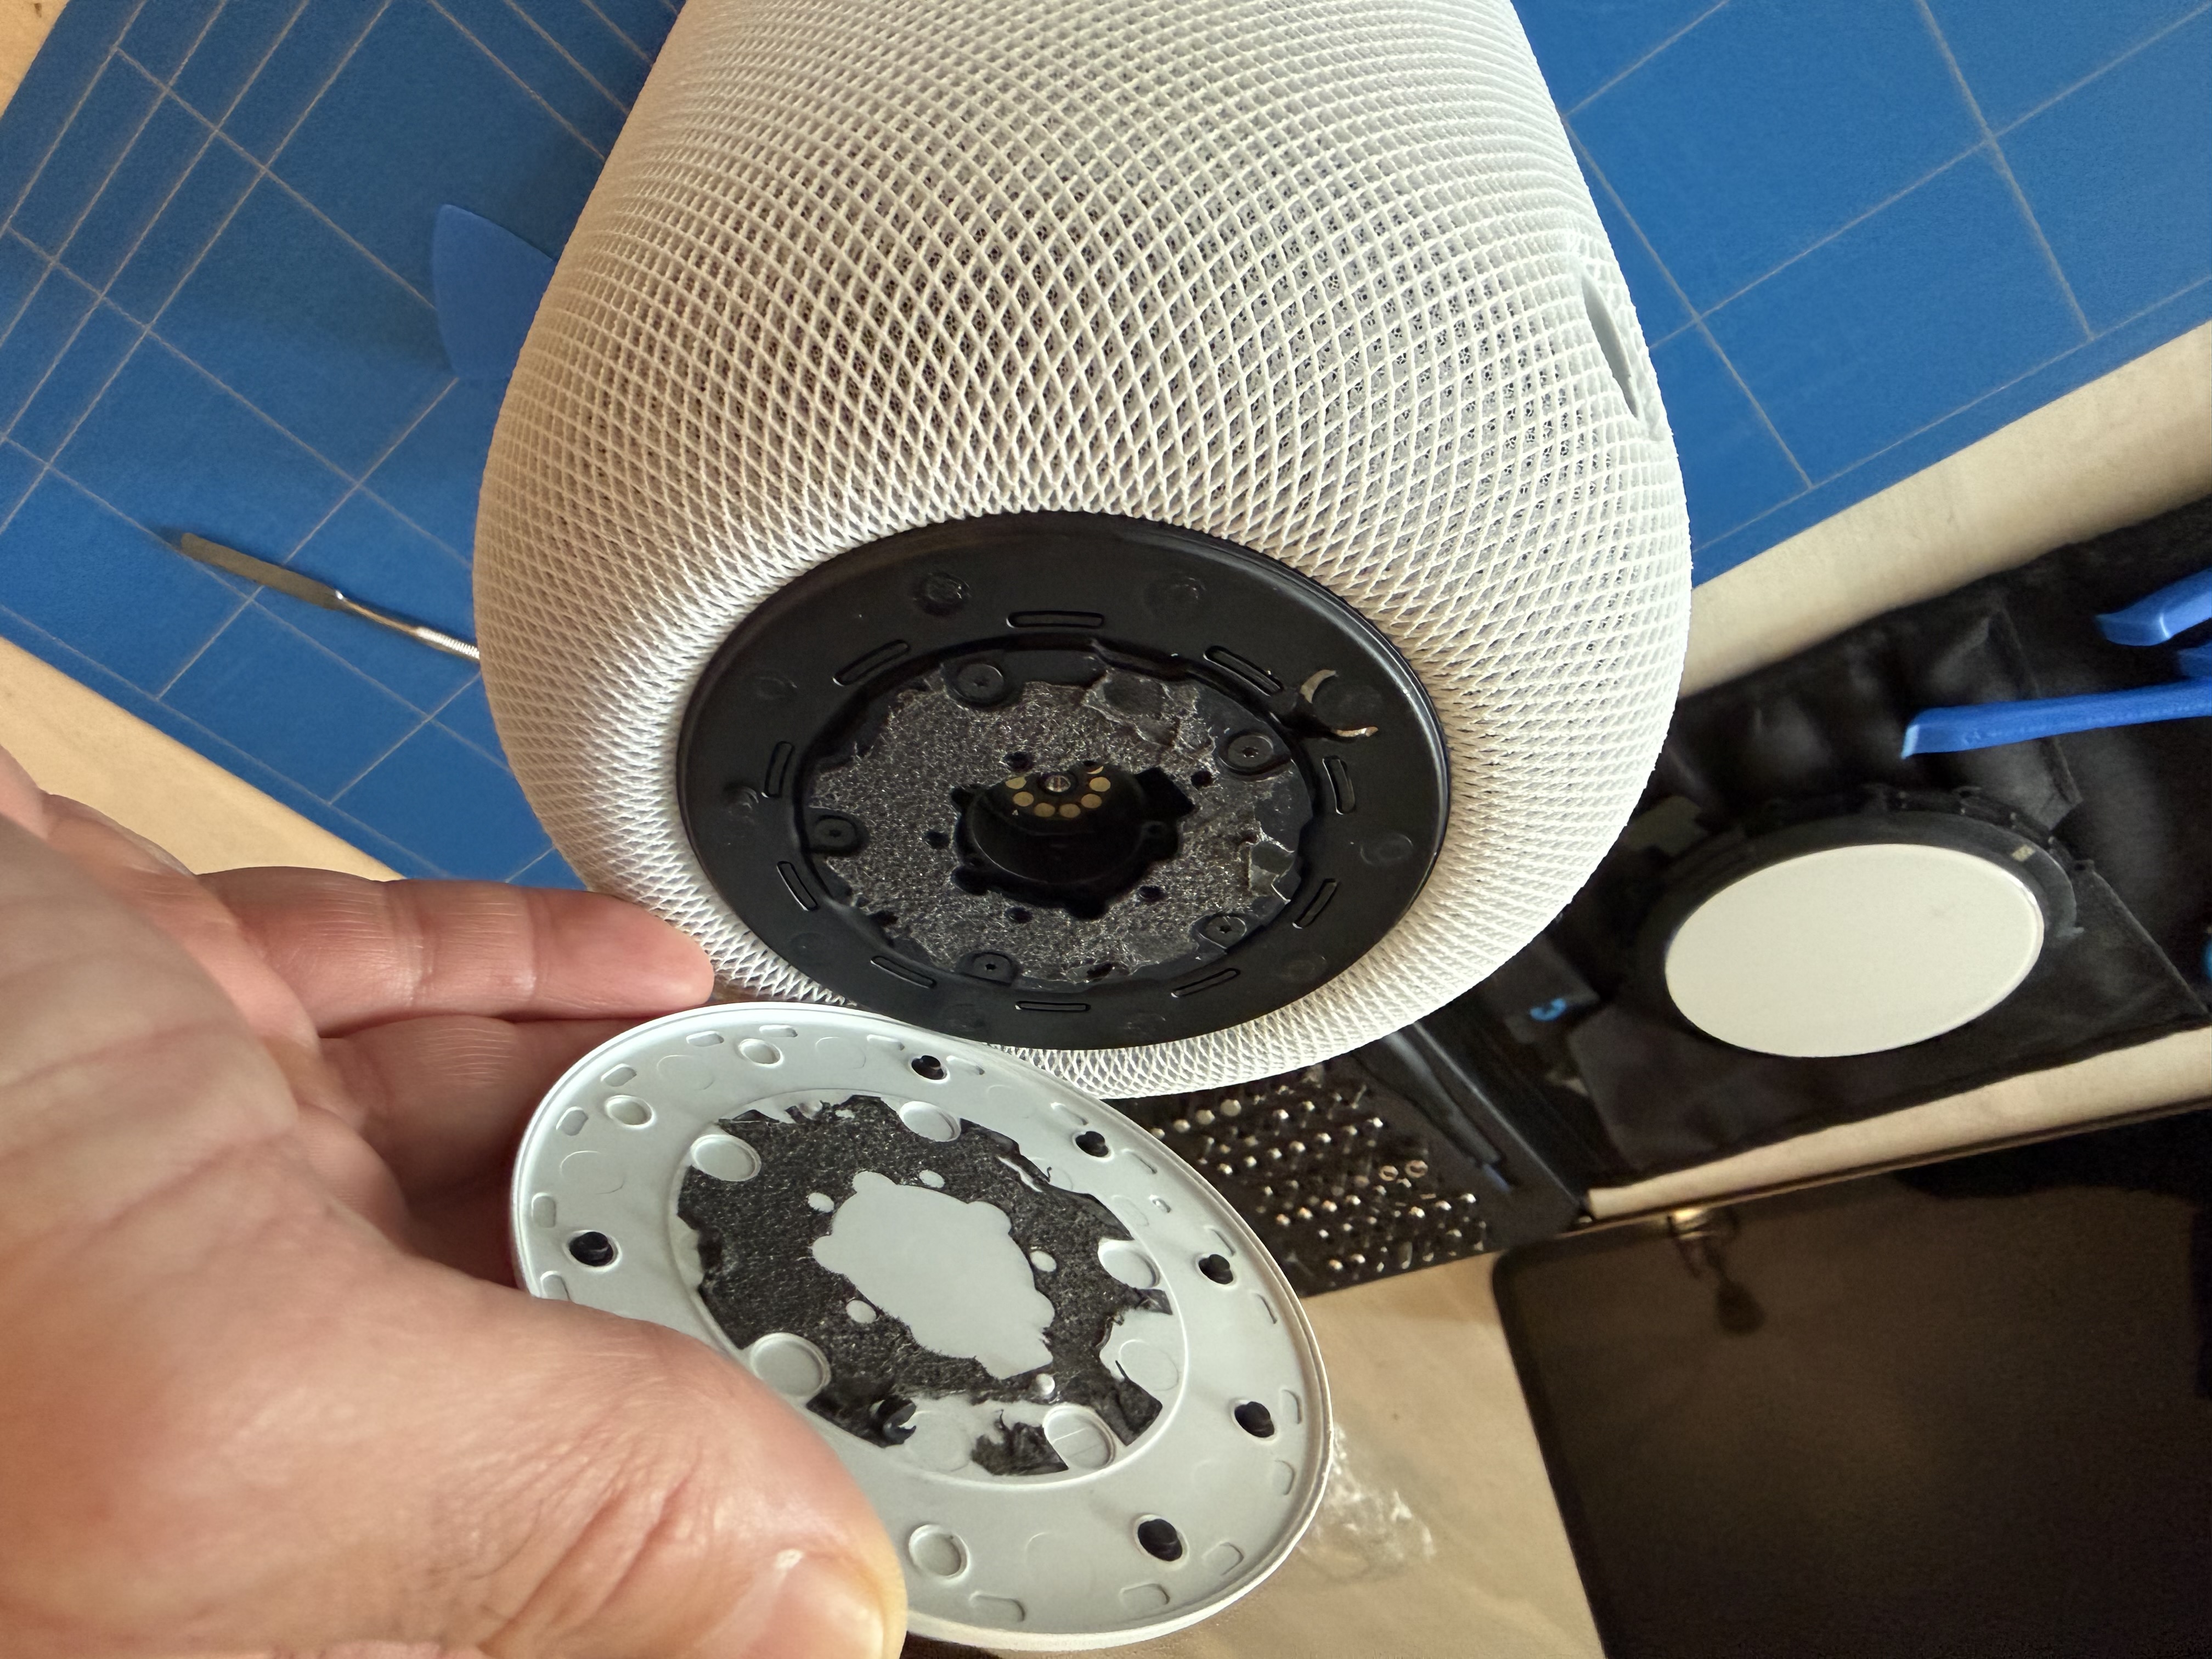
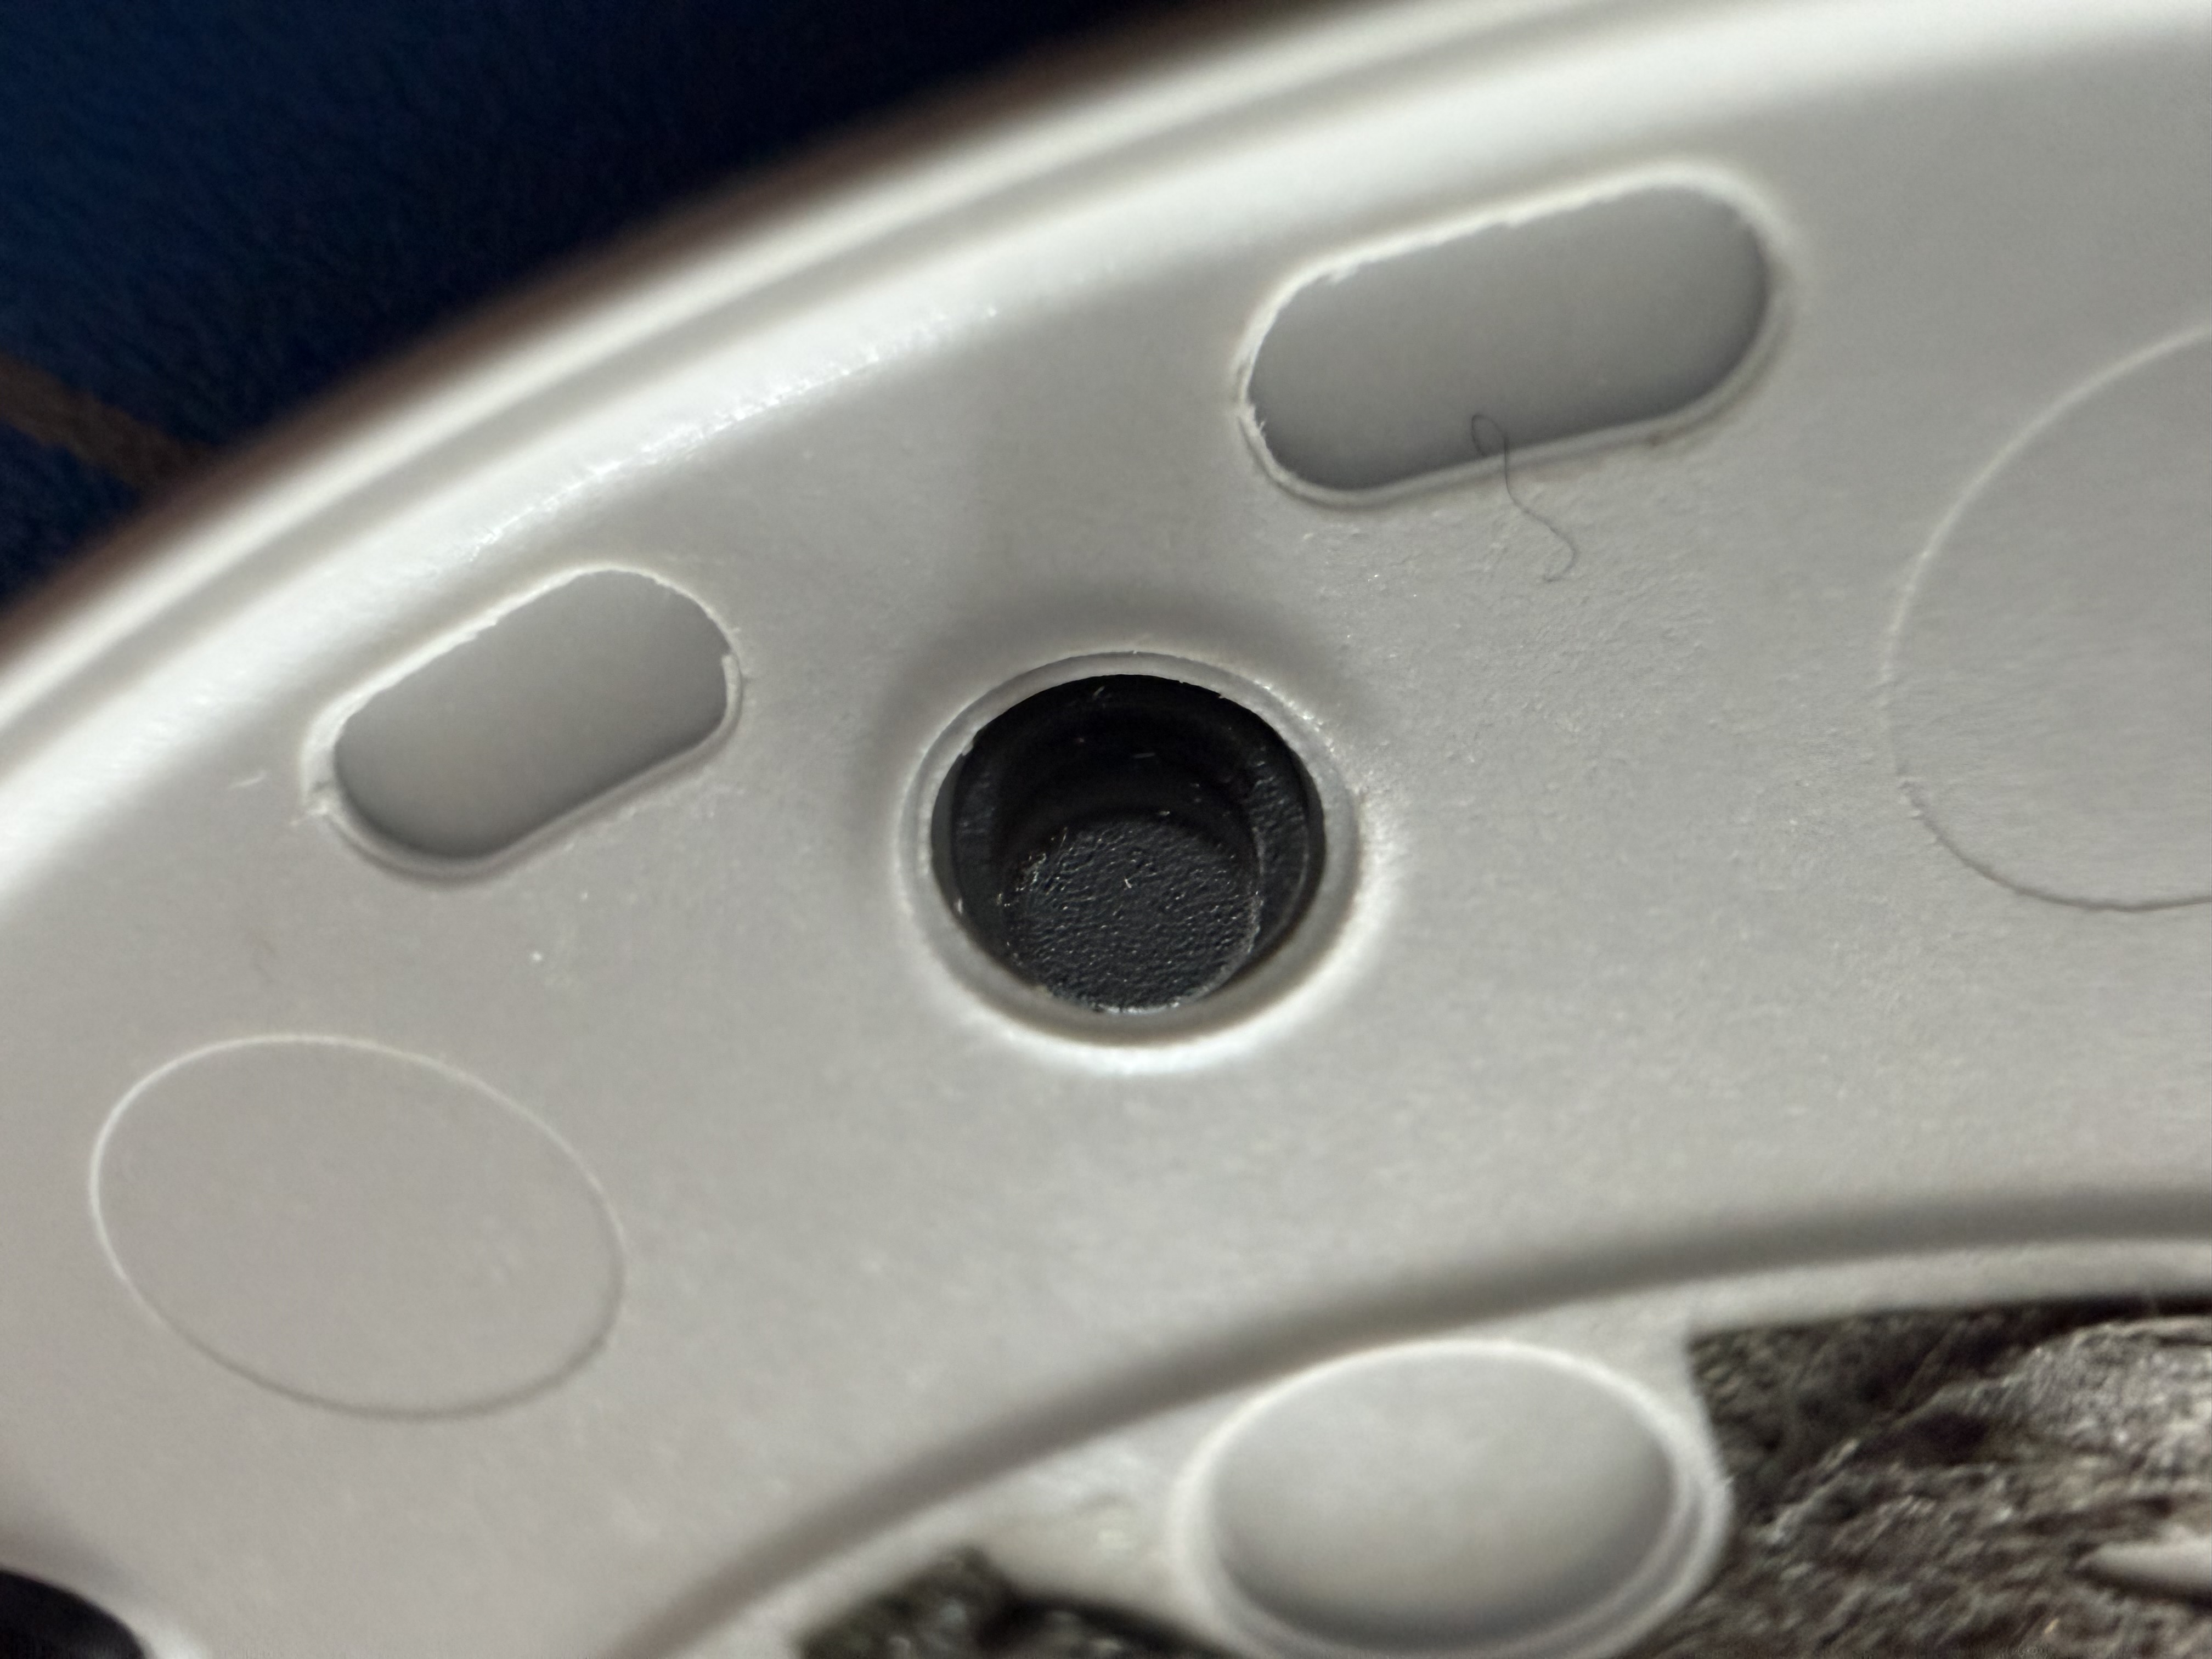
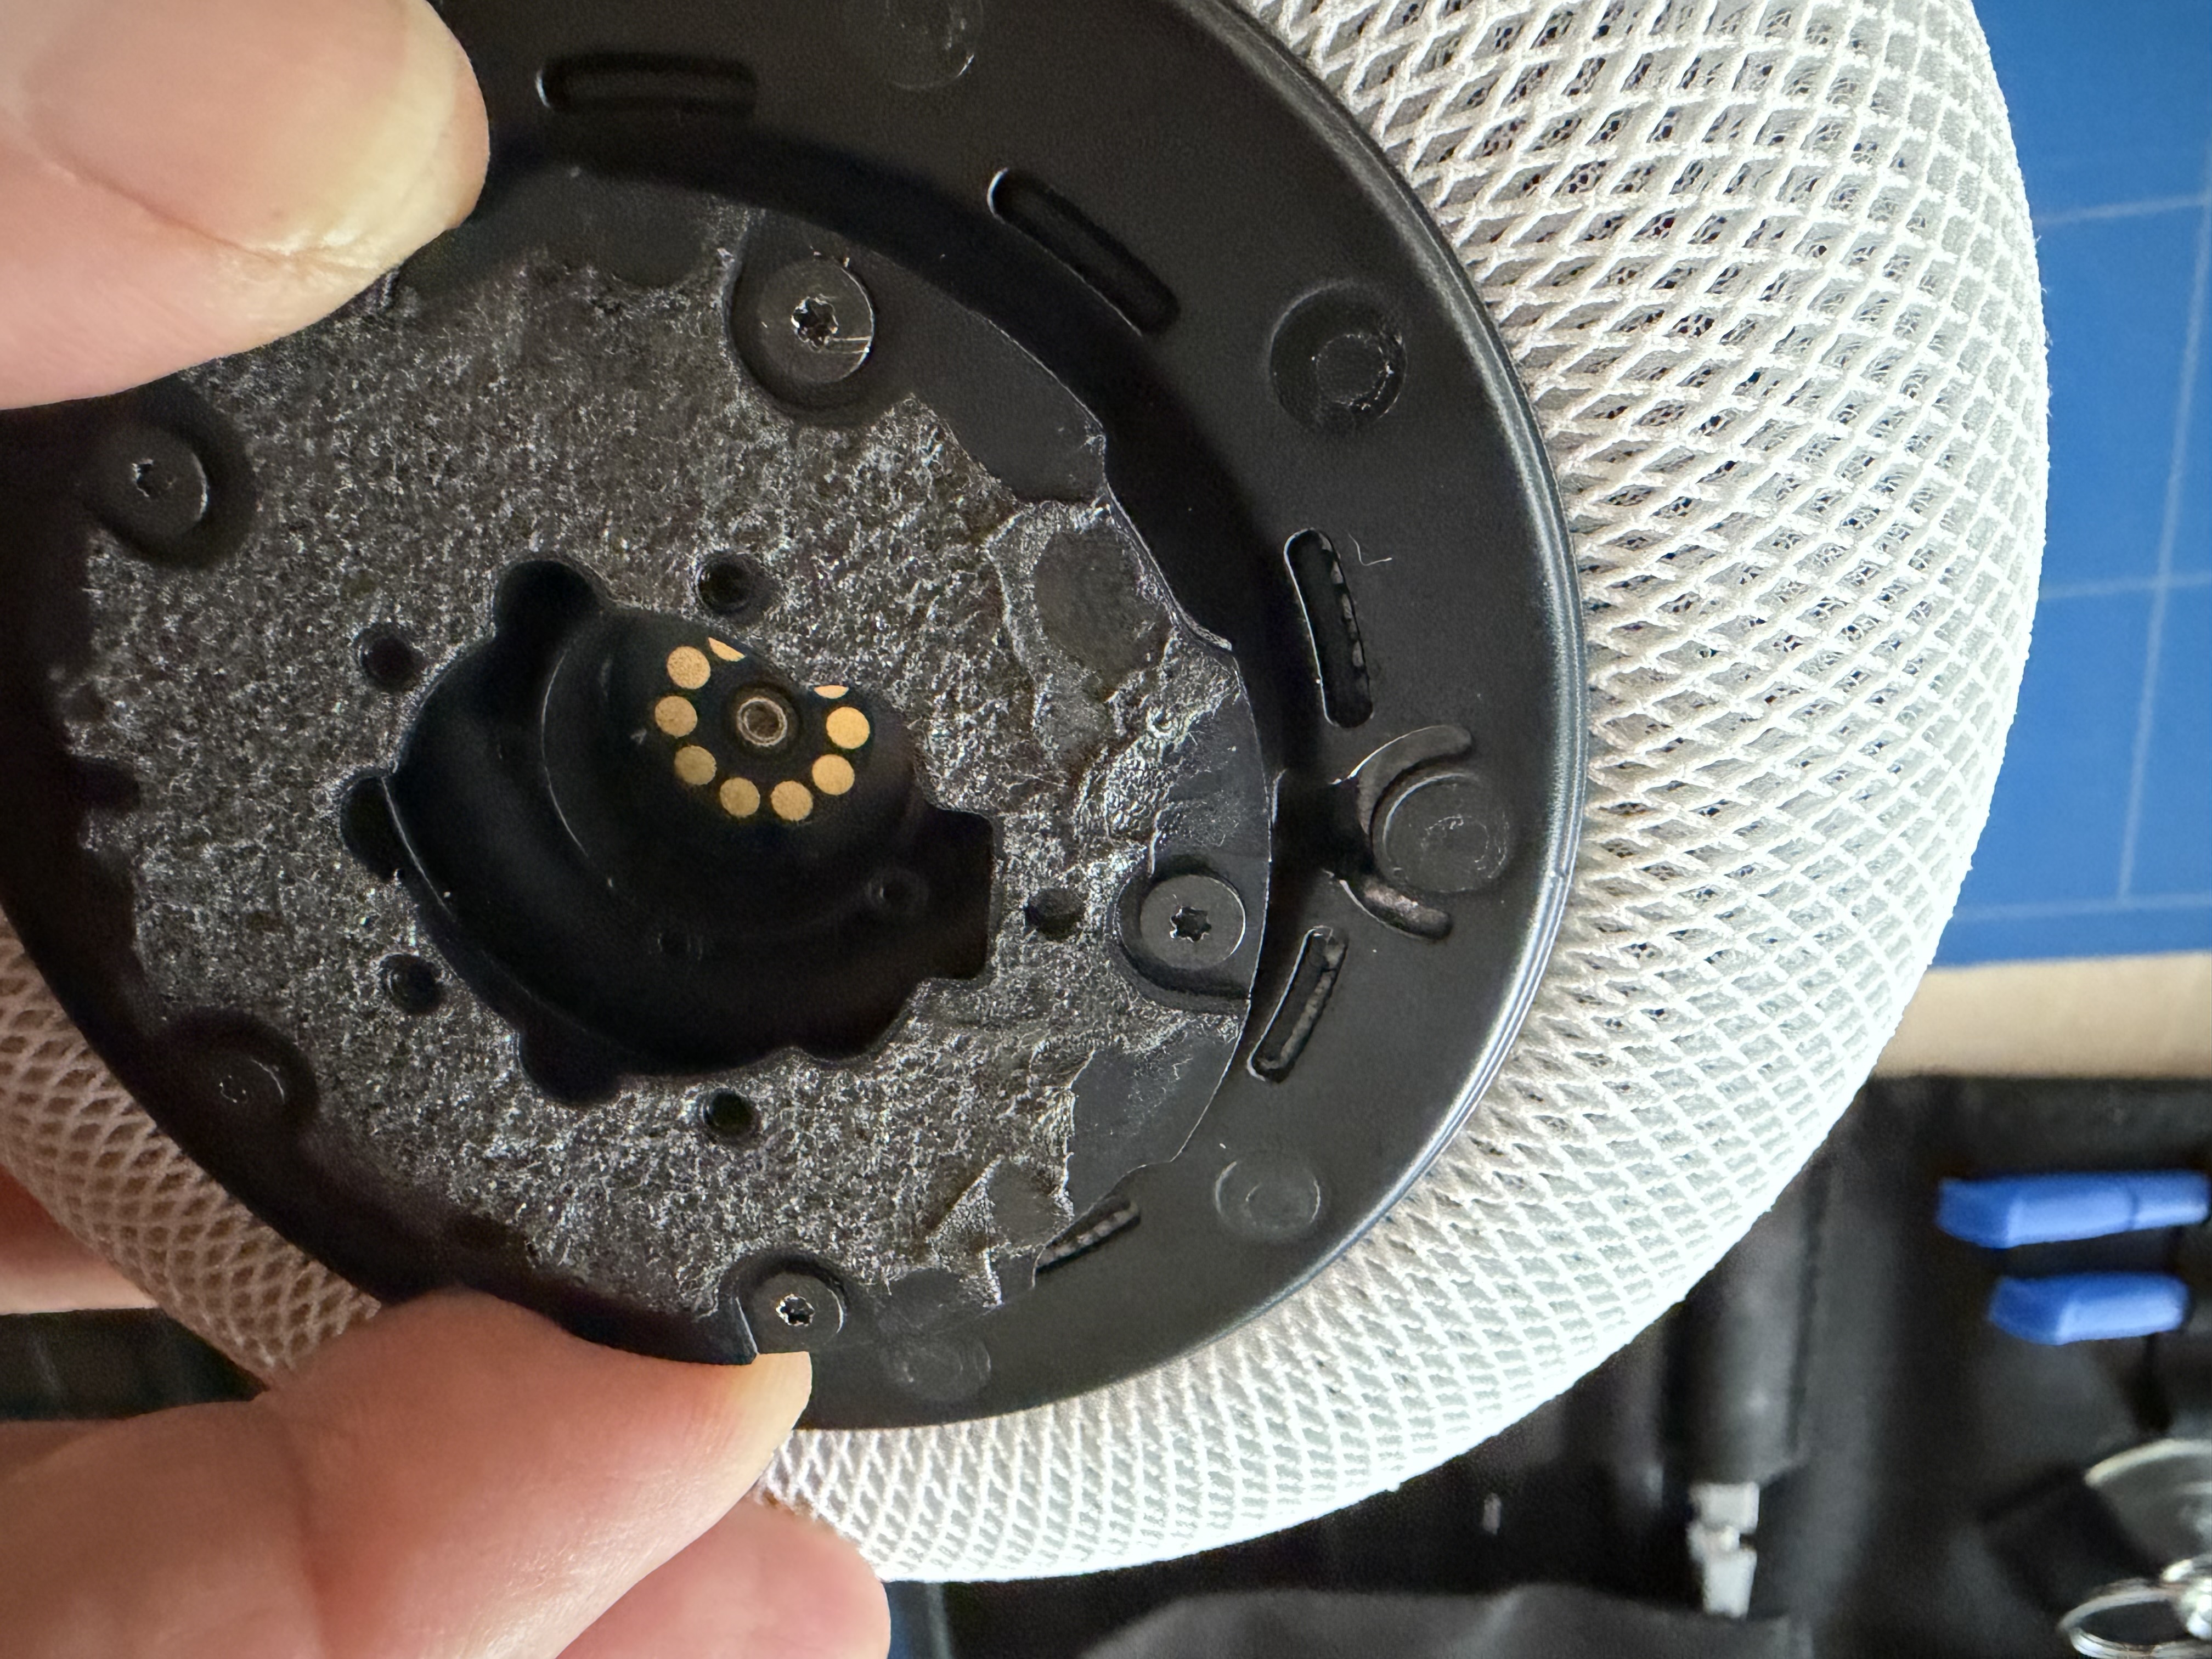
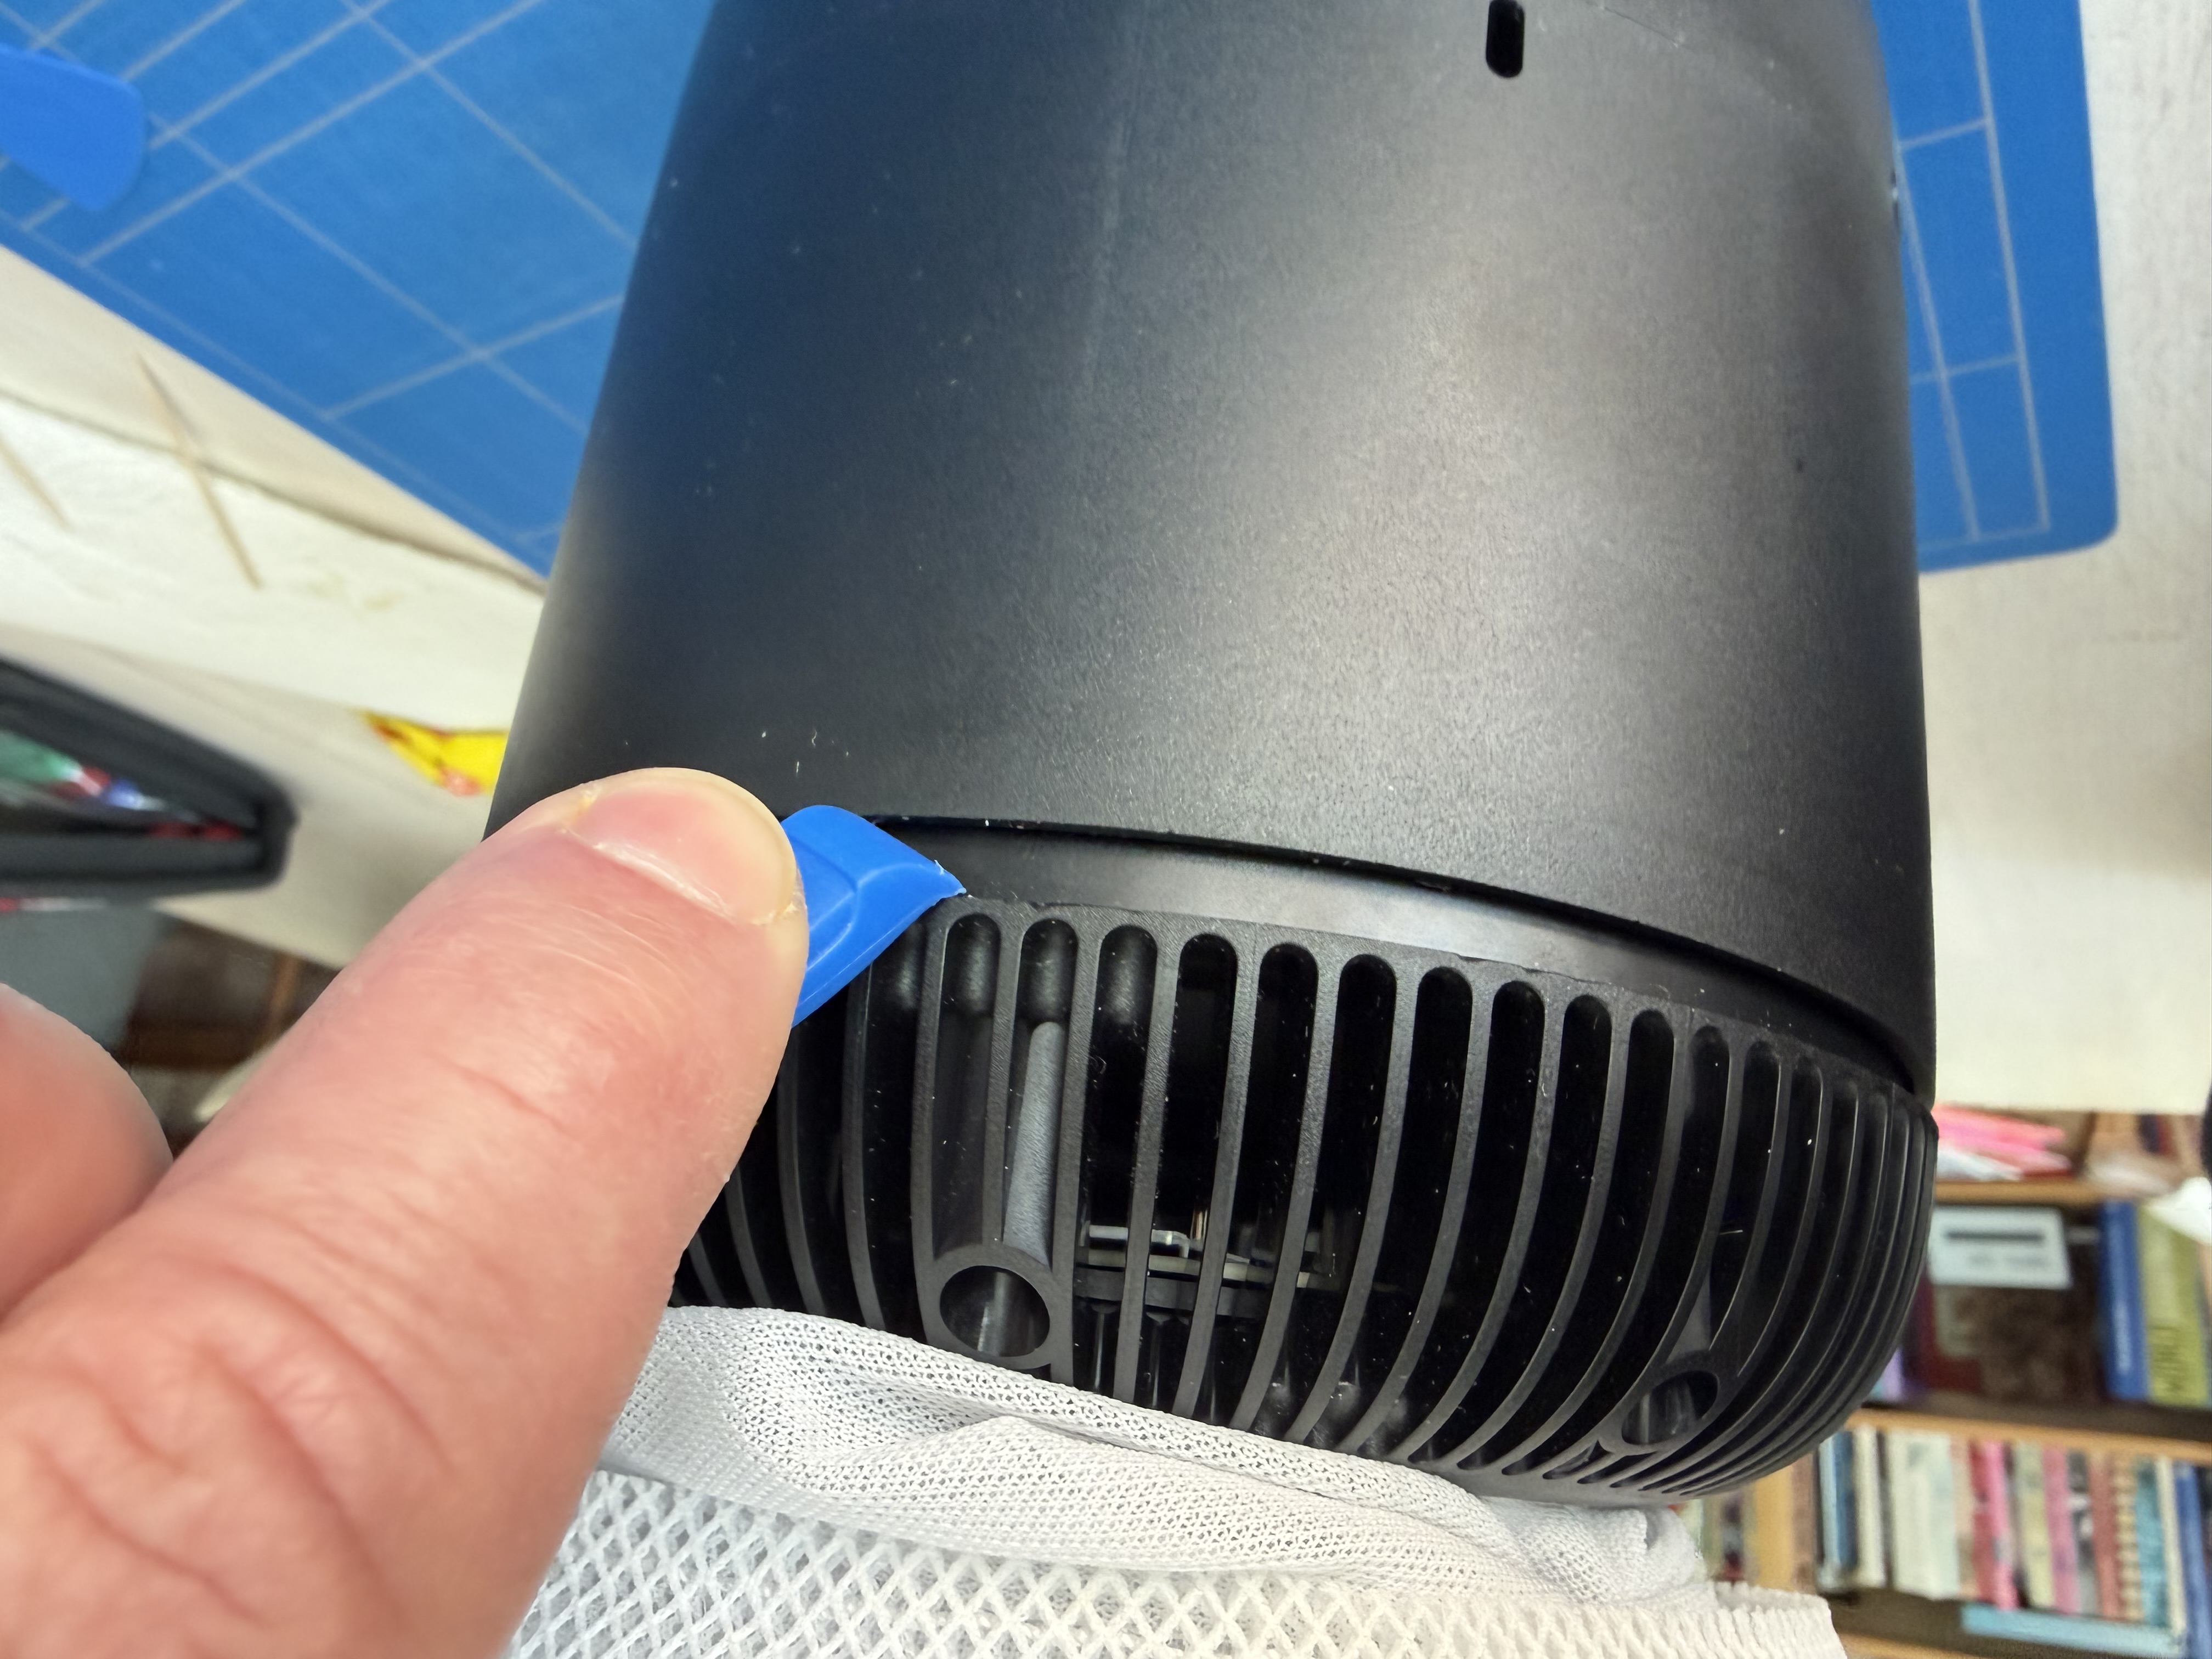
- Pry up the base with a pry tool, working slowly through the adhesive, then lift it off. Don't loose the 10 little black nubbins stuck under the plate.
- Remove the 5 T6 Torx screws underneath. Then lift off the plastic piece and the metal piece. The holes contain little washers, don't loose them either.
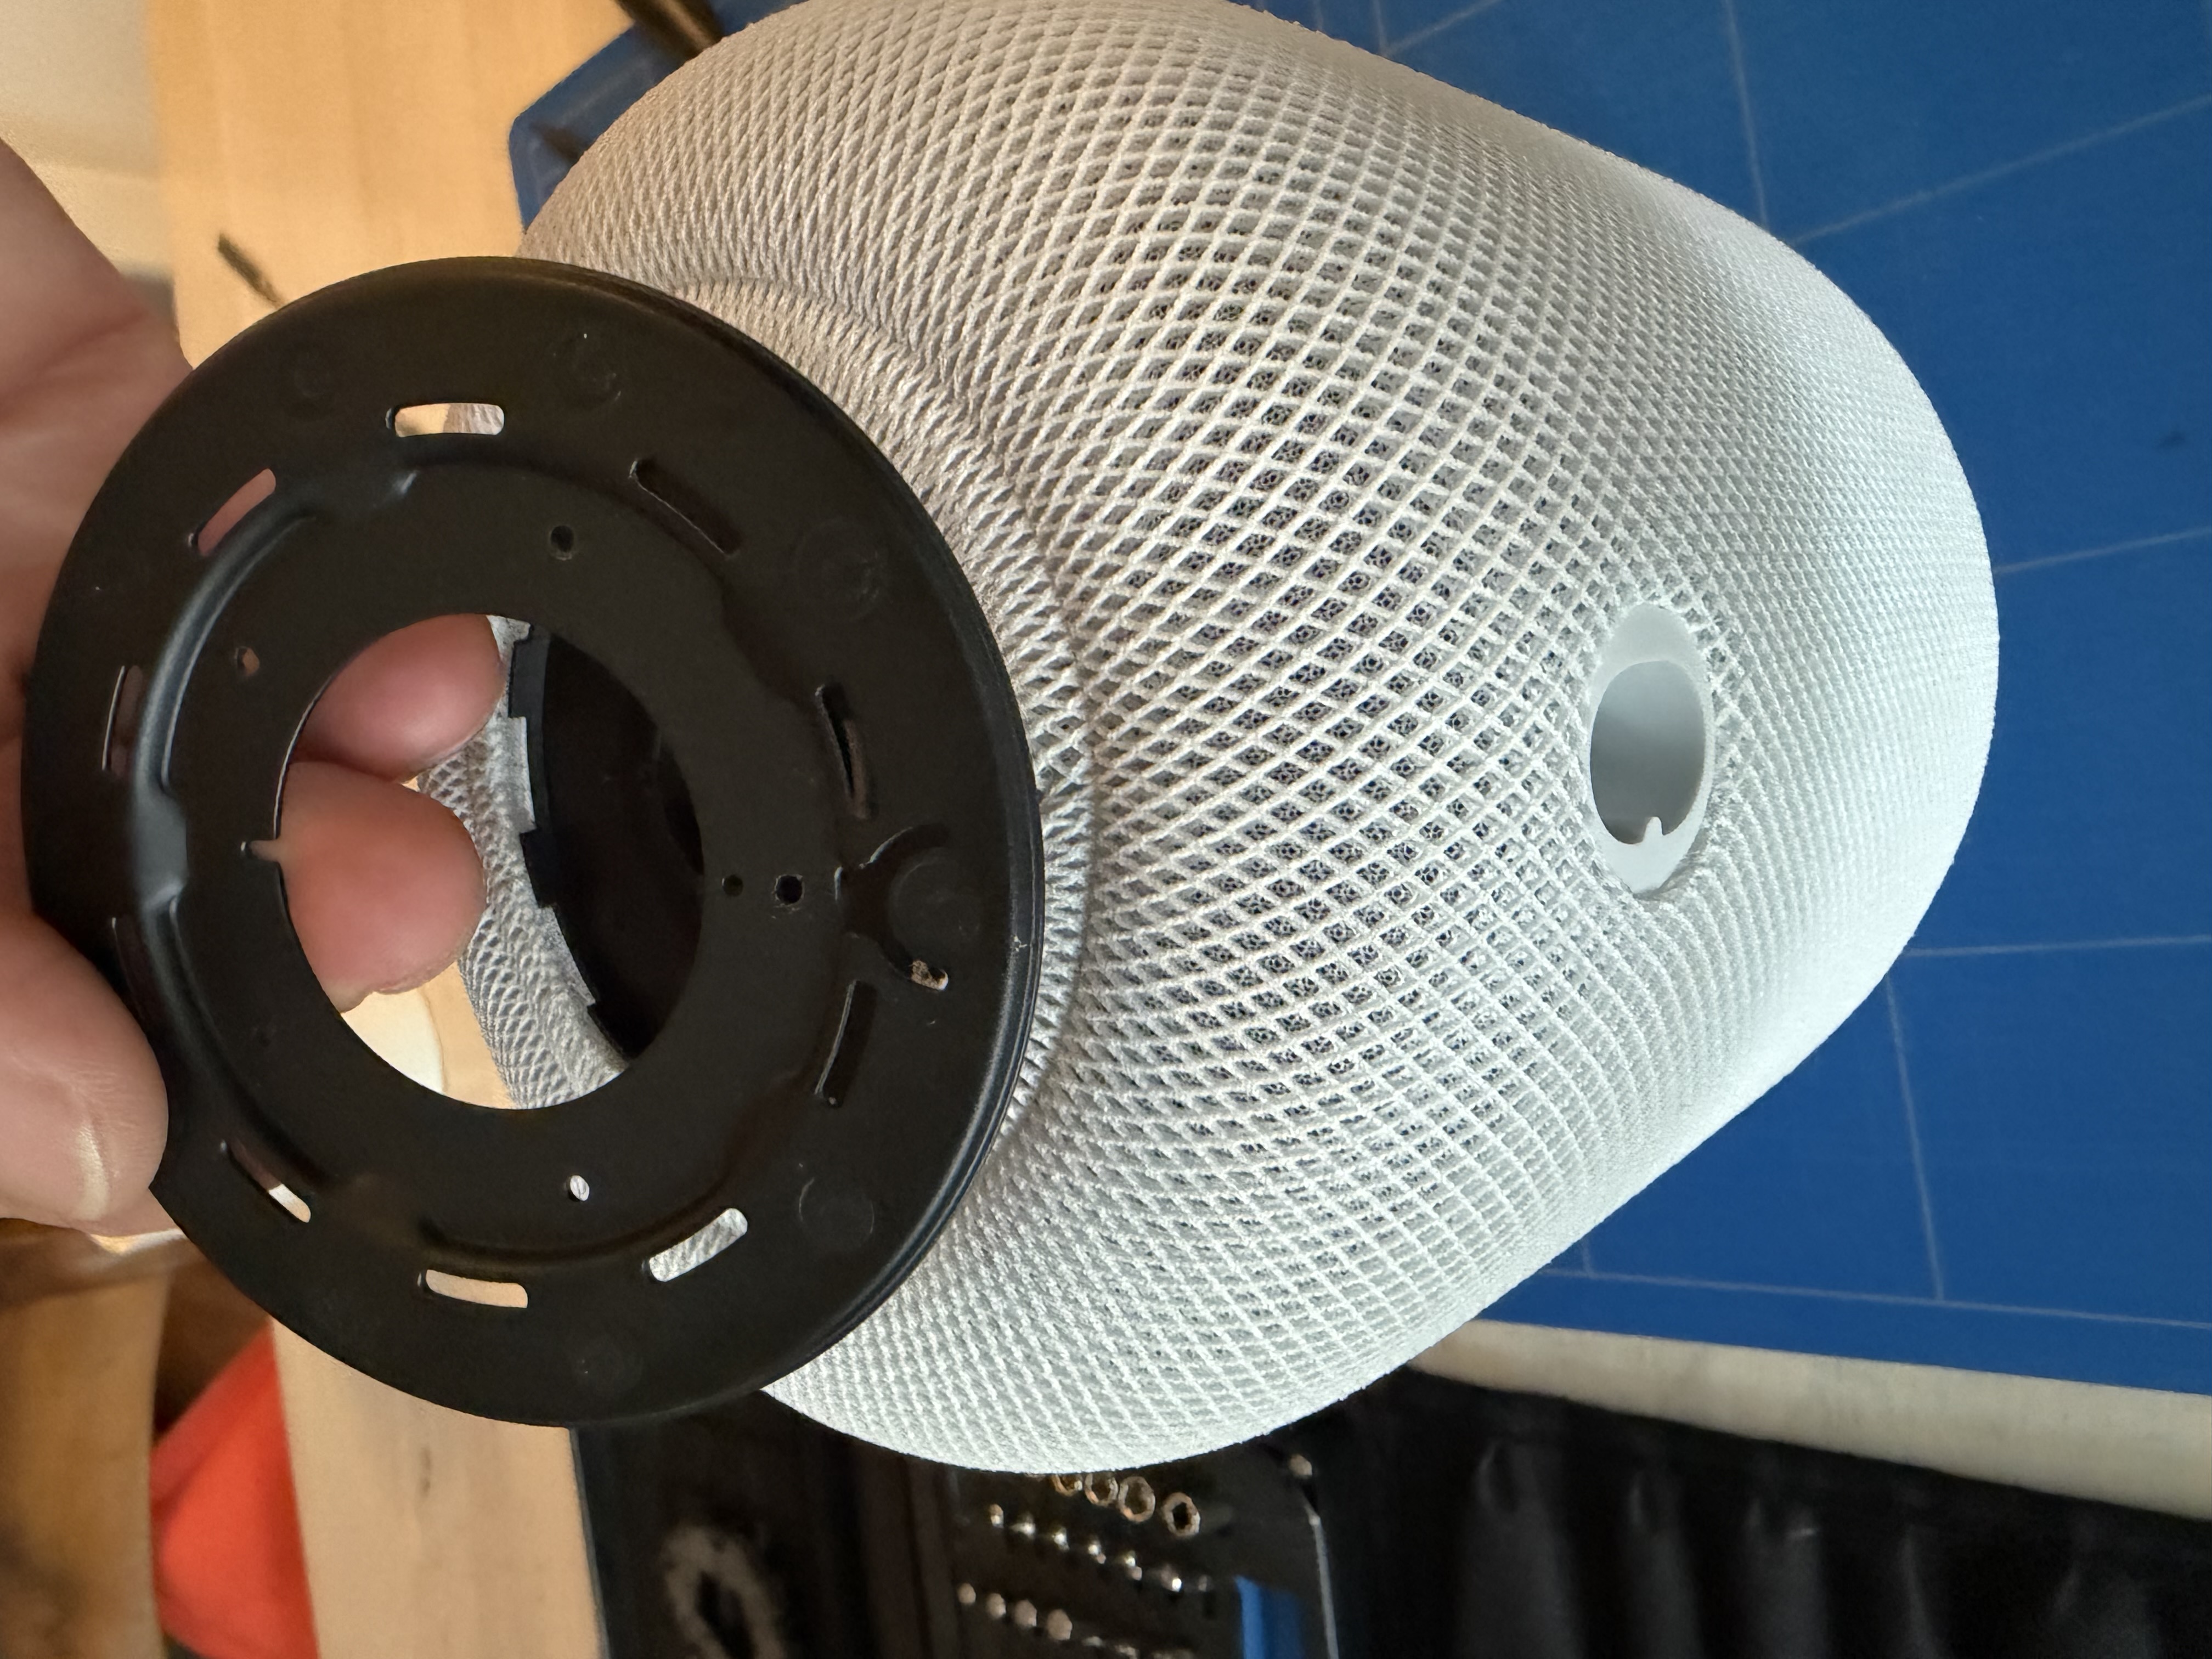
2. Remove the mesh fabric
- Cut the drawstring around the top of the outer mesh.
- Cut the drawstring on the second, inner layer of mesh too.
- Hold the fabric around the power port and give it a firm pull to free it.
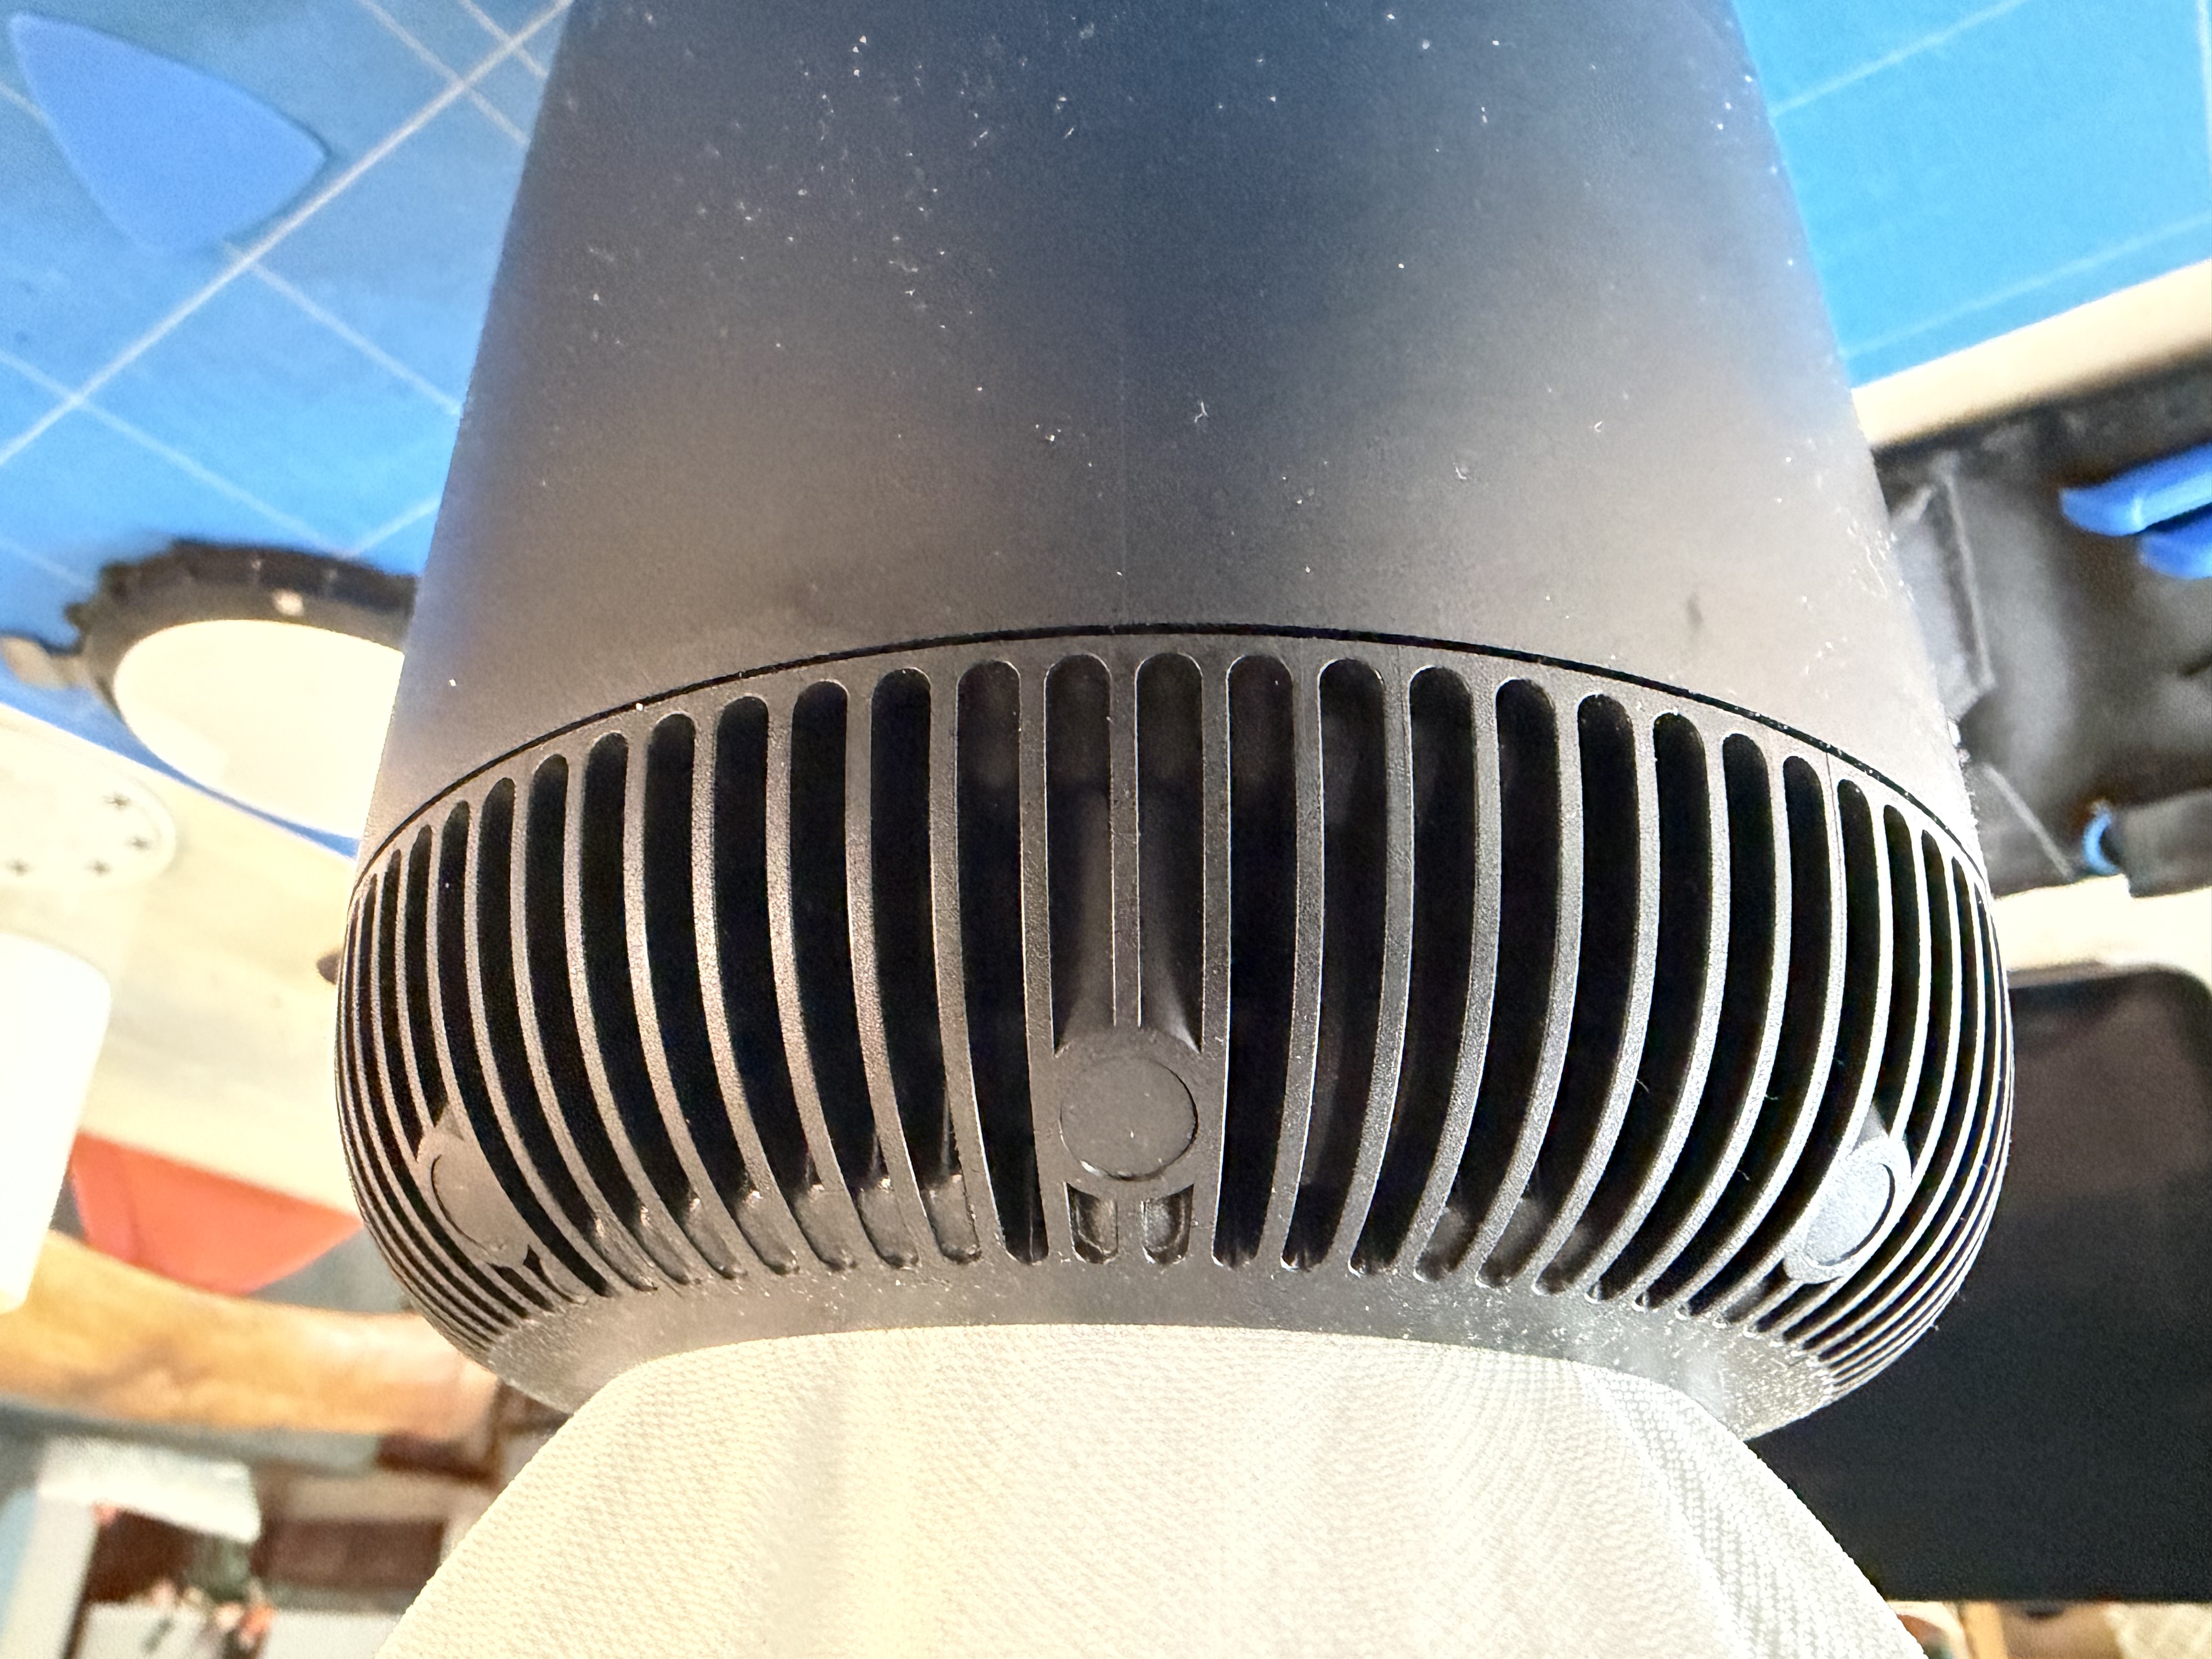
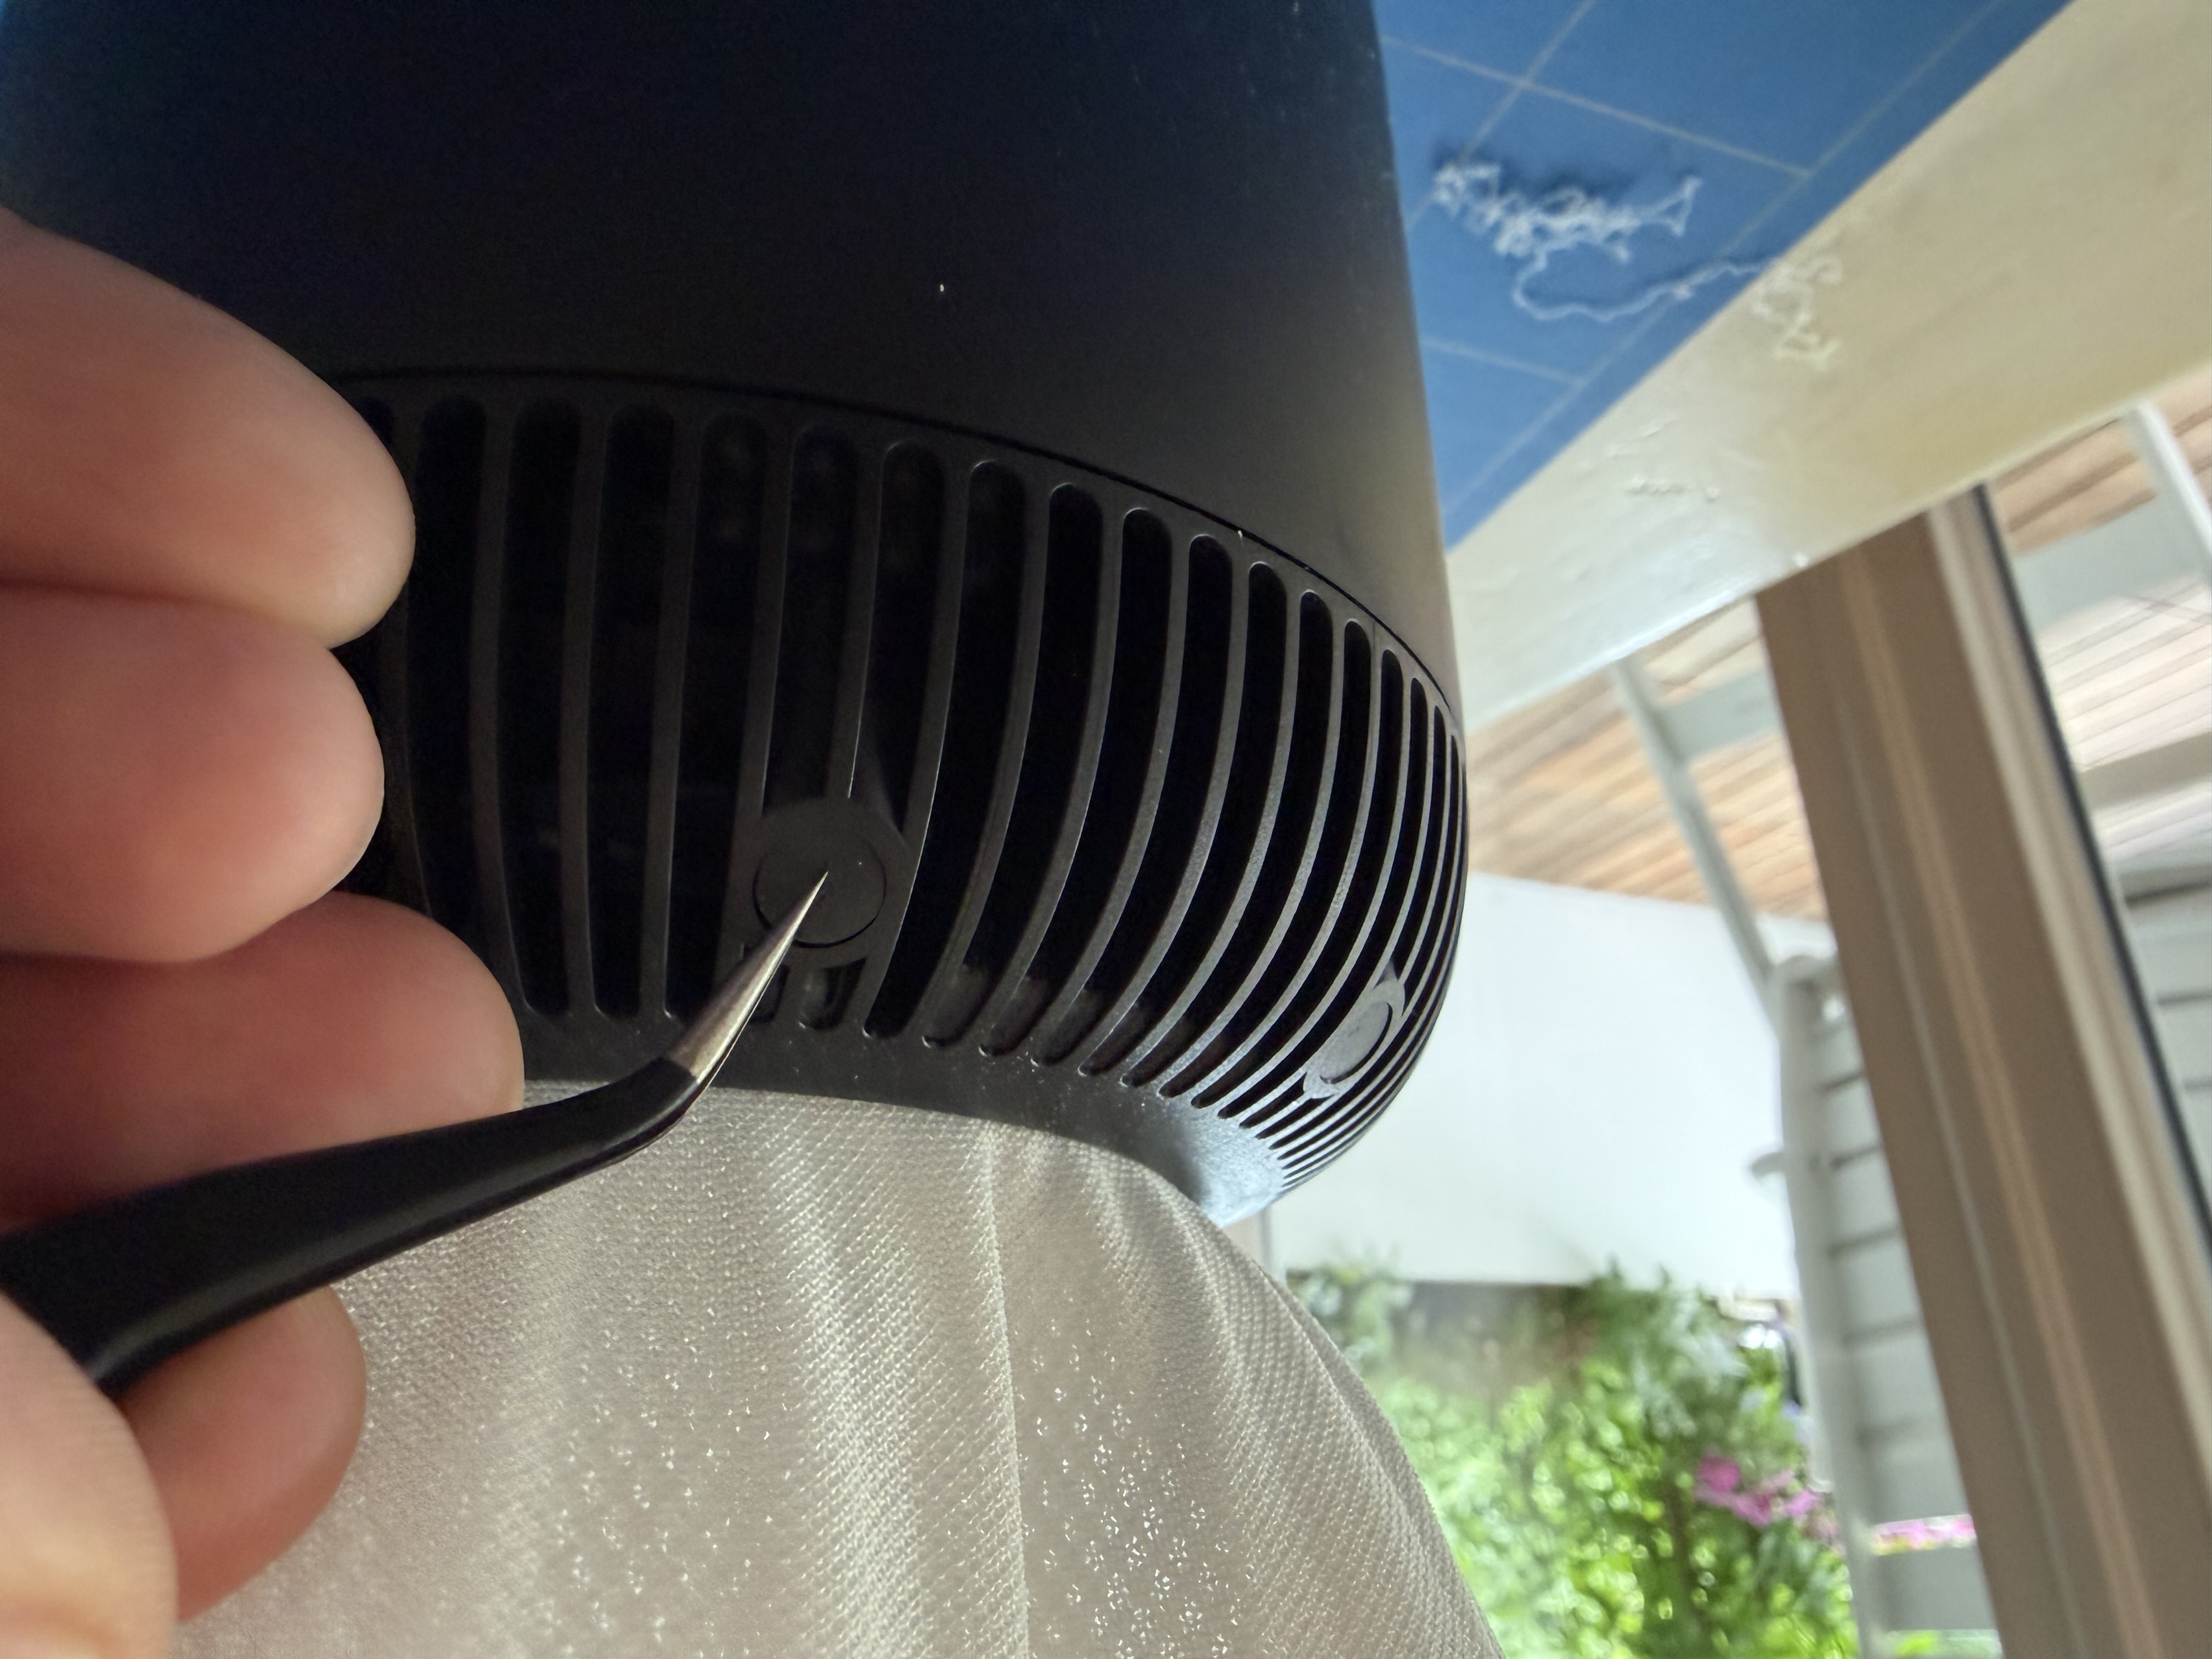
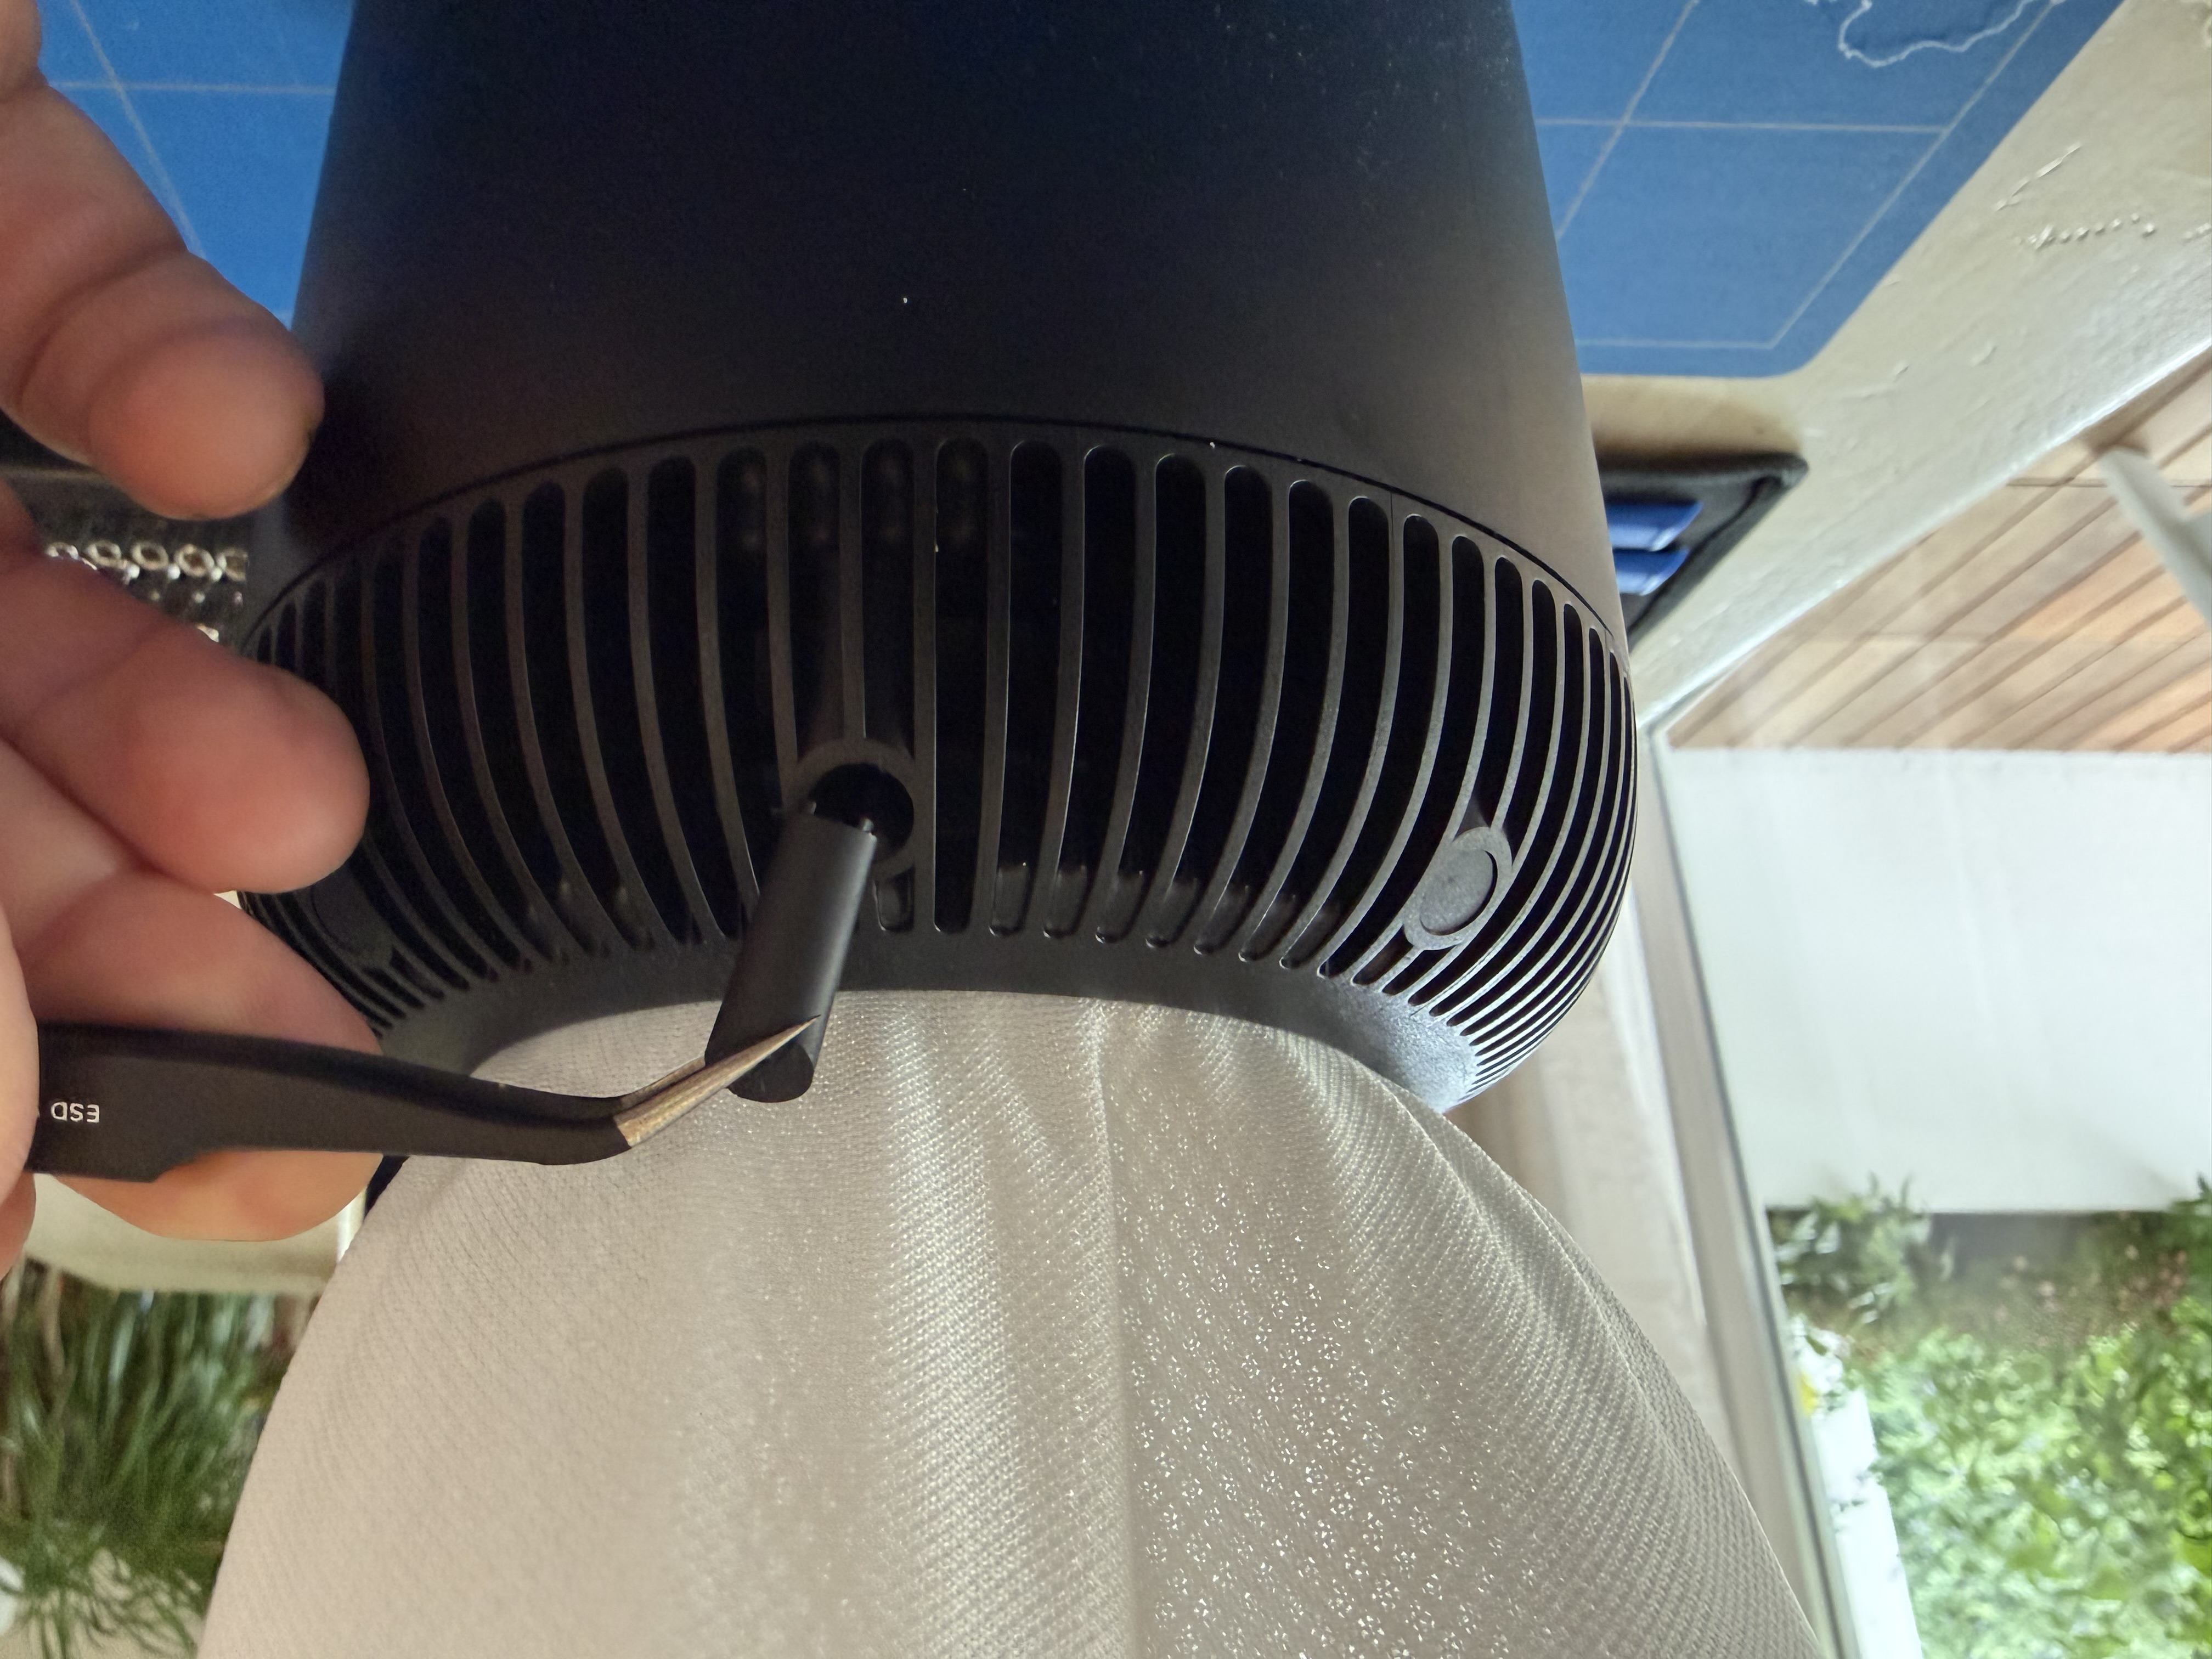
- Turn the HomePod upright again and remove the 8 rubber grommets.
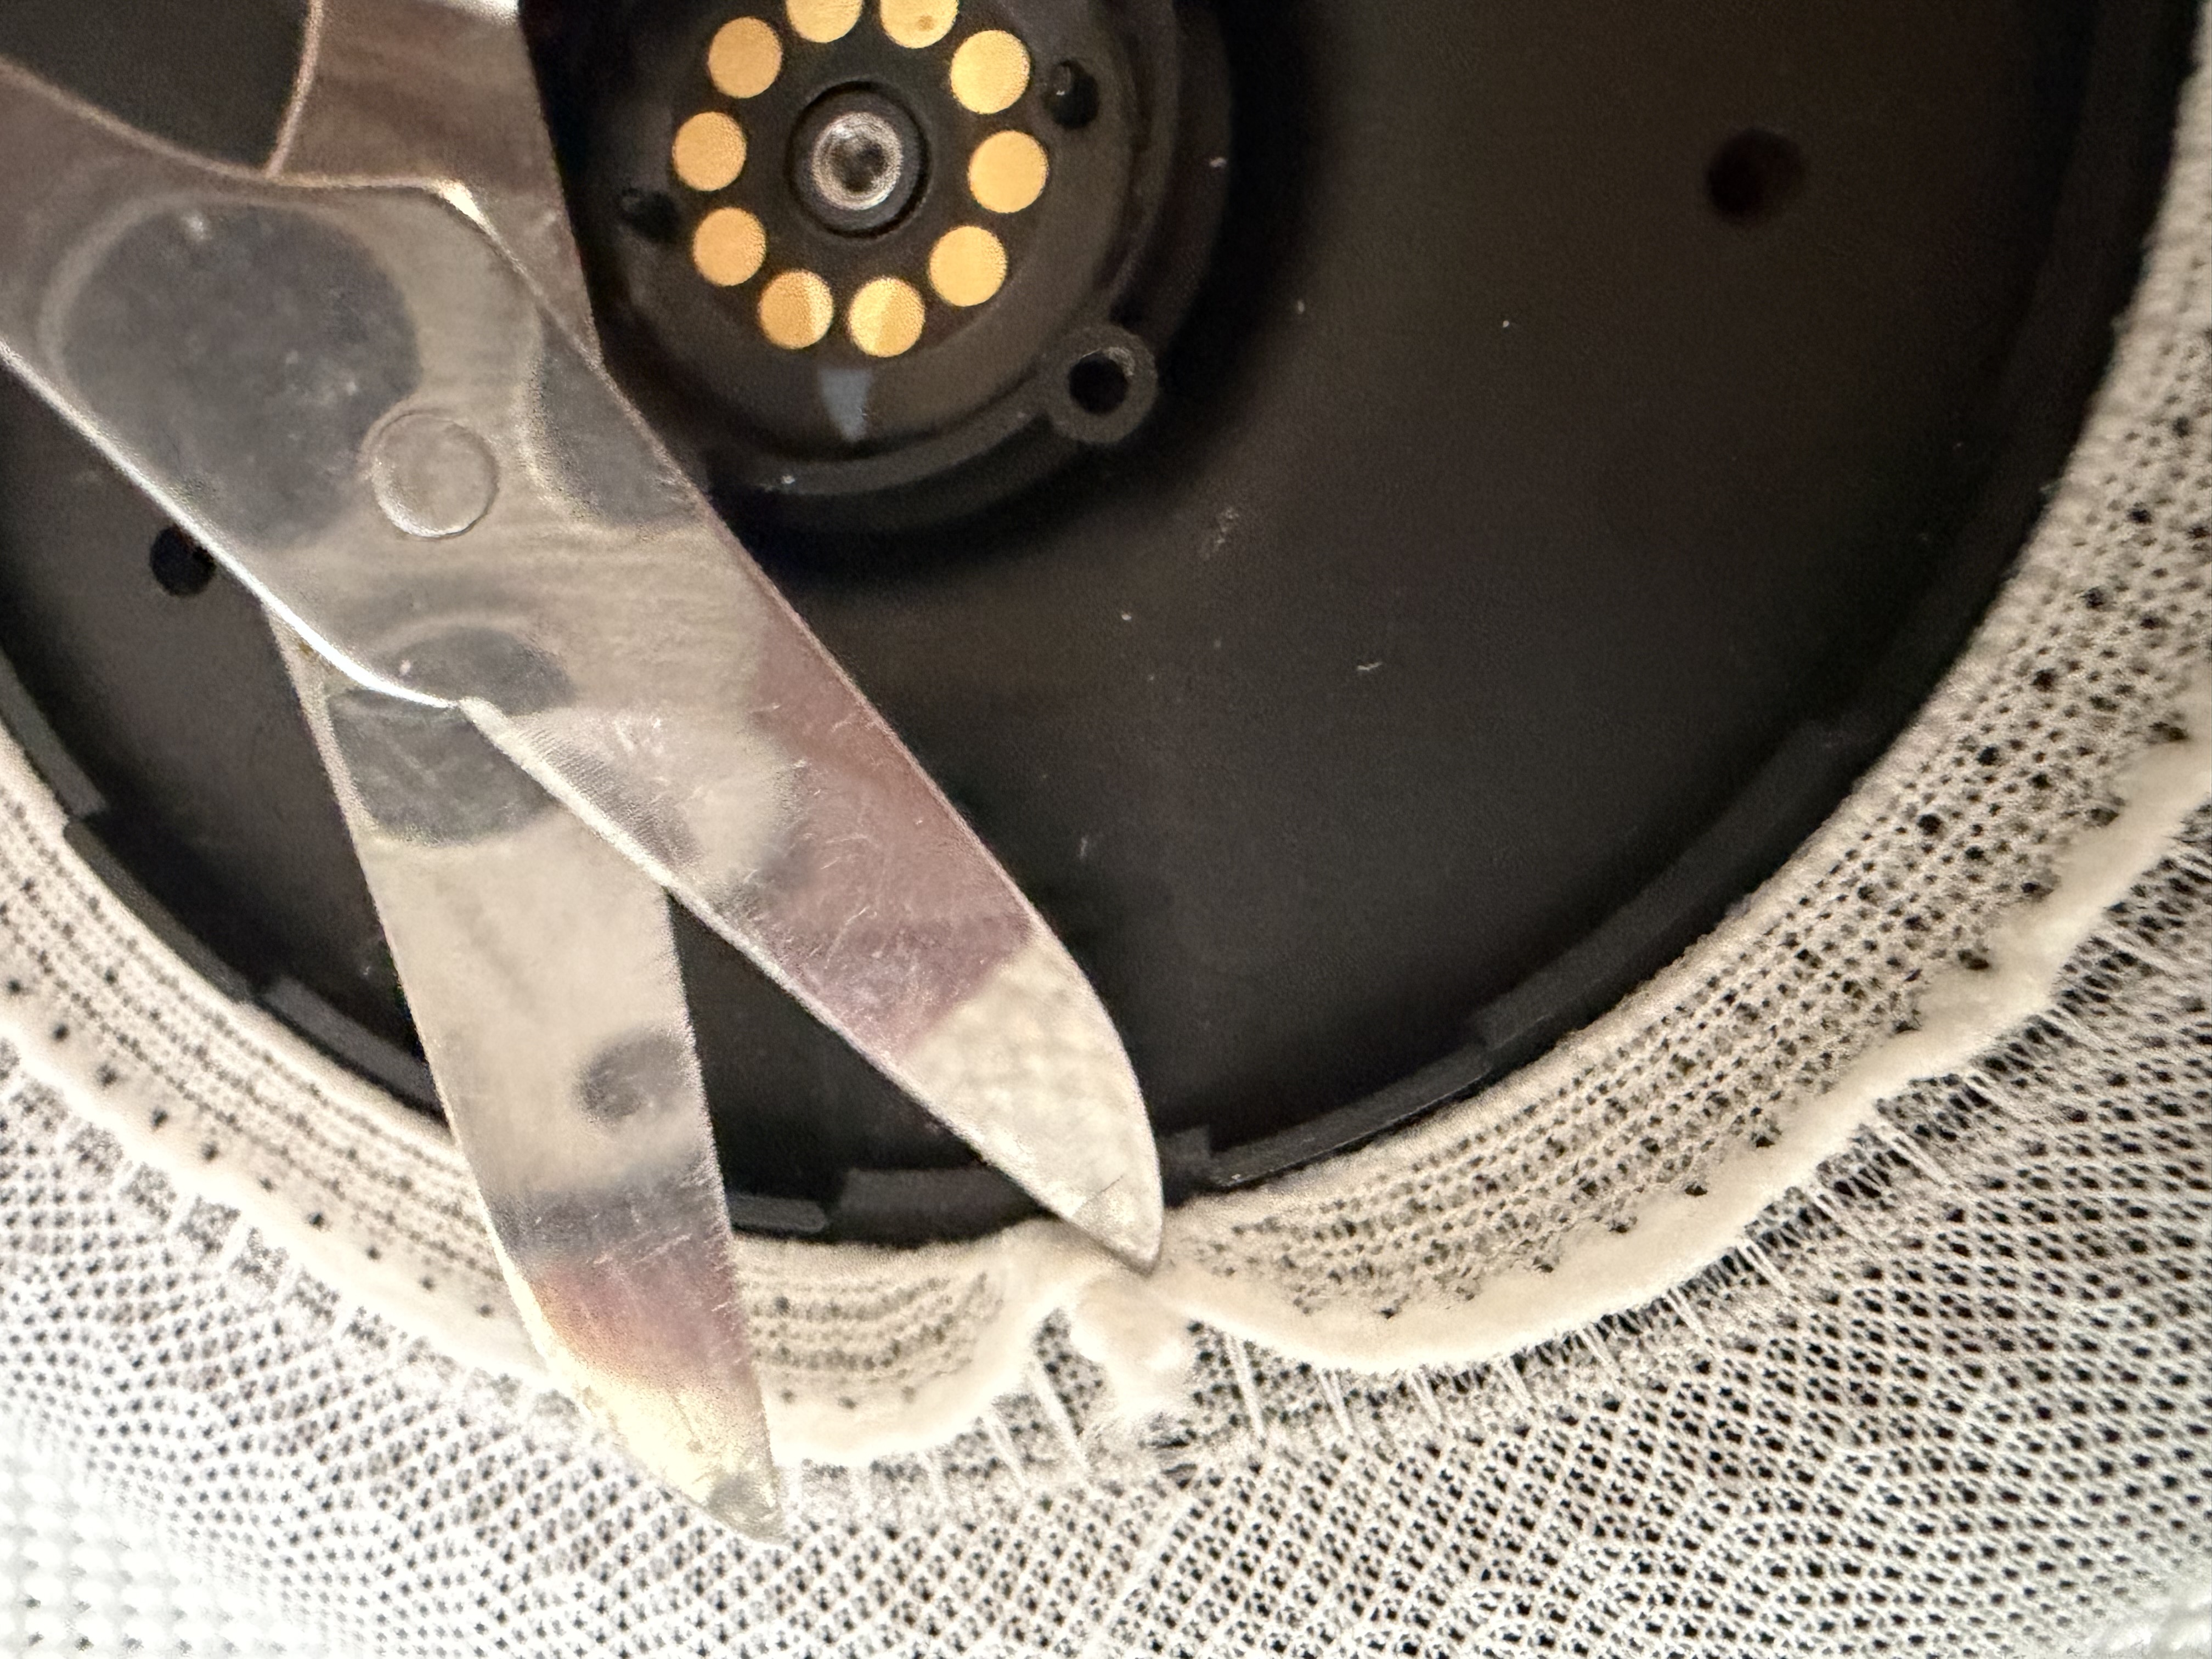
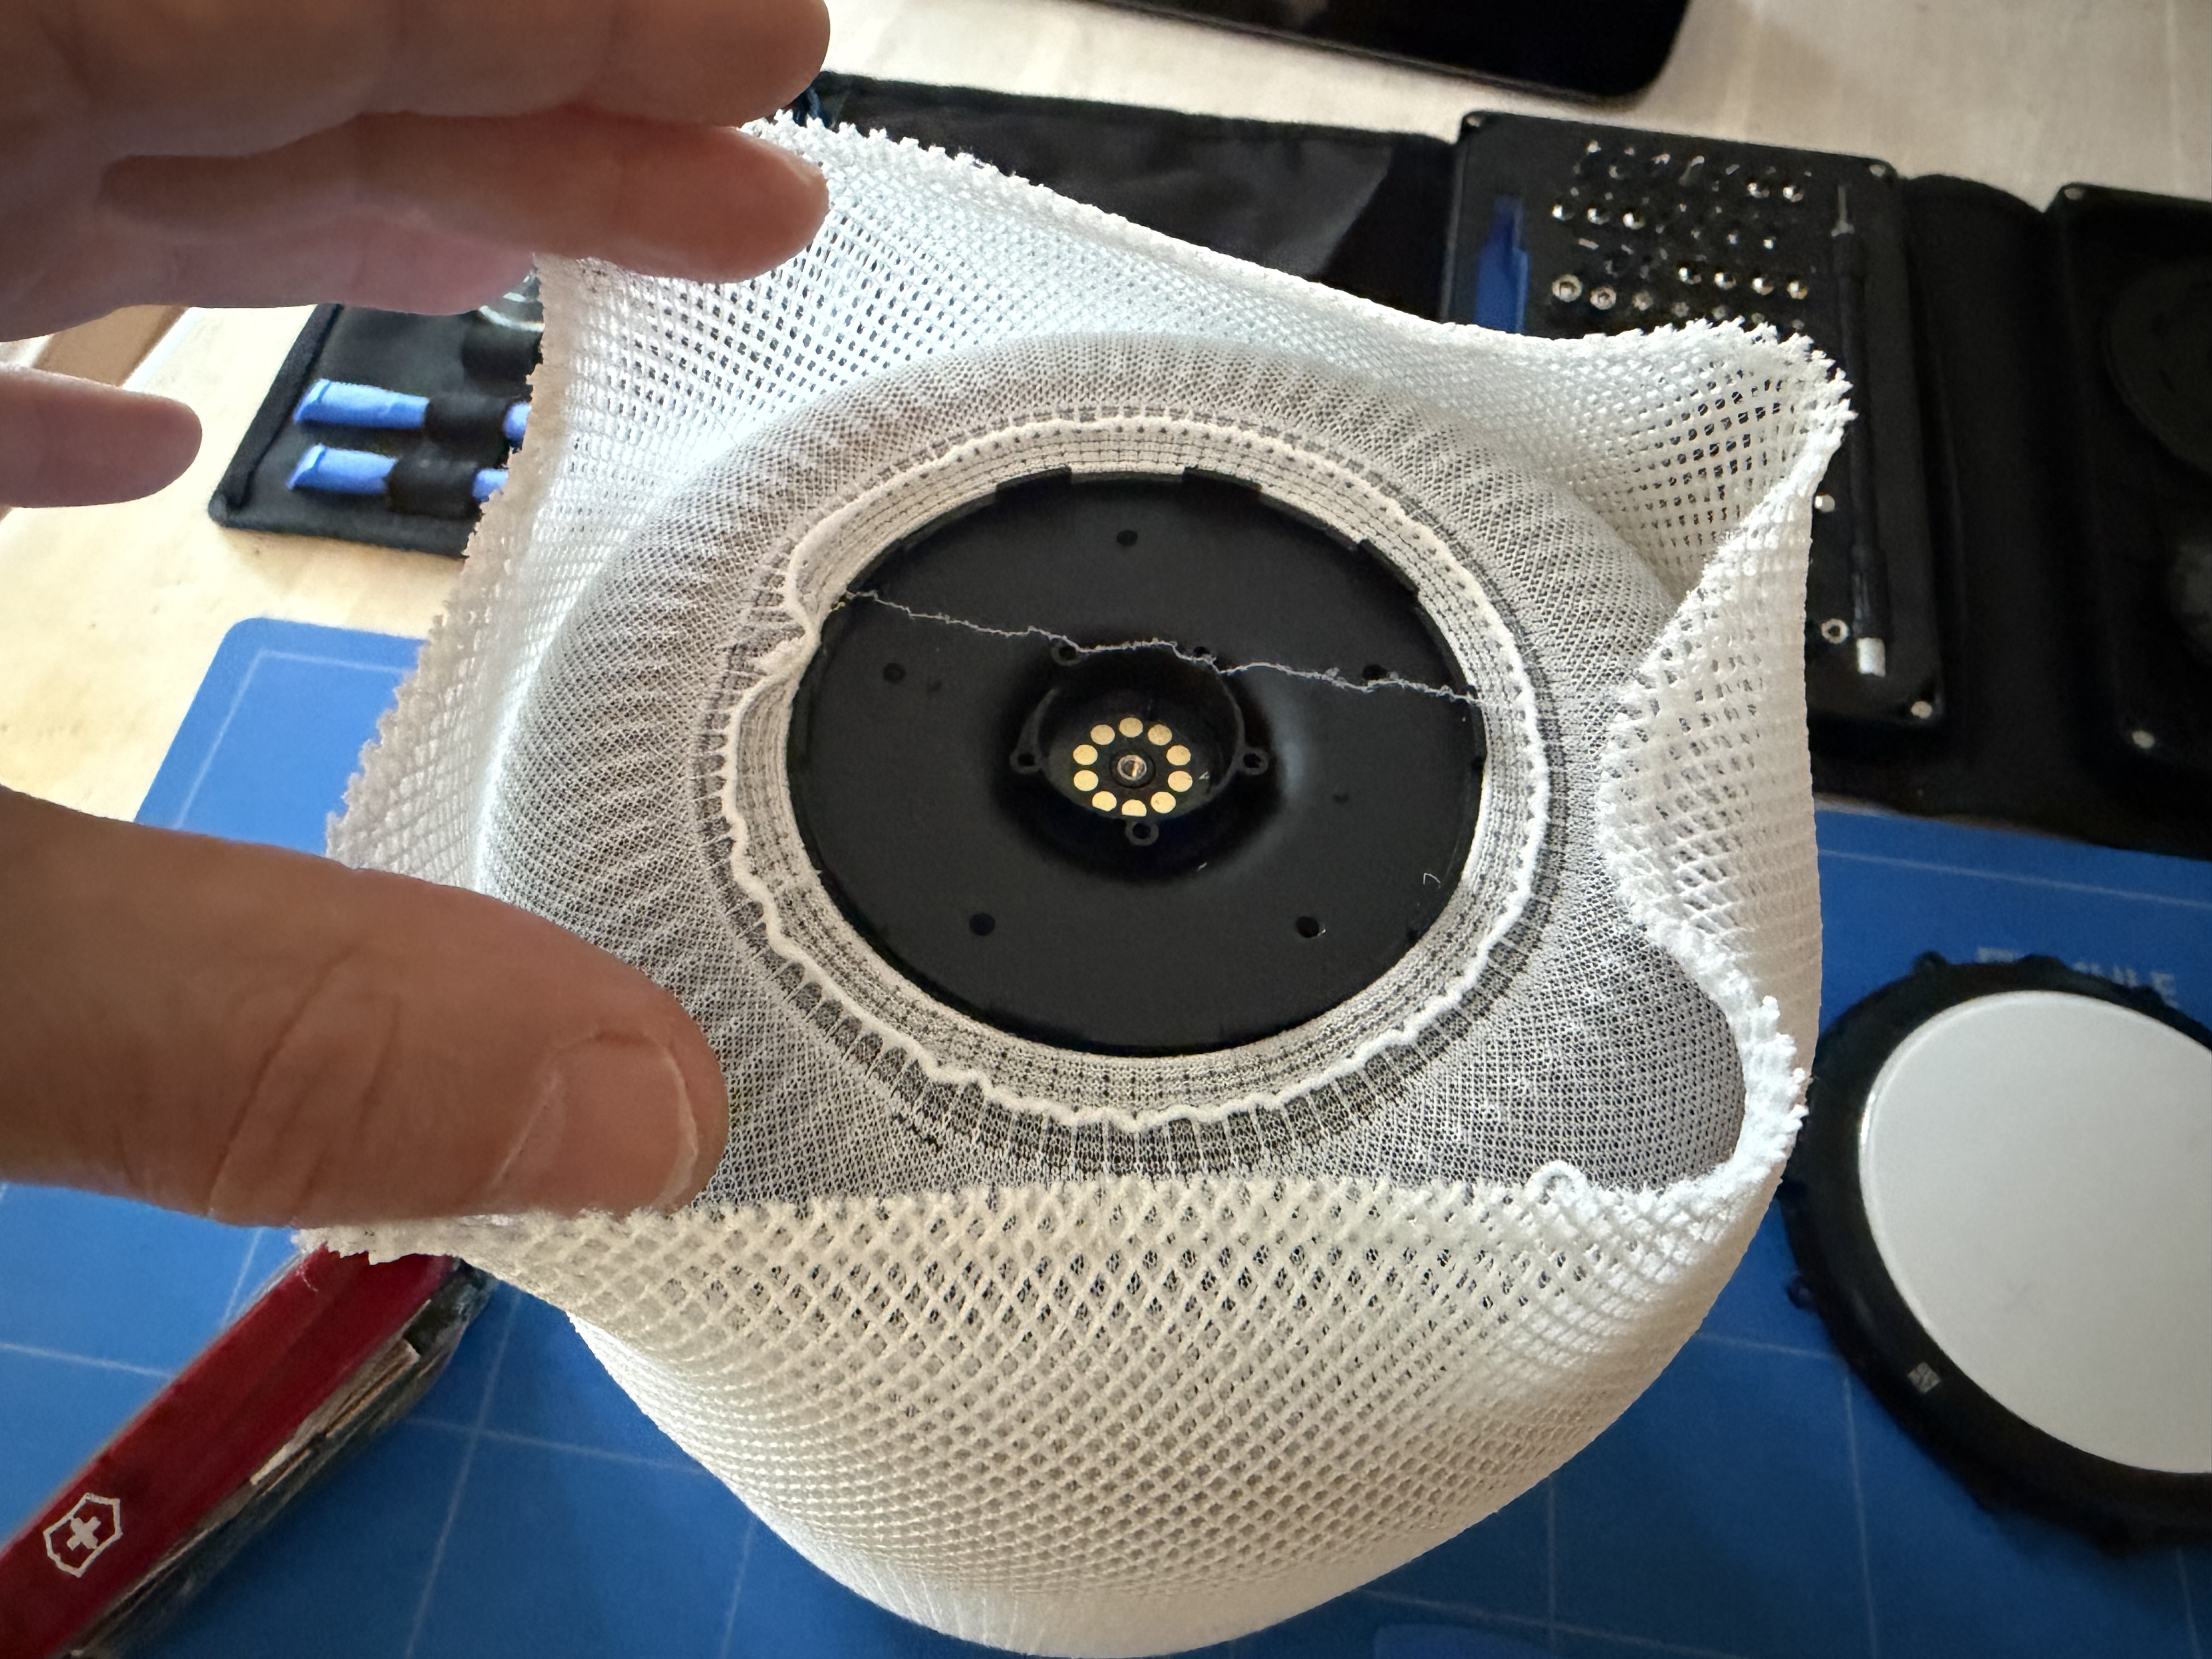
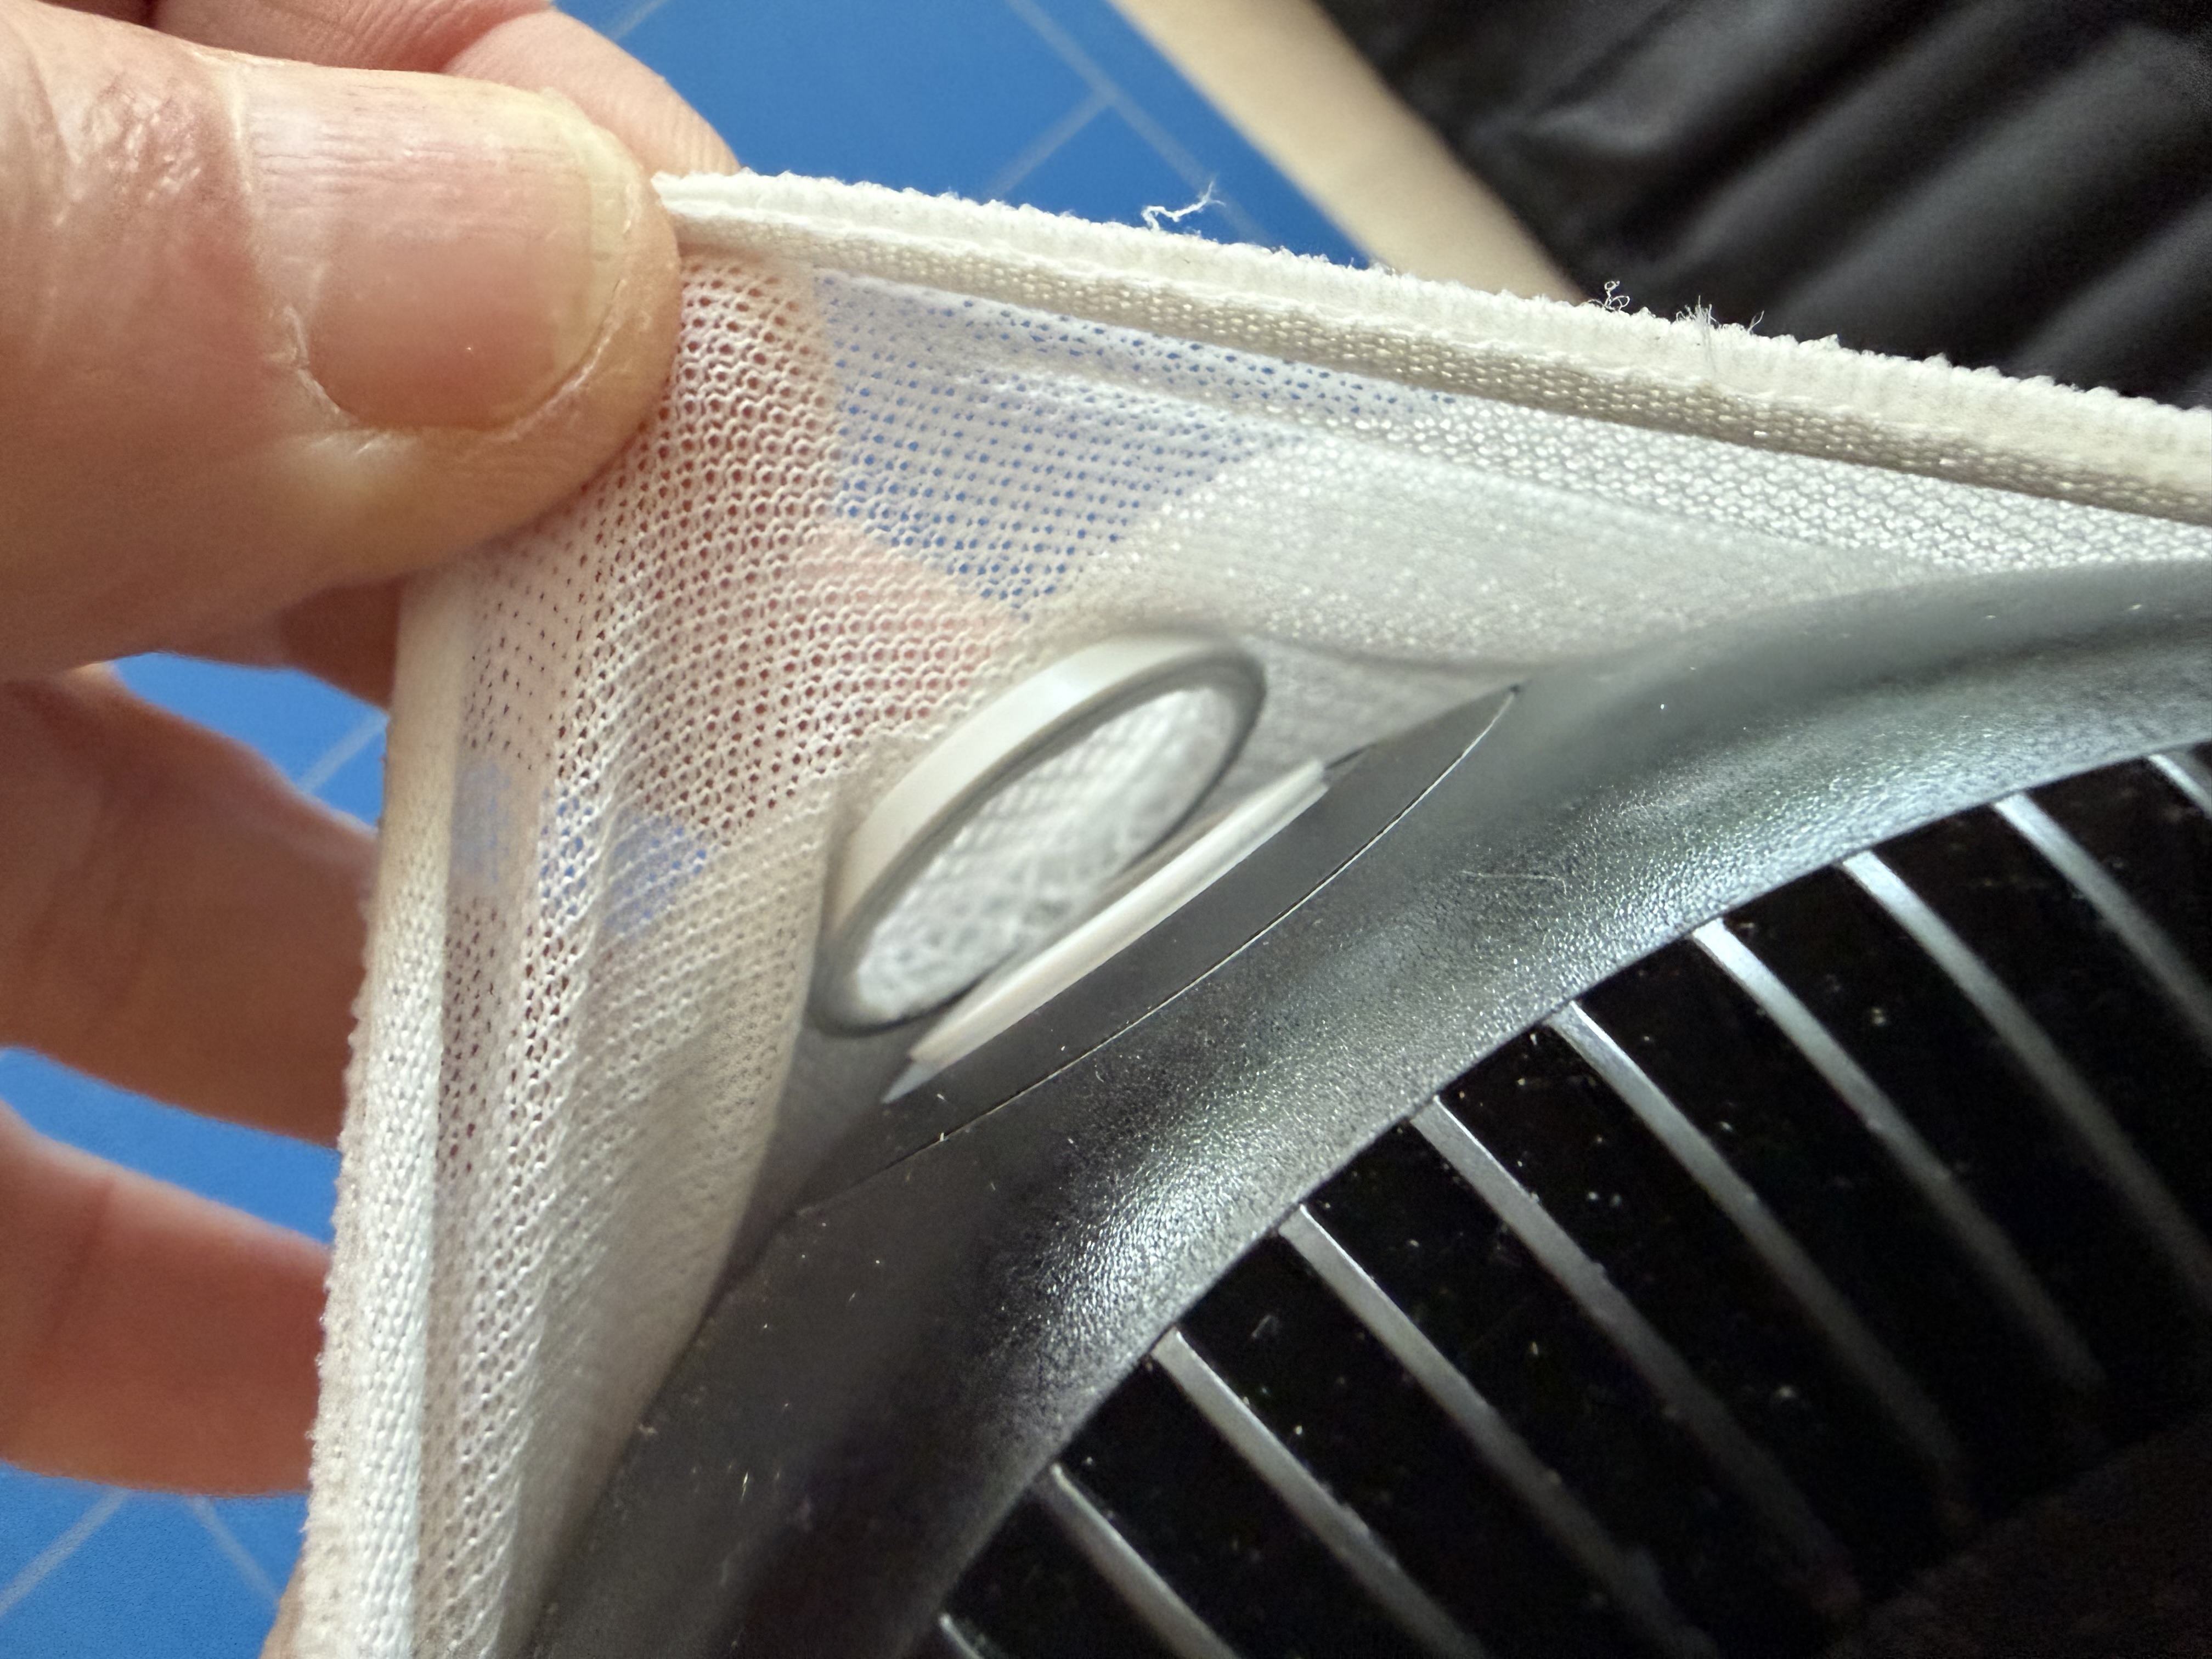
3. Remove the top tray and touch panel
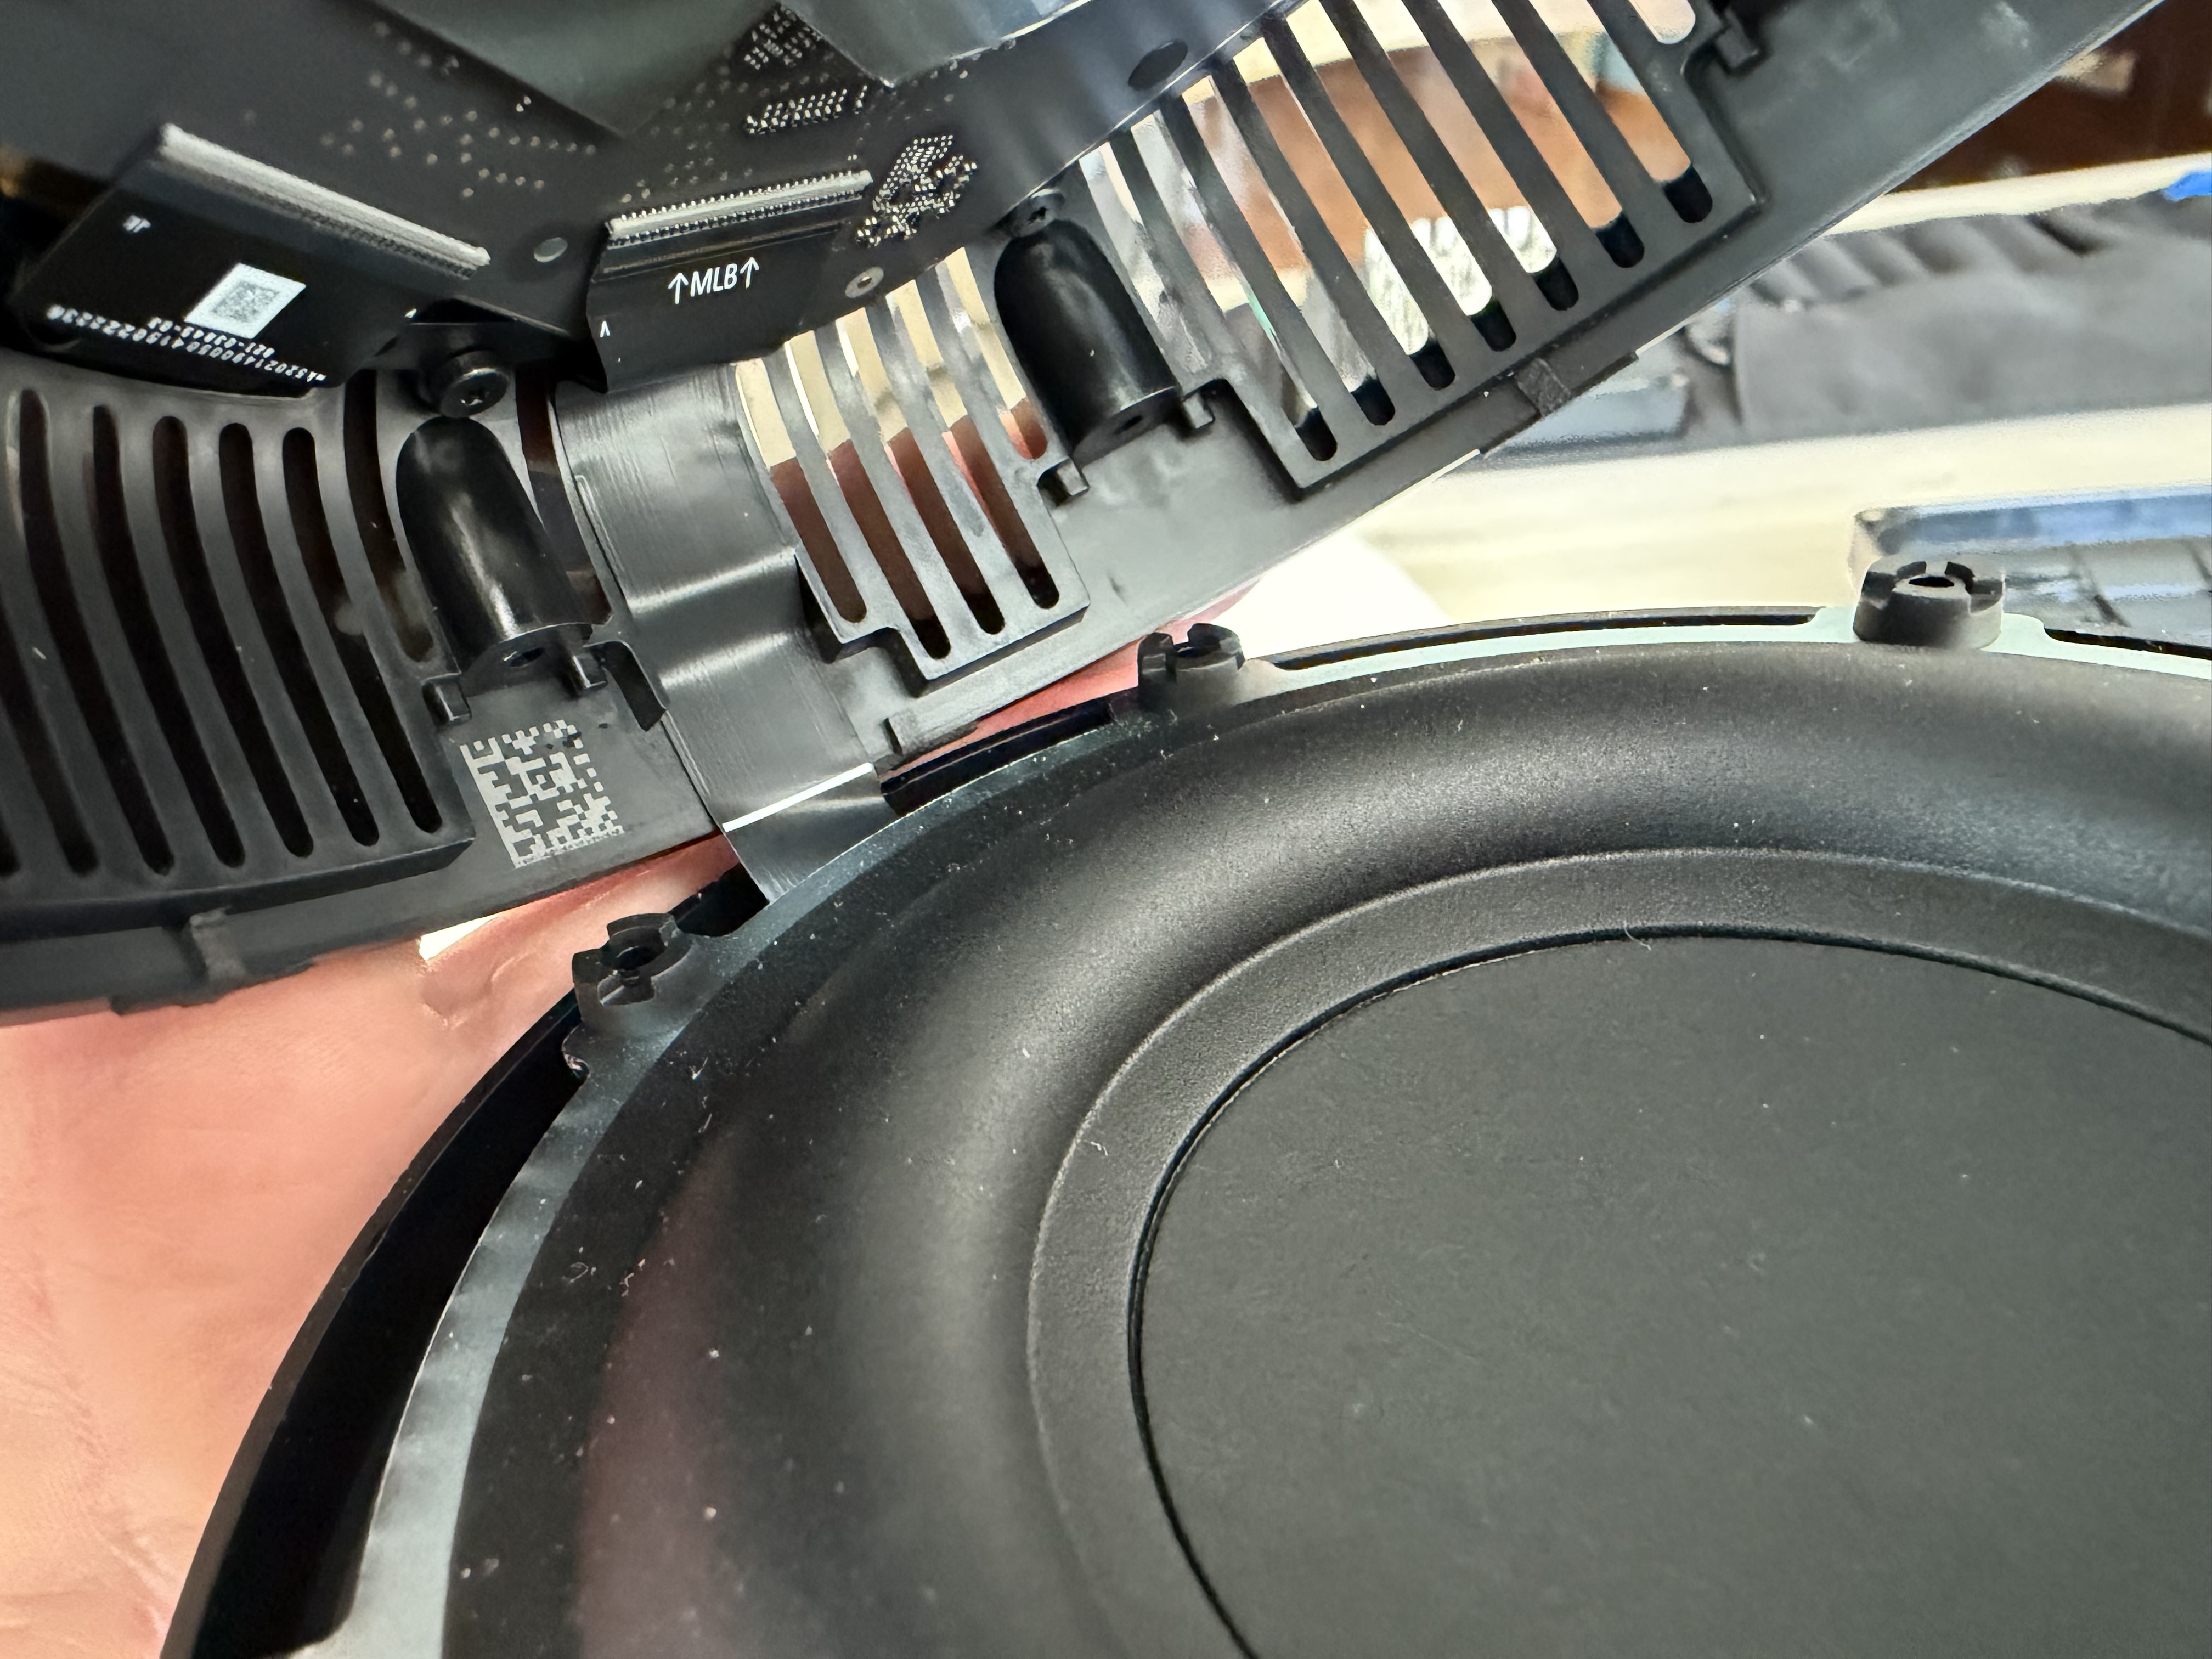
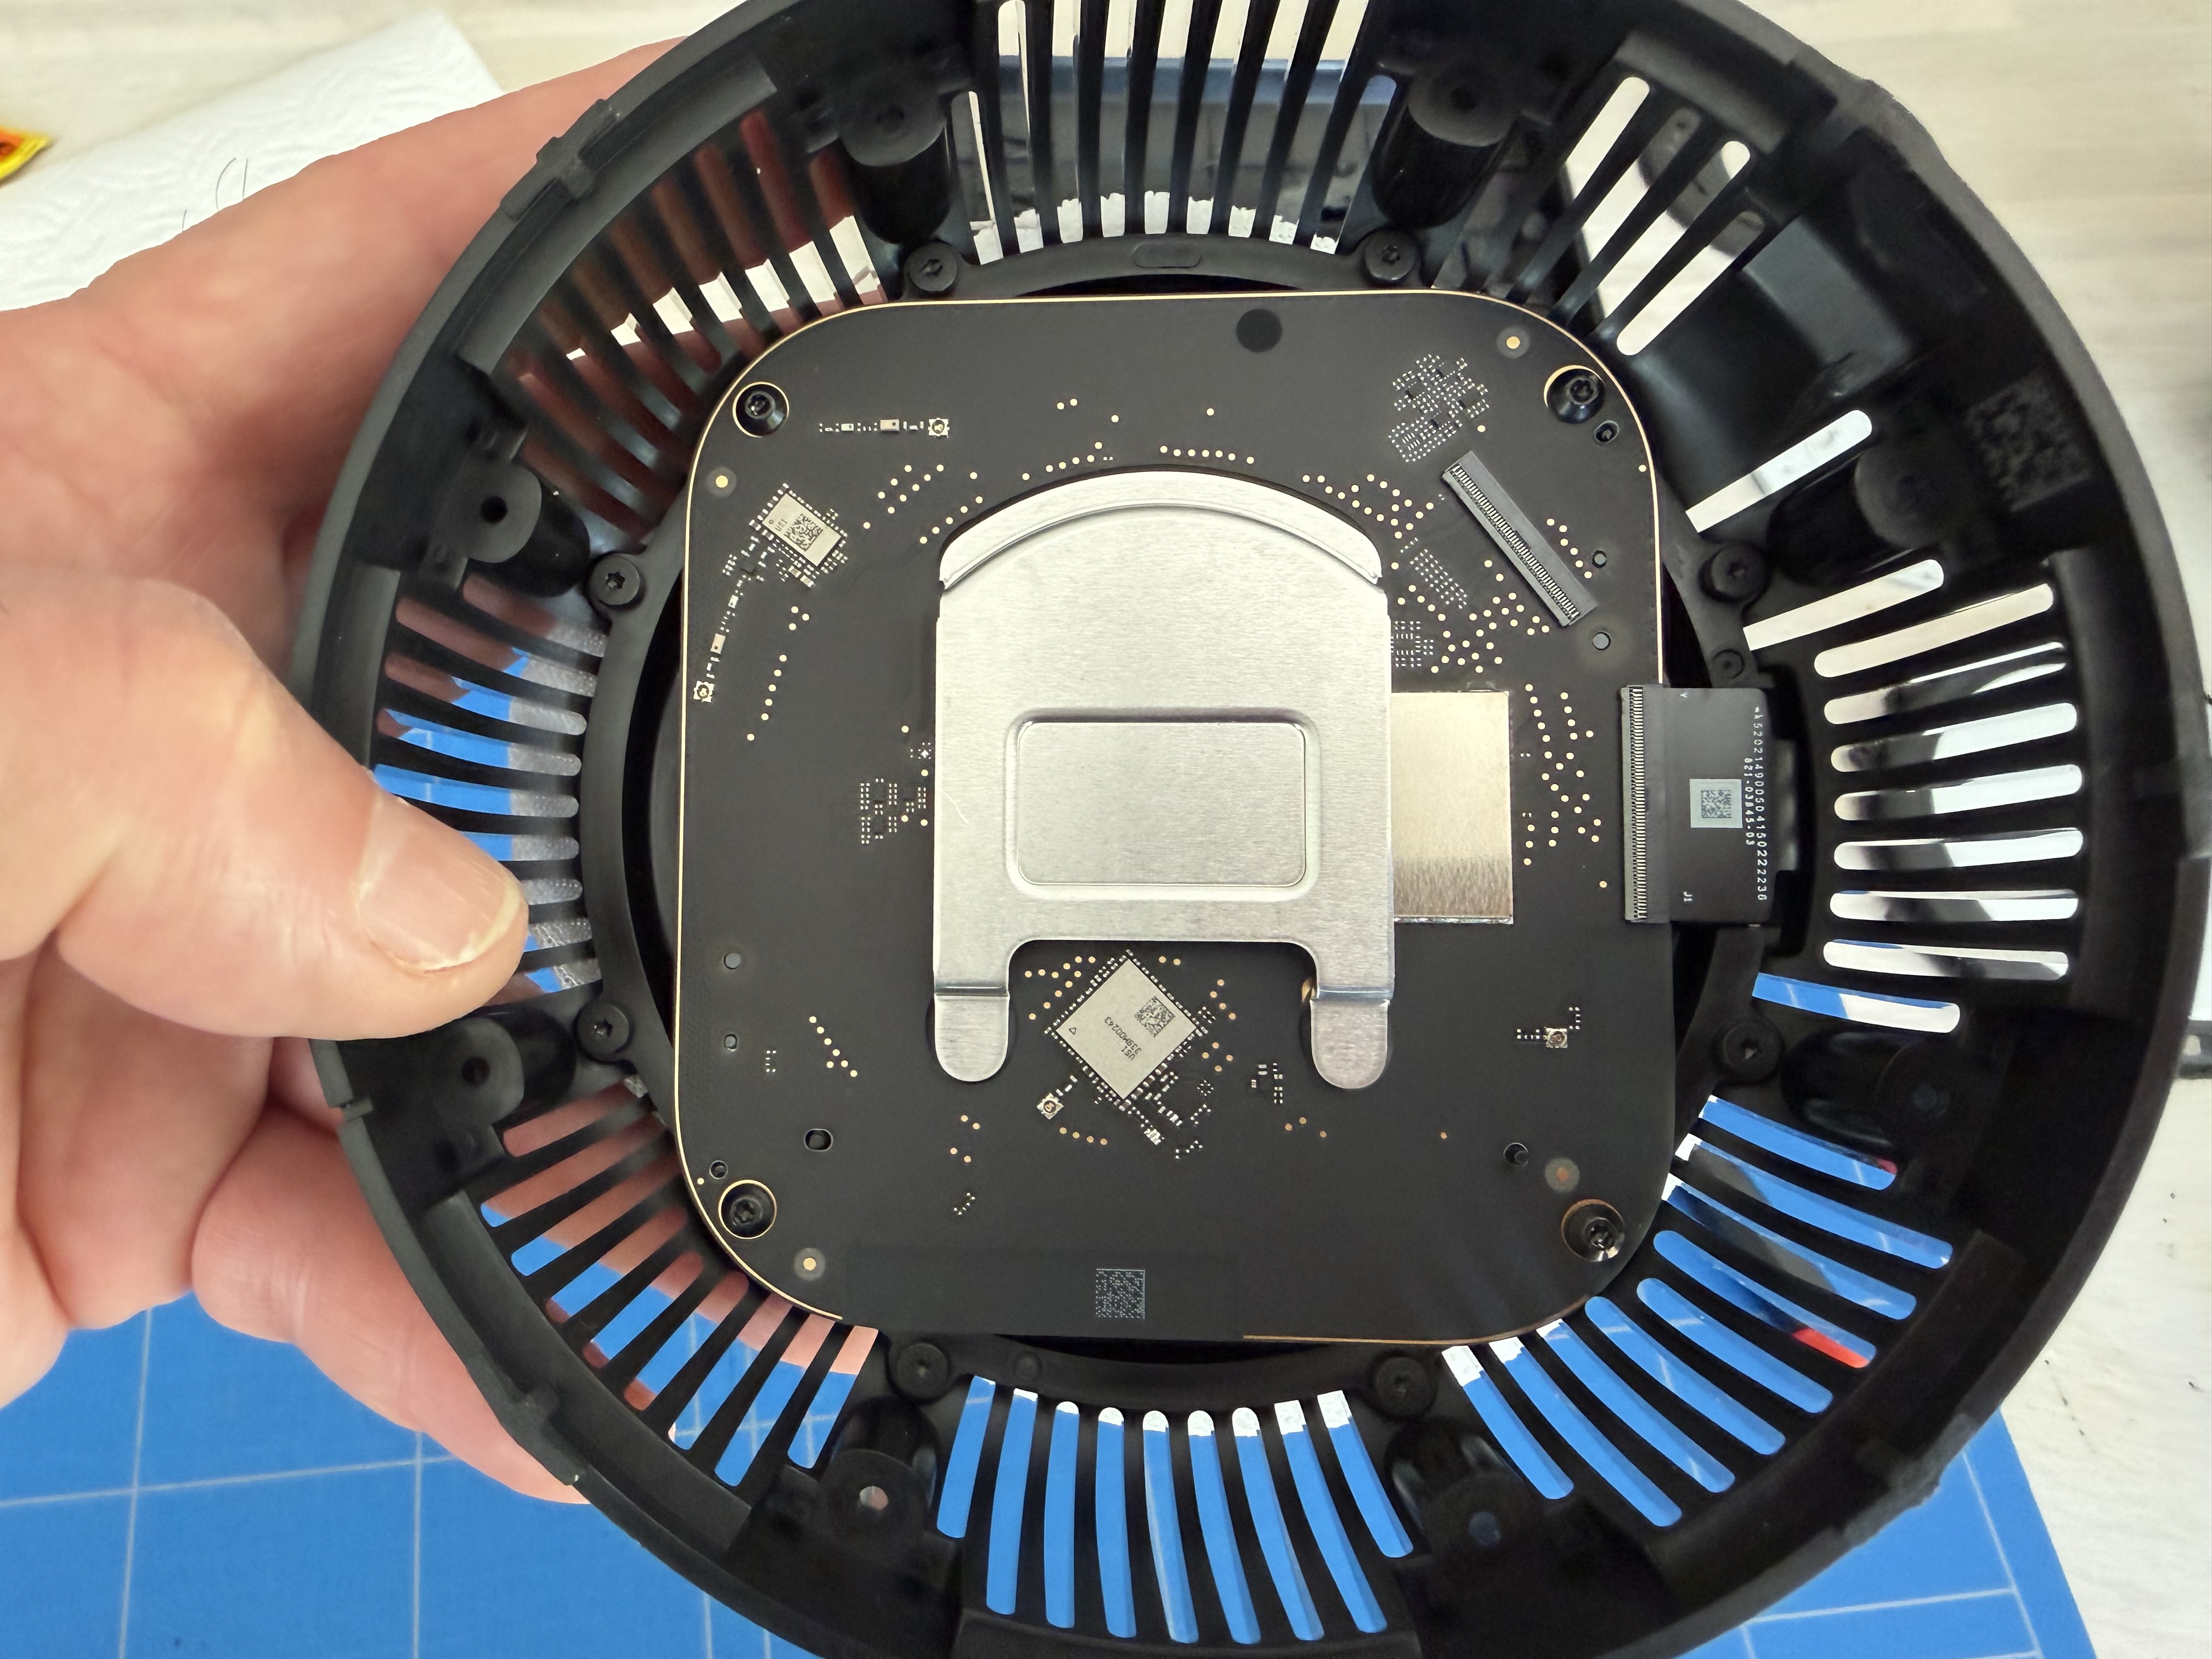
- Remove the 8 T6 Torx screws on the top.
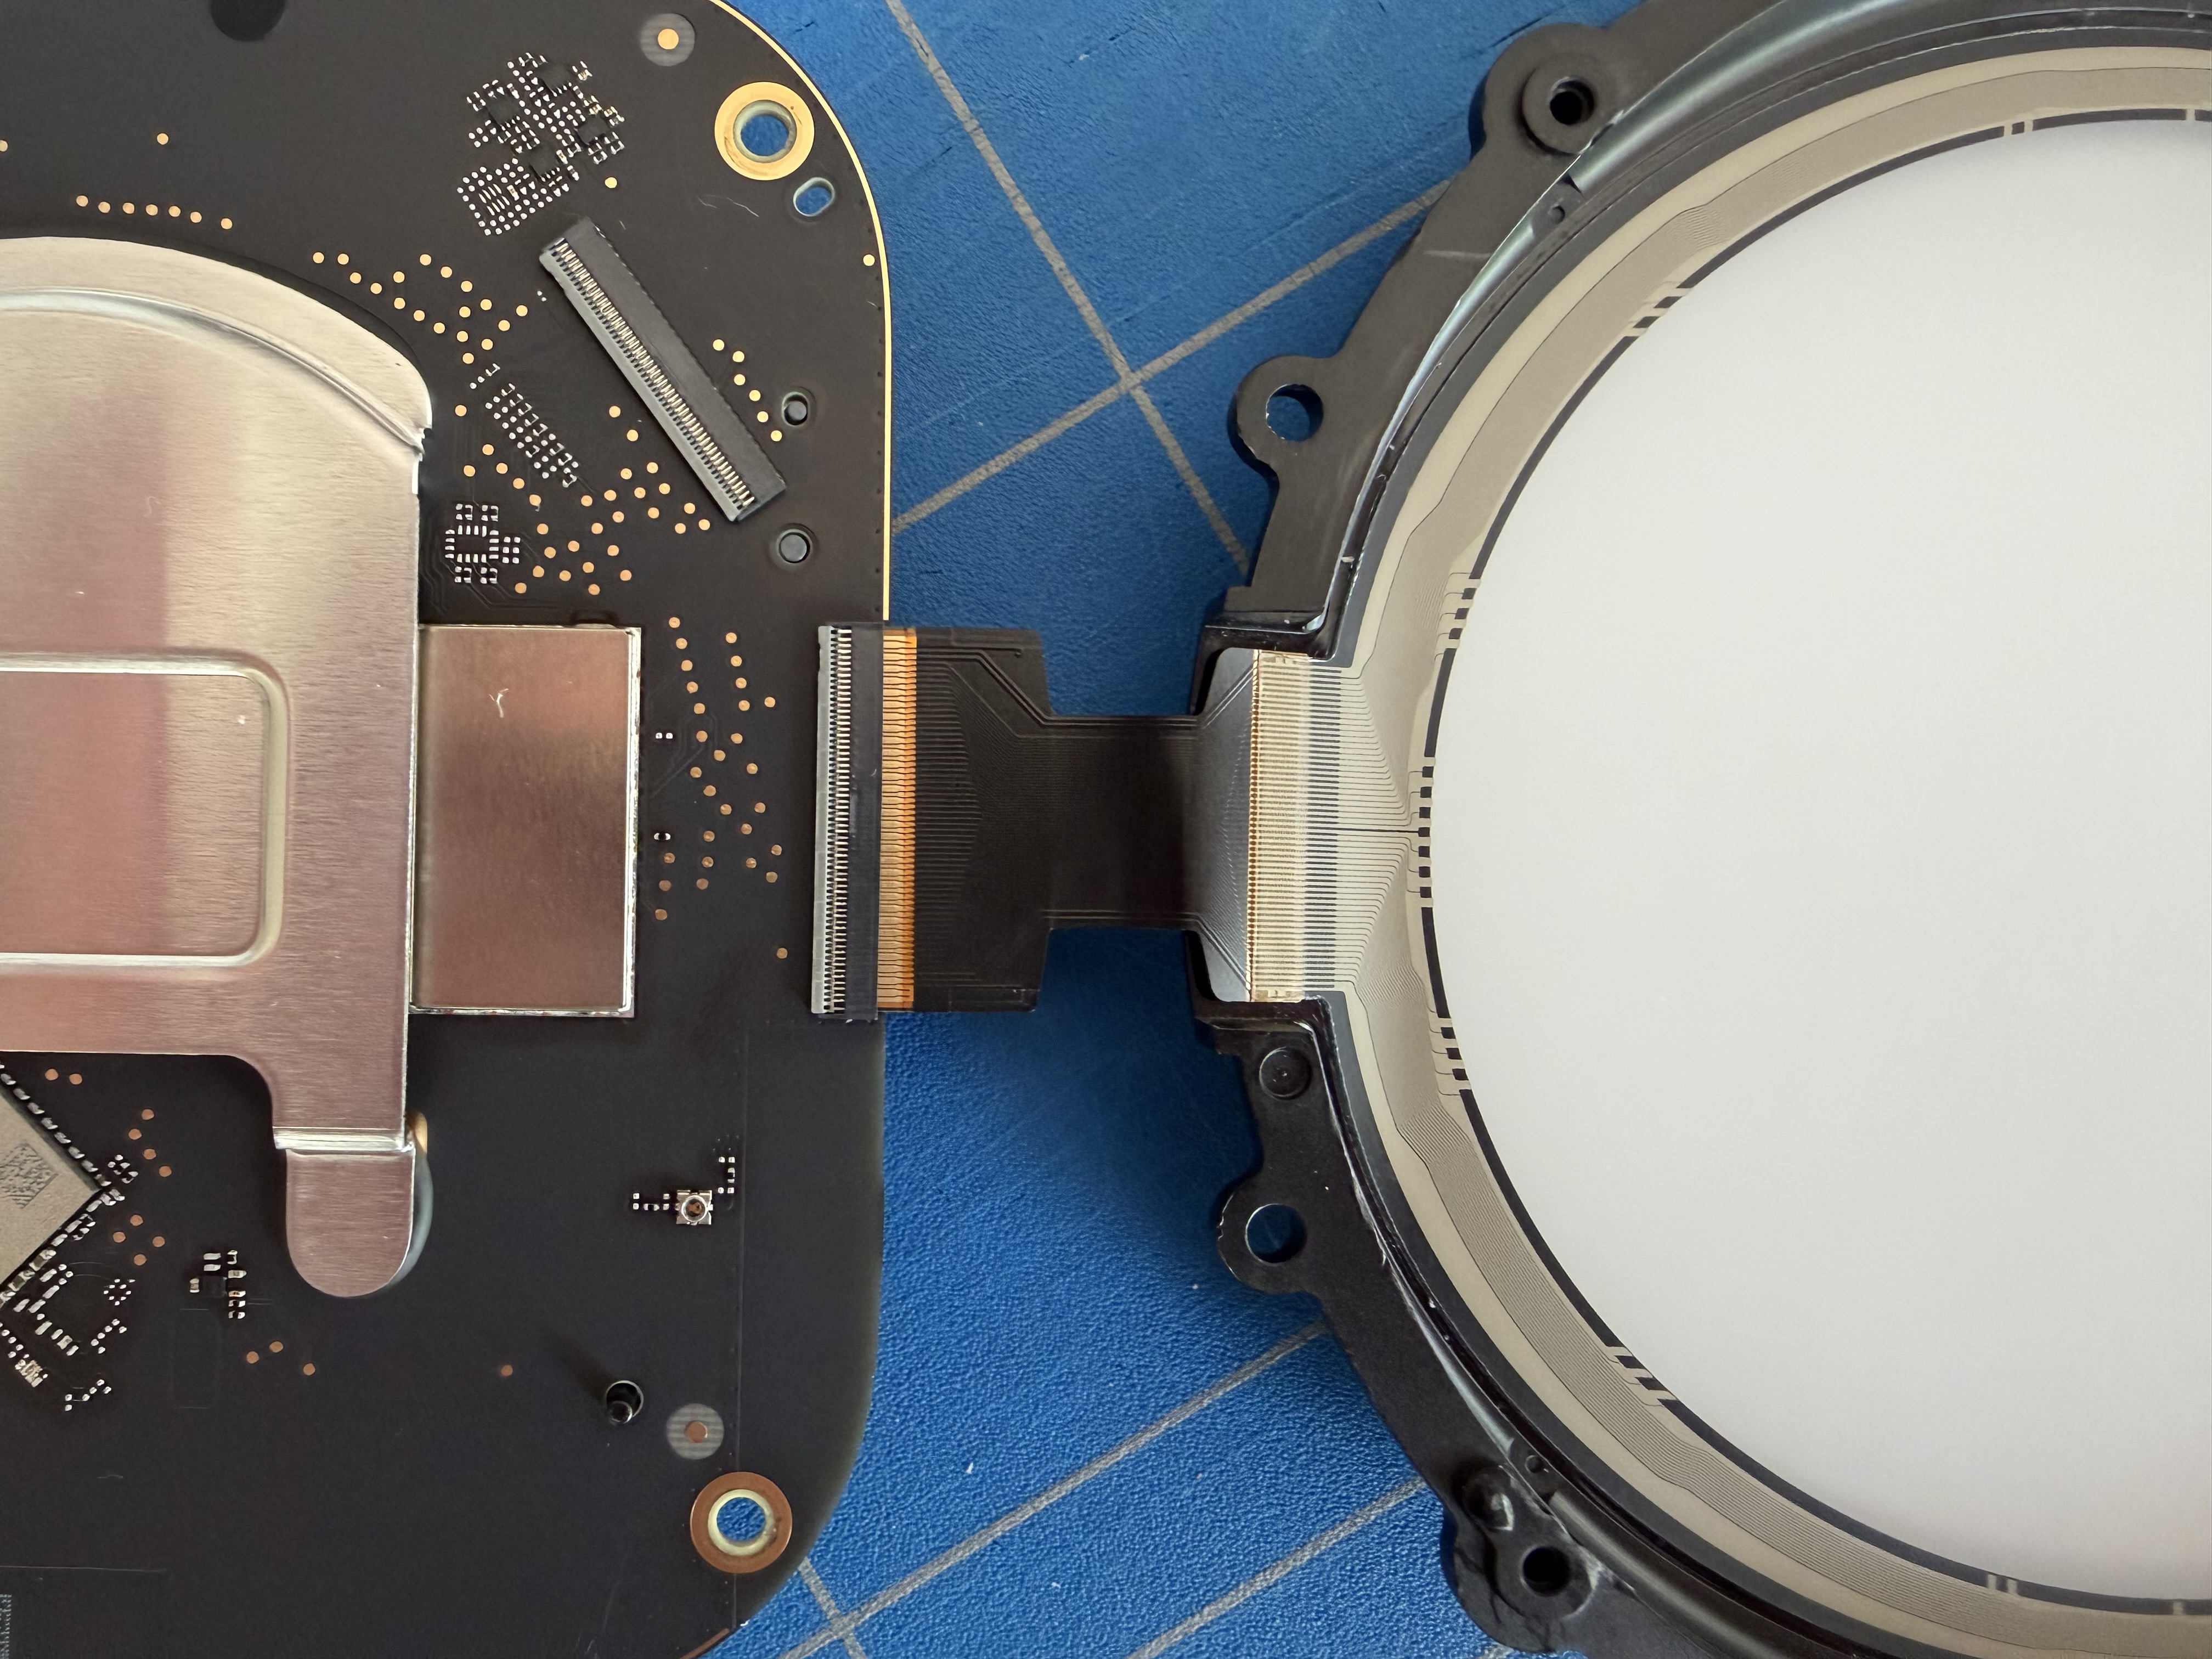
- Lift gently. A ribbon cable underneath is stuck down with adhesive, so disconnect it carefully.
- On the tray, disconnect the second ribbon cable, remove 4 T6 Torx screws and lift to reveal the LED display. It's held in with adhesive.
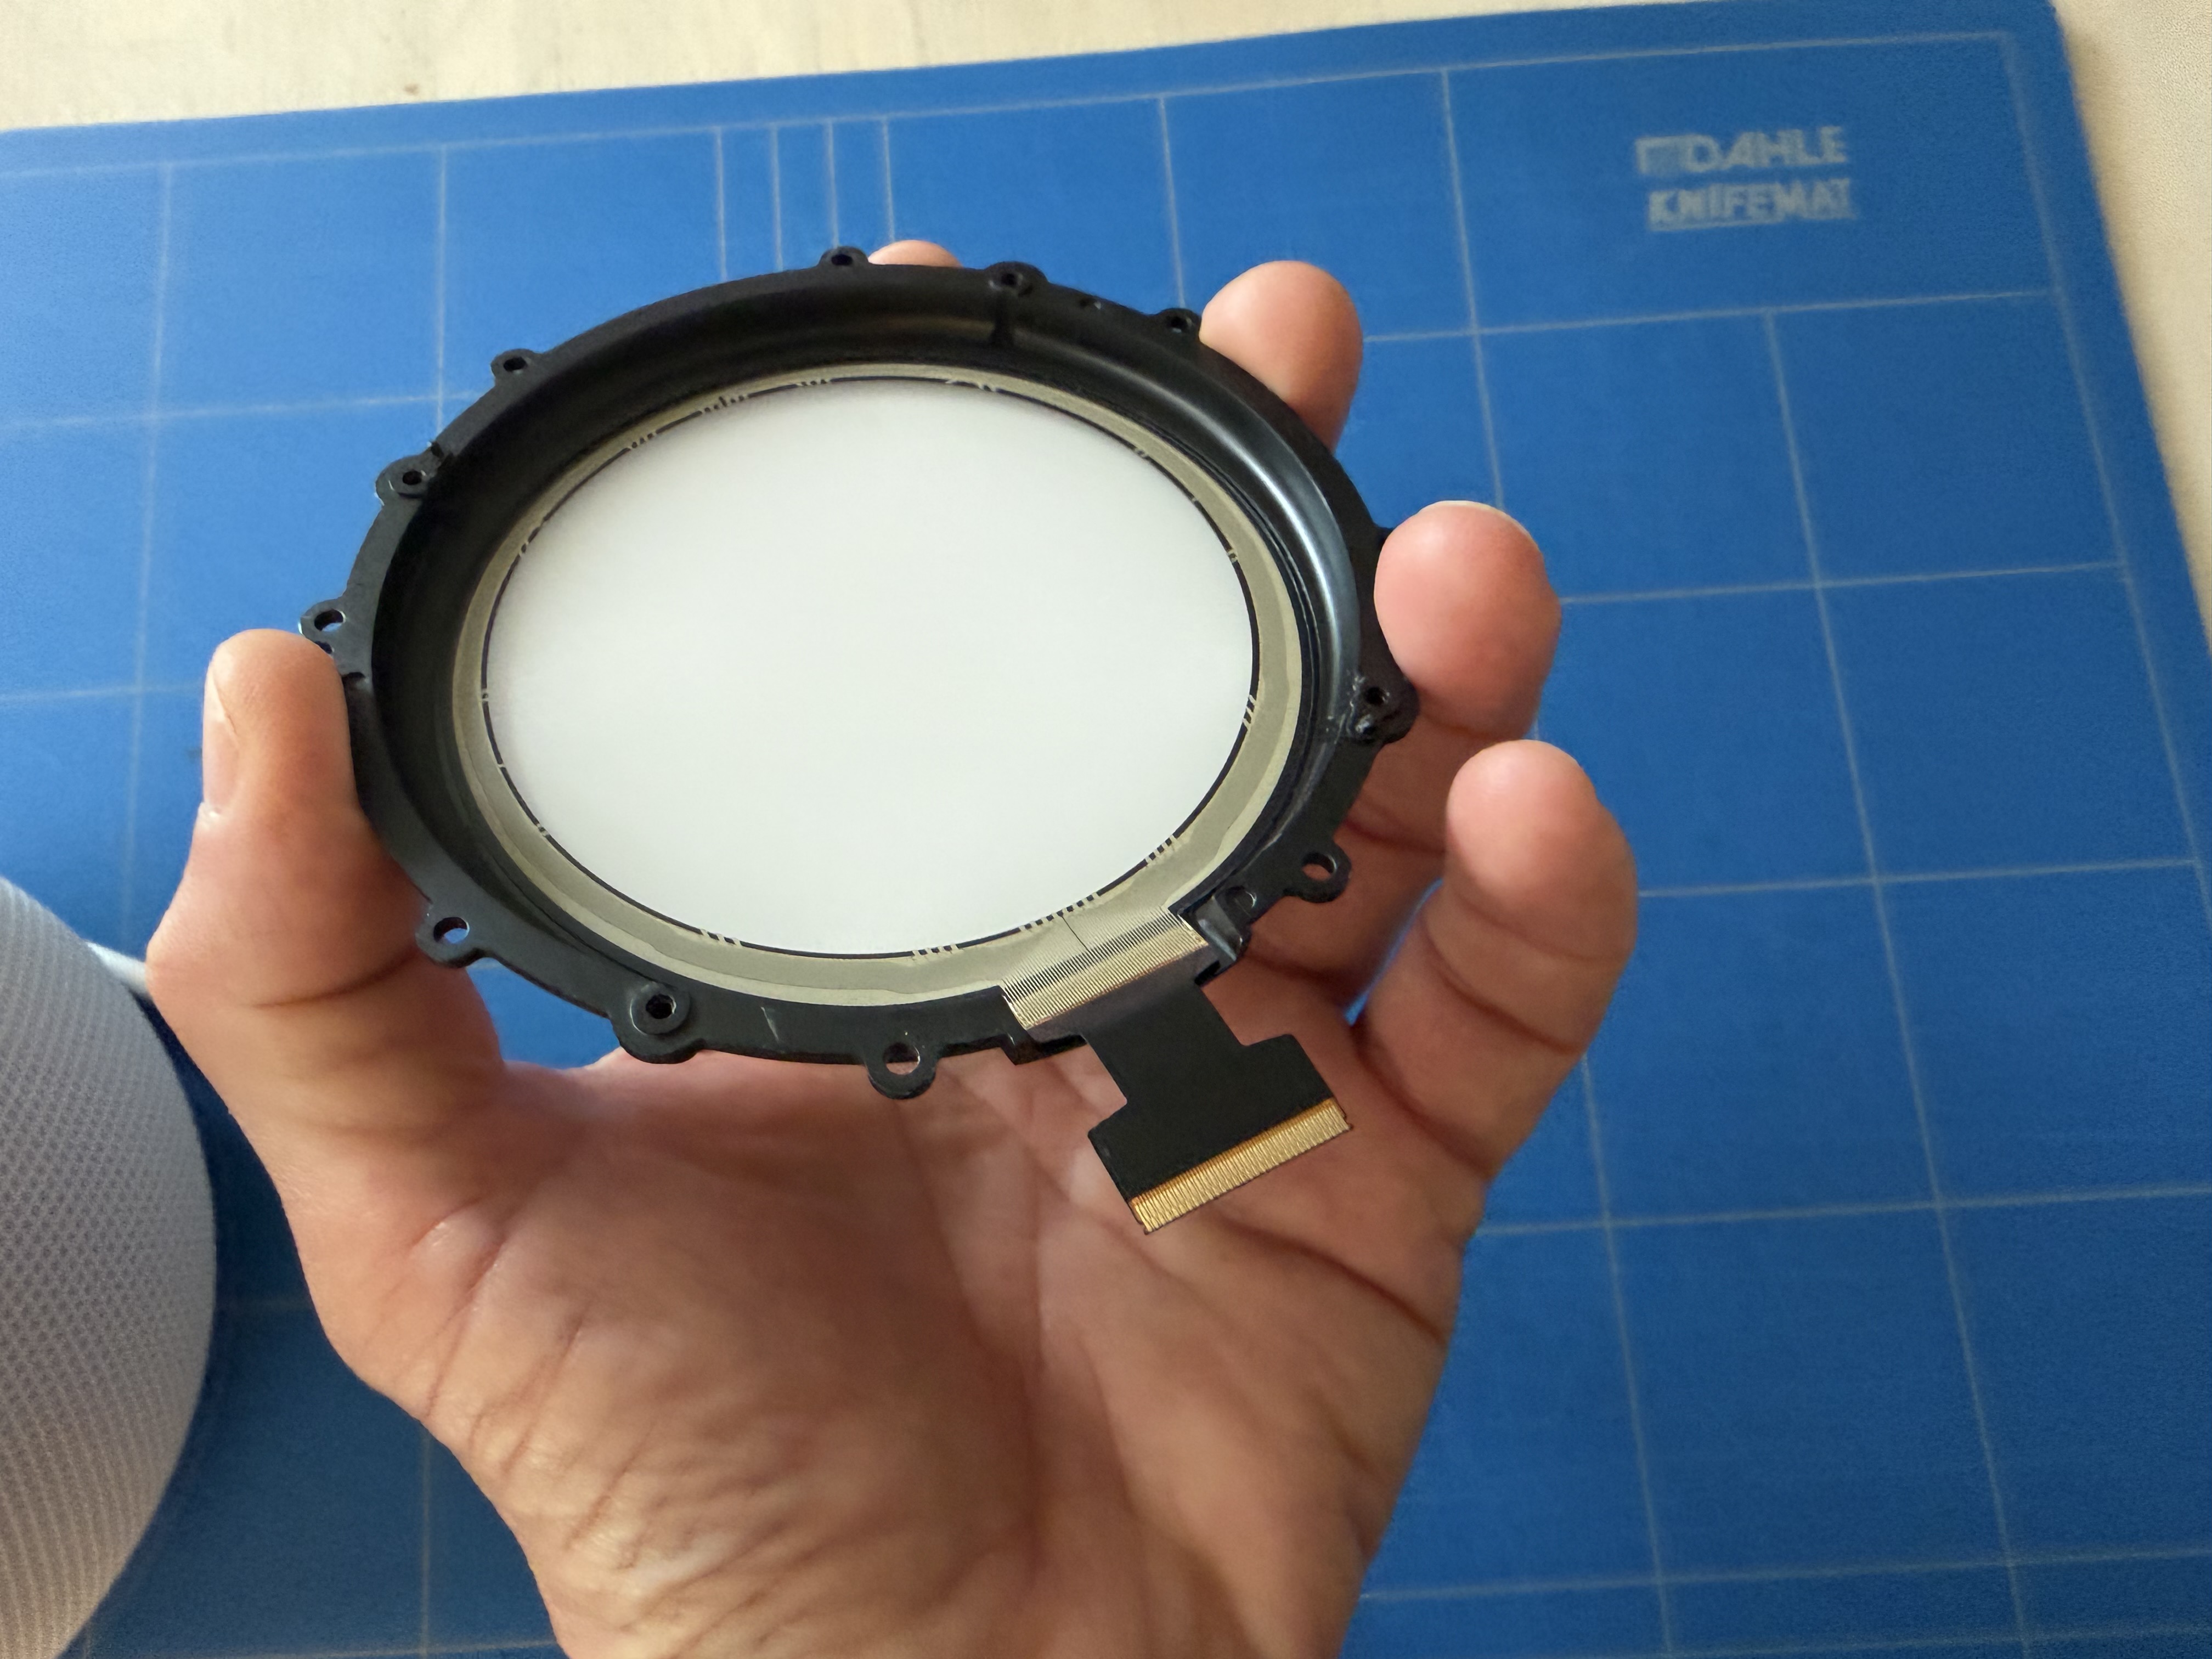
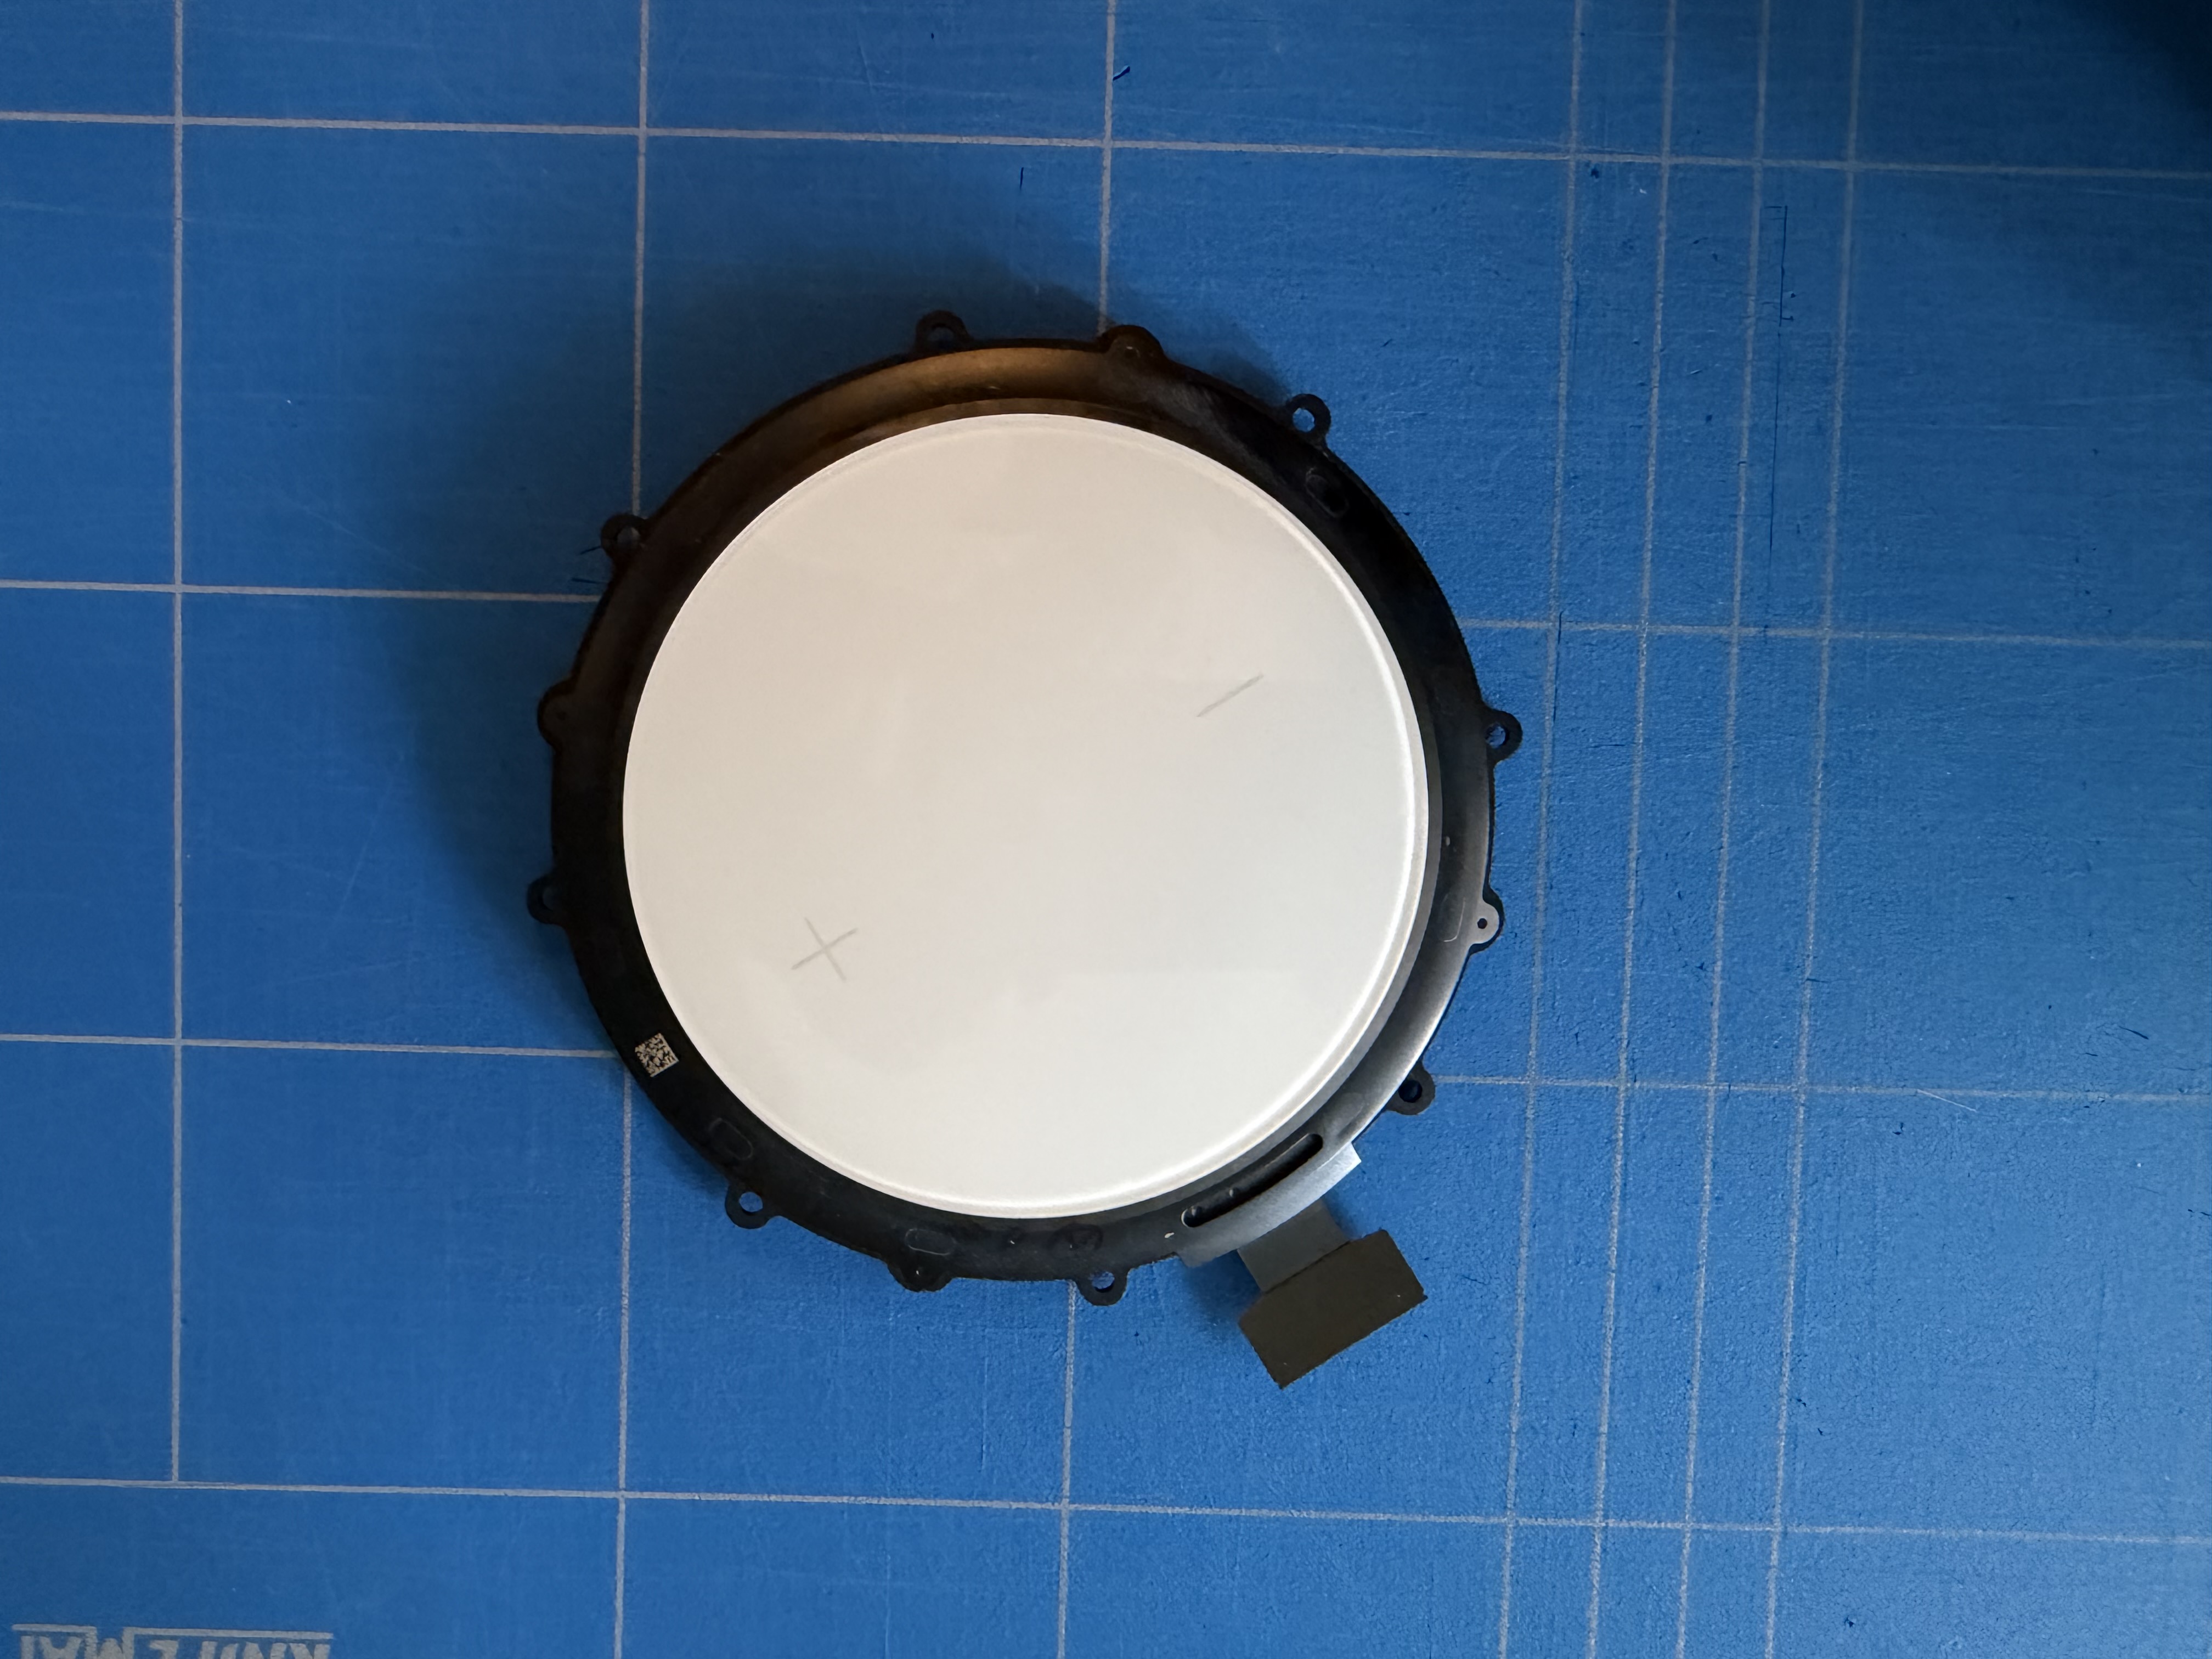
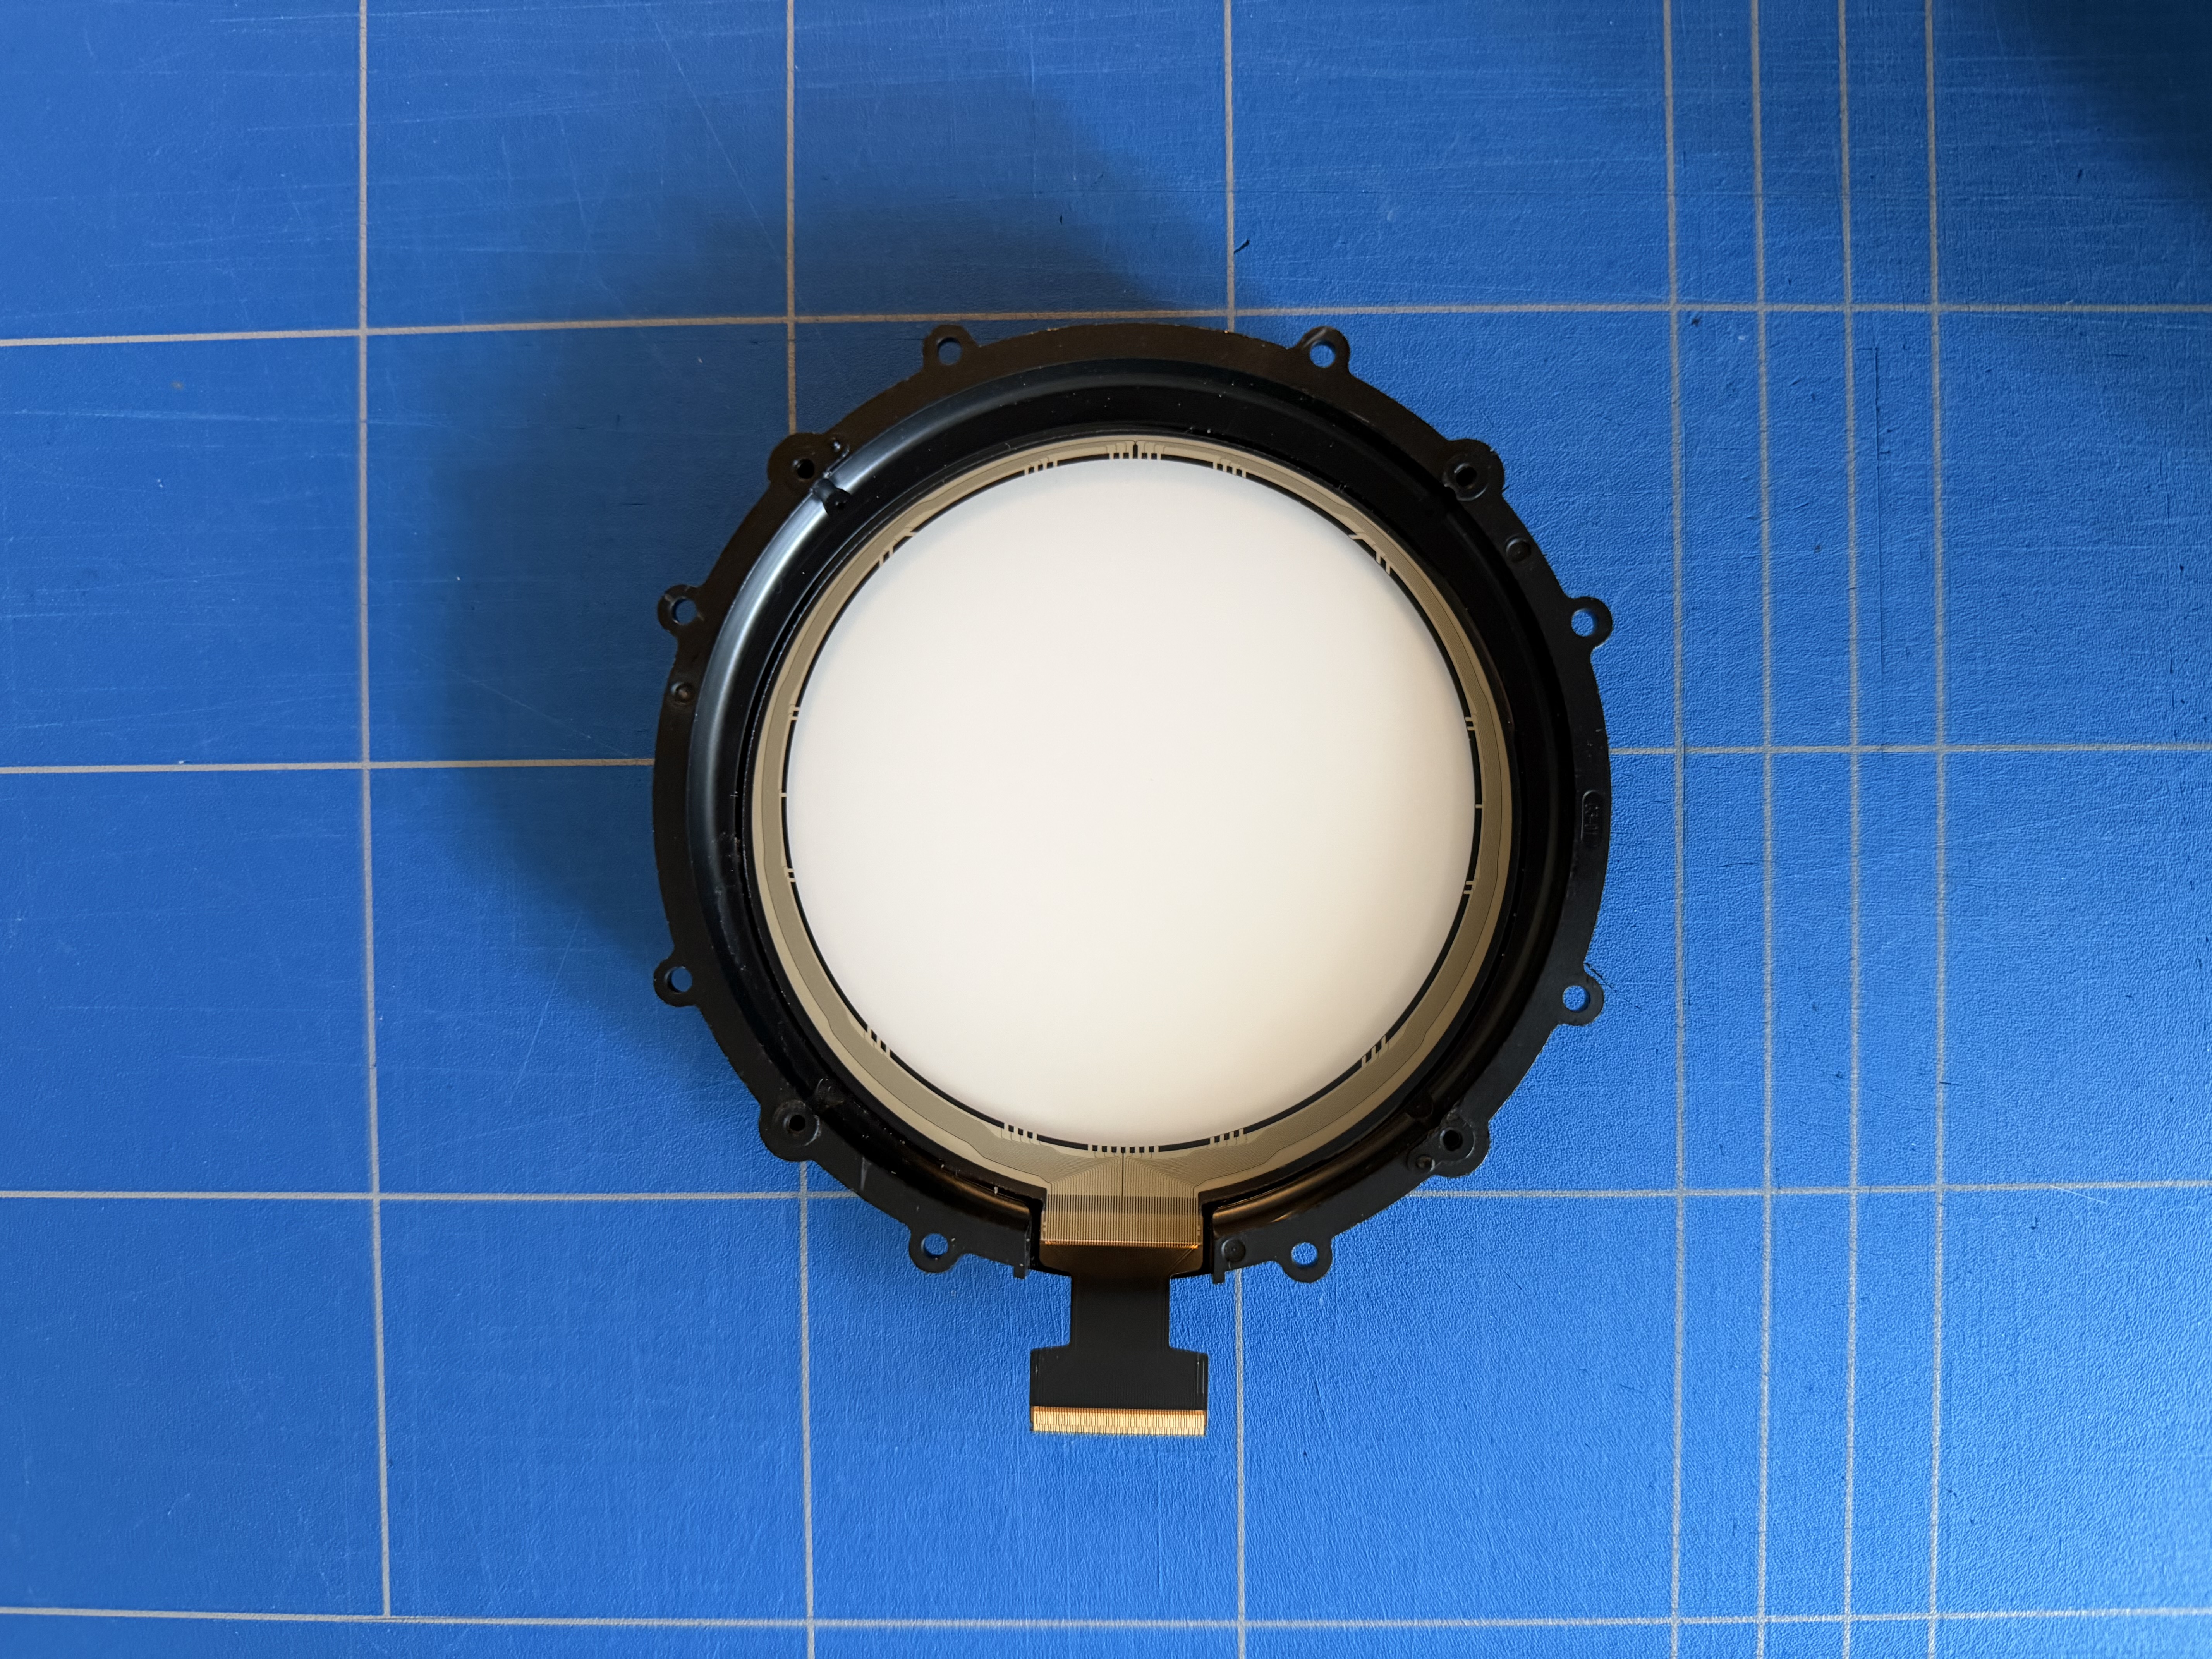
- Remove 8 more T6 Torx screws to free the touch panel.
4. Reassembling
- Replace the touch panel with the new one
- Reassemble the HomePod in the reverse order.
- Take great care when connecting the ribbon cables, they are very thin and bendy. Do it slowly, and make sure the connector are properly aligned.
- Don't forget the rubber grommets (I did on my first time).
- Take your time threading a cord iaround the two meshes, and pull them tight.
- Clean the glue residues off the base plate before gluing it back on. Make sure it is properly aligned (the logo aligns with the power plug).
Good as new
The operation isn't over complicated, take your time, make sure you have the proper tools and good light. Both my HomePods are working like they did on day one again. No more ghost touches or random music blaring out in the middle of the night.
It feels good to be able to fix something with one's own hands.
Happy listening.